
here next screen we gonna implement react native login screen to make work both on iOS and Android this screen include two input fields email and password and three social login button eg. Facebook, Twitter, Google and submit button and last thing with a link for forgot password screen for the chapter we do only UI part
this tutorial is third chapter of series build fitness tracker this app use for track workouts, diets, or health activities and analyze data and display suggestion the ultimate goal is to create food and health recommendation using Machine learning we start with creating app that user wants to use and connect to google health and apple heath for gathering everything to create dataset that uses for train model later I start with ultimate goal but we will start with create react native app and set up screen navigation with React navigation. inspired by React native template from instamobile
here for the previous chapter
Build React native Fitness app #1: Setup App with React navigation
Build React native fitness app #2: Onboard screen
first import necessary component
import React, {Component} from 'react';
import {
  View,
  StyleSheet,
  ActivityIndicator,
  TouchableOpacity,
  KeyboardAvoidingView,
  ScrollView,
} from 'react-native';
import {Text, Icon, Input, Button, SocialIcon} from 'react-native-elements';
the container
first, for add container for handle input that needs to deal with the keyboard, we use KeyboardAvoidingView and add some active event style padding for a move up the input and add Scrollview for easy scrollable
<KeyboardAvoidingView
       behavior={'padding'}
       enabled
>
 <ScrollView
         style={styles.container}
         keyboardShouldPersistTaps="handled">

 </ScrollView>
</KeyboardAvoidingView>
for style container first requirement we want to center everything and set skyblue background-color
const styles = StyleSheet.create({
  container: {
    backgroundColor: '#F4F6FA',
    height: '100%',
    justifyContent: 'center',
    alignItems: 'center',
  },
}
and for development mode, we set login screen to initial screen
const StackNavigator = createStackNavigator(
  {
    onBoardScreen: {
      screen: onBoardScreen,
    },
    EmailInputScreen: EmailInputScreen,
    LoginScreen: LoginScreen,
    TouchAuthentication: TouchAuthentication,
    PasswordInputScreen: PasswordInputScreen,
    SelectProfileScreen: SelectProfileScreen,
    SetGoalScreen: SetGoalScreen,
    CustomizeInterest: CustomizeInterest,
    SelectGender: SelectGender,
  },
  {
    initialRouteName: 'LoginScreen',
  }
);
and we don’t need header bar in this screen
static navigationOptions = {
   headerShown: false,
 };
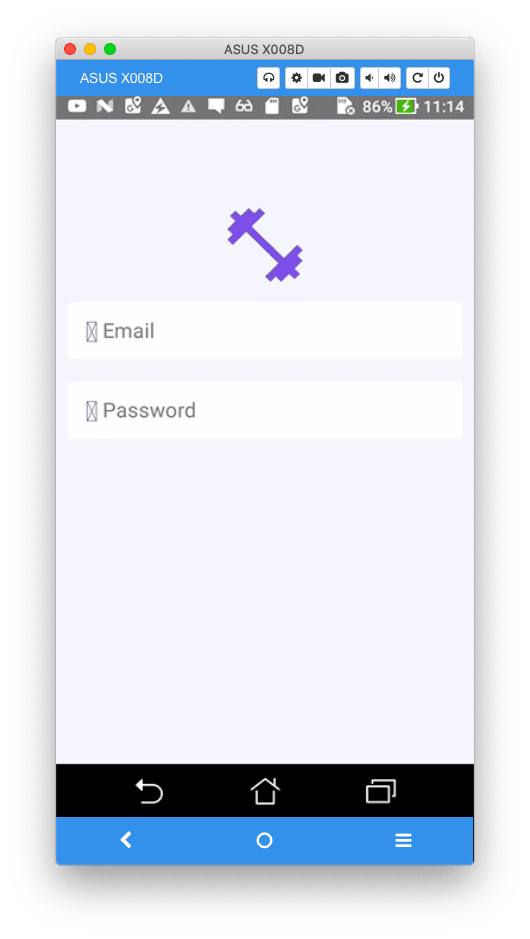
here some first result from both platform
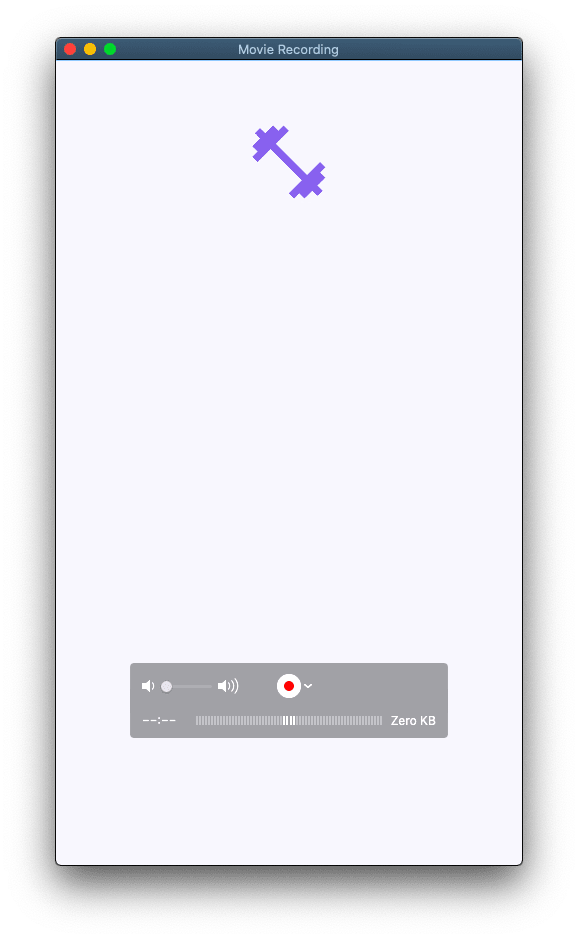
The header
next, we add logo in the header but we wrap with container
<View style={styles.headerContainer}>
   <Icon
     name="md-fitness"
     size={80}
     type="ionicon"
     color={'#7265E2'}
   />
 </View>
and add style
headerContainer: {
   top: 30,
   justifyContent: 'center',
   alignItems: 'center',
   padding: 40,
 },
here some result

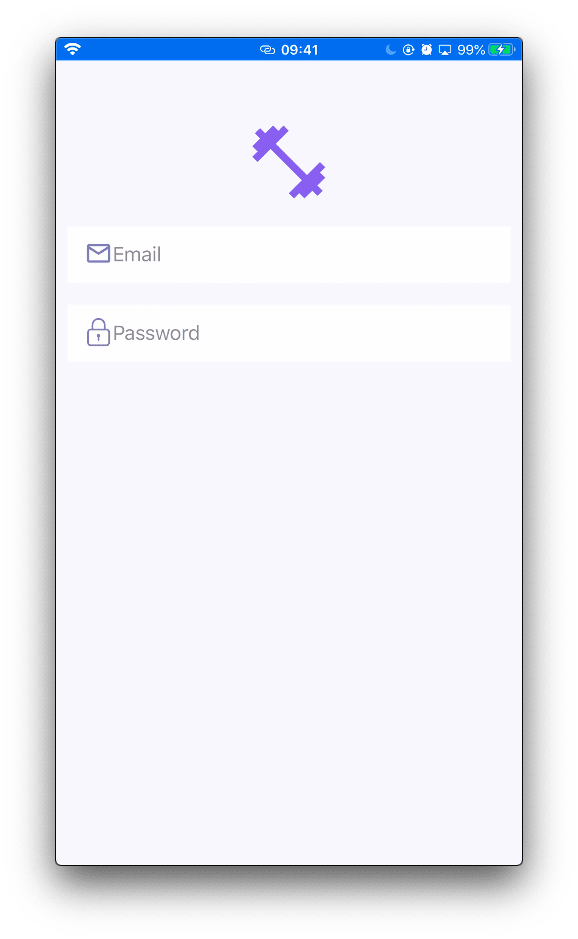
the input
next, we add two input for email and password
<View style={styles.wrapper}>
   <Input
     leftIcon={
       <Icon
         name="email-outline"
         type="material-community"
         color="rgba(110, 120, 170, 1)"
         size={25}
       />
     }
     placeholder="Email"
     inputContainerStyle={styles.input}
     placeholderTextColor="grey"
     autoCapitalize="none"
     autoCorrect={false}
     keyboardType="email-address"
     returnKeyType="next"
   />
   <Input
     leftIcon={
       <Icon
         name="lock"
         type="simple-line-icon"
         color="rgba(110, 120, 170, 1)"
         size={25}
       />
     }
     inputContainerStyle={styles.input}
     placeholderTextColor="grey"
     placeholder="Password"
     autoCapitalize="none"
     secureTextEntry={true}
     autoCorrect={false}
     keyboardType="default"
     returnKeyType="next"
   />
 </View>
and add style to the input
wrapper:{
  },
  input: {
    borderWidth: 1,
    borderColor: 'white',
    borderLeftWidth: 0,
    height: 50,
    backgroundColor: 'white',
    marginBottom: 20,
  },
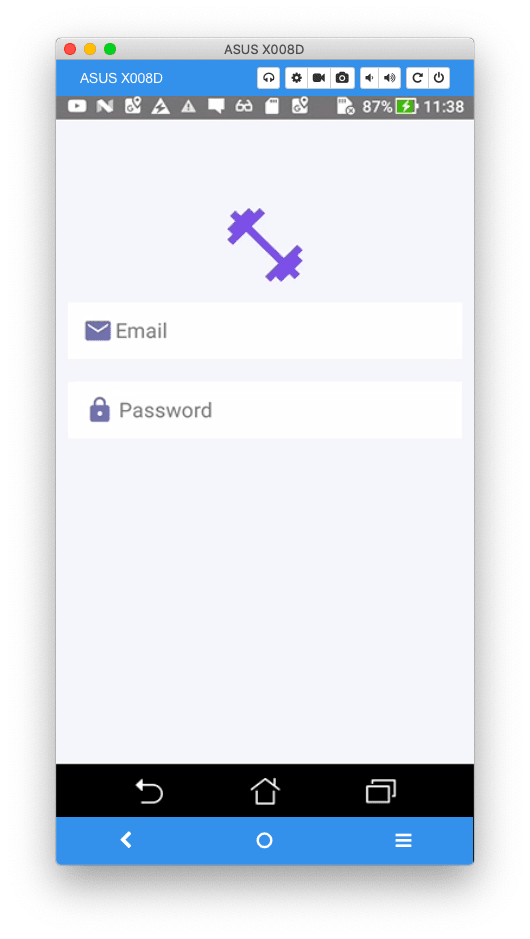
here some result
but we got icon issue on Android
for fix it we change the icon that works both platforms
the social button for login
next, we add three social buttons to activate login that we need to do in the next chapter
<View style={styles.socialWrapper}>
          <Text style={styles.signinwith}>Sign in with</Text>
          <View style={styles.socialLogin}>
            <SocialIcon type="facebook" light />
            <SocialIcon type="google" light />
            <SocialIcon type="twitter" light />
          </View>
          <Button
            title="Login"
            loading={false}
            loadingProps={{size: 'small', color: 'white'}}
            buttonStyle={{
              backgroundColor: '#7265E3',
              borderRadius: 15,
            }}
            titleStyle={{fontWeight: 'bold', fontSize: 23}}
            containerStyle={{marginVertical: 10, height: 50, width: 300}}
            onPress={() => console.log('aye')}
            underlayColor="transparent"
          />
        </View>
      </ScrollView>
and style
socialWrapper: {
    marginTop: 10,
    justifyContent: 'center',
    alignItems: 'center',
  },
  socialLogin: {
    flexDirection: 'row',
    marginTop: 10,
  },
here result
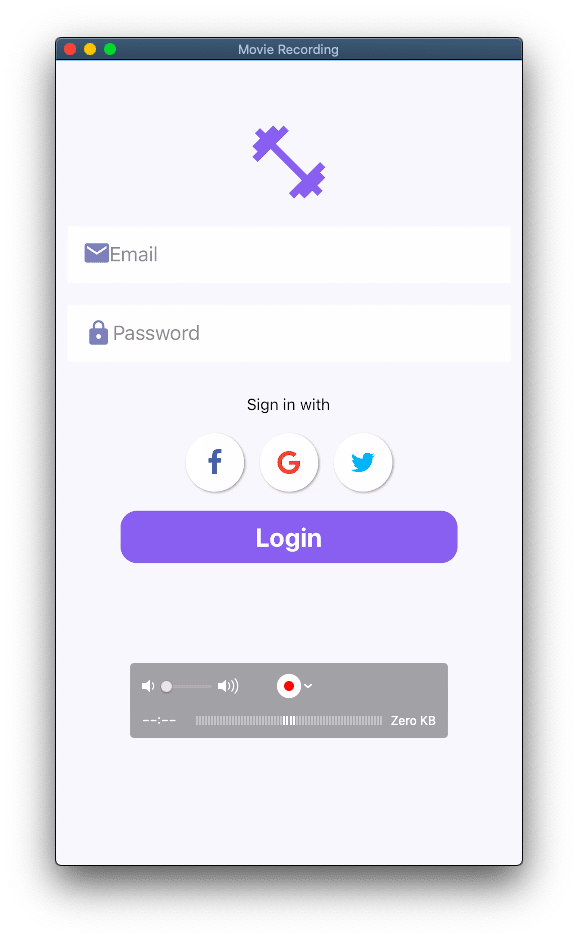

finish with add link to forgot password screen
<TouchableOpacity
  onPress={() =>
    this.props.navigation.navigate('ForgotPasswordScreen')
  }>
  <Text h5 style={{textAlign: 'center', color: 'blue'}}>
    Forgot Password?
  </Text>
</TouchableOpacity>
here final result

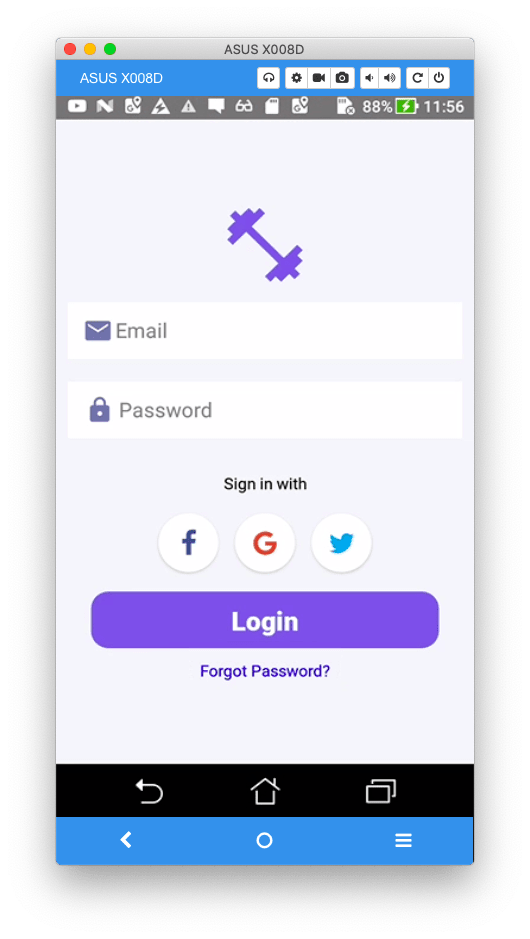
Conclusion
in this chapter, we learn how to use react native element create login screen on both Android and iOS next chapter we learn how to create register screen while separate input to multiple scree
Originally published at [_Kriss](https://kriss.io/build-react-native-fitness-app-3-react-native-login-screen/)._

Top comments (0)