this tutorial is first chapter of series build fitness tracker this app use for track workouts, diets, or health activities and analyze data and display suggestion the ultimate goal is to create food and health recommendation using Machine learning we start with creating app that user want to use and connect to google health and apple heath for gathering everything to create dataset that uses for train model later I start with ultimate goal but we will start with create react native app and set up screen navigation with React navigation. inspired by React native Theme from instamobile
we using react-native CLI to create a new project I didn’t talk too much about how to install your can follow official document
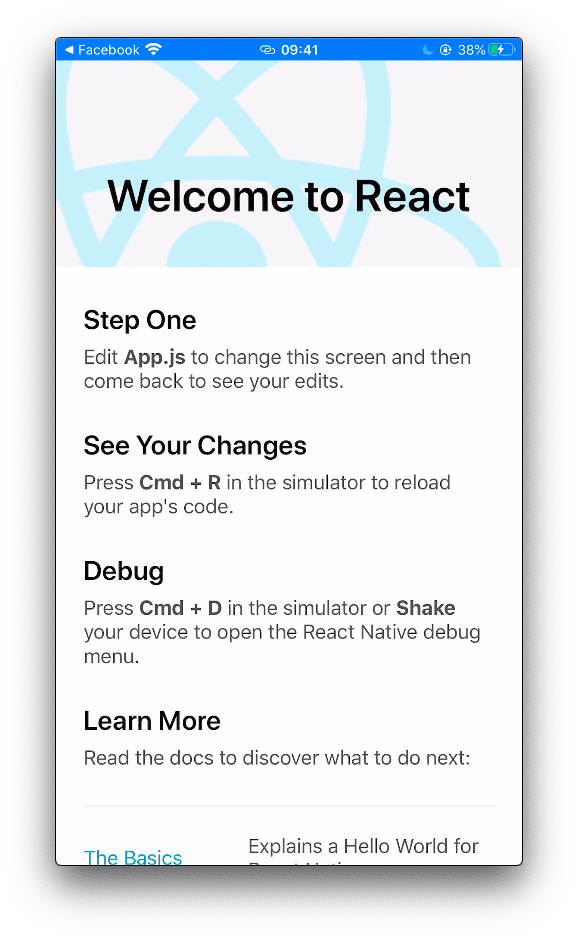
first, run react-native init fitness_master
for this series I use real iPhone and Android device for development because emulator have consumed 3 GB of Ram is take my Macbook air very slow
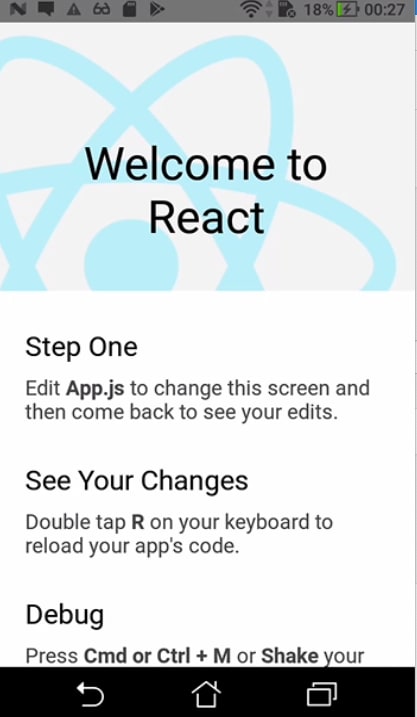
for developing on the real device require a connection on the same Wifi and here thing that require for real device your can following instruction from an official document
next, we set up react-navigation for make screen navigation easier
for iOS is simple we install all javascript dependency and pod dependency is all done for more step you can follow official document on this post I add for making comfortable to follow
we use version 4 is more stable and don’t require learning new thing like version 5
first, install all main react-navigation package
yarn add react-navigation react-navigation-stack
then add all required dependency
yarn add react-native-reanimated react-native-gesture-handler
react-native-screens
react-native-safe-area-context
@react-native-community/masked-view
For iOS
finish with install Cacaopod dependency
cd ios ; pod install
For Android
To finalize the setup of react-native-screens , add the following dependencies to dependencies section in android/app/build.gradle:
implementation 'androidx.appcompat:appcompat:1.1.0-rc01'
implementation 'androidx.swiperefreshlayout:swiperefreshlayout:1.1.0-alpha02'
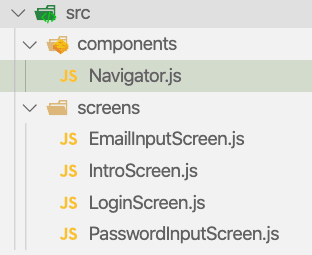
create a new file for containing navigation
and place initial code
import {createAppContainer} from 'react-navigation';
import {createStackNavigator} from 'react-navigation-stack';
import IntroScreen from '../screens/IntroScreen';
import LoginScreen from '../screens/LoginScreen';
import EmailInputscreen from '../screens/EmailInputScreen';
import PasswordInputscreen from '../screens/PasswordInputScreen';
const StackNavigator = createStackNavigator({
  IntroScreen: IntroScreen,
  LoginScreen: LoginScreen,
  EmailInputscreen: EmailInputscreen,
  PasswordInputscreen: PasswordInputscreen,
});
export default createAppContainer(StackNavigator);
then create four blank screen
fill out stater
import React, { Component } from 'react'
import { Text, View } from 'react-native'

export class EmailInputScreen extends Component {
    render() {
        return (
            <View>
                <Text> EmailInputScreen </Text>
            </View>
        )
    }
}

export default EmailInputScreen
the last thing create stack navigation
const StackNavigator = createStackNavigator({
  IntroScreen: IntroScreen,
  LoginScreen: LoginScreen,
  EmailInputscreen: EmailInputscreen,
  PasswordInputscreen: PasswordInputscreen,
});

export default createAppContainer(StackNavigator);
the final step we import Navigator.js to App.js
import React, {Component} from 'react';
import Navigator from './src/components/Navigator';
export default class App extends Component {
  render() {
    return <Navigator />;
  }
}
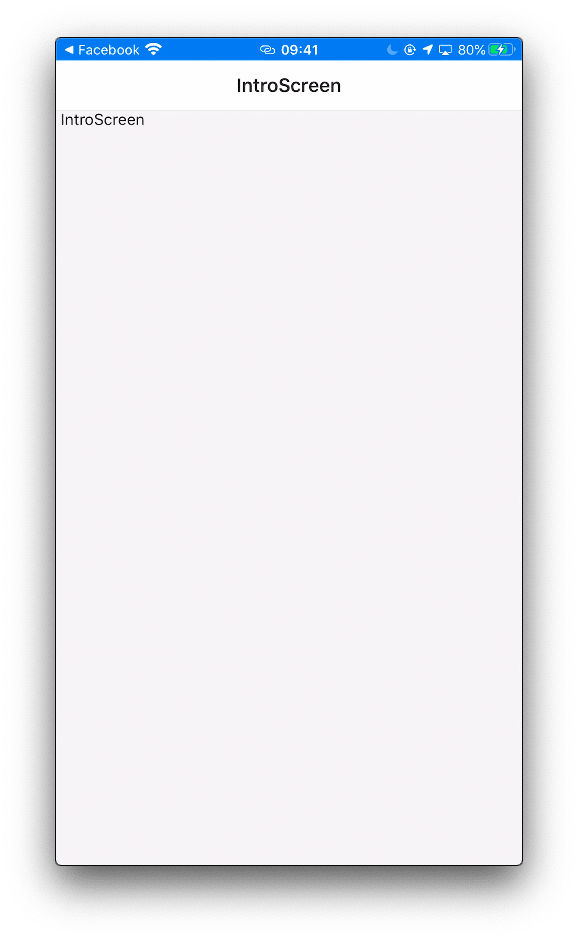
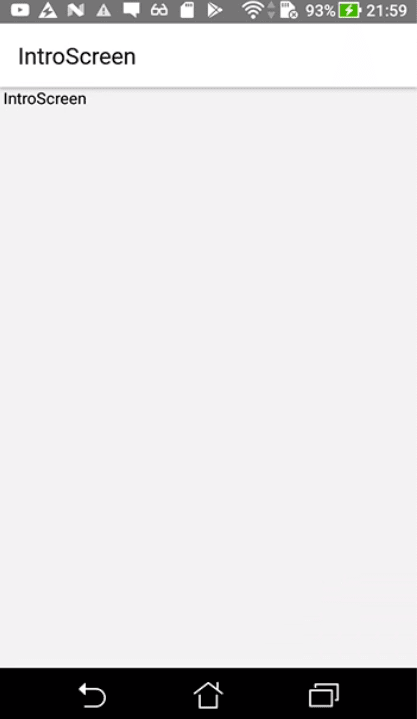
now you can view the result
for iOS
for Android
Conclusion
now we have done on the setup React native project and react-navigation in next chapter we learn how to create the first screen using react native elements
Originally published at [_Kriss](https://kriss.io/build-react-native-fitness-app-1-setup-app-with-react-navigation/)._




Top comments (0)