
Image taken from stackoverflow.com
Now we have all the tools to create a robust server. In this exercise we will create a server that can auto scale, be load balanced and can handle instance failures according to requirements.
To do this create a load balancer as we did in last hands on but don't add any instance to it or if you are using the previous exercise load balancer terminate those instances
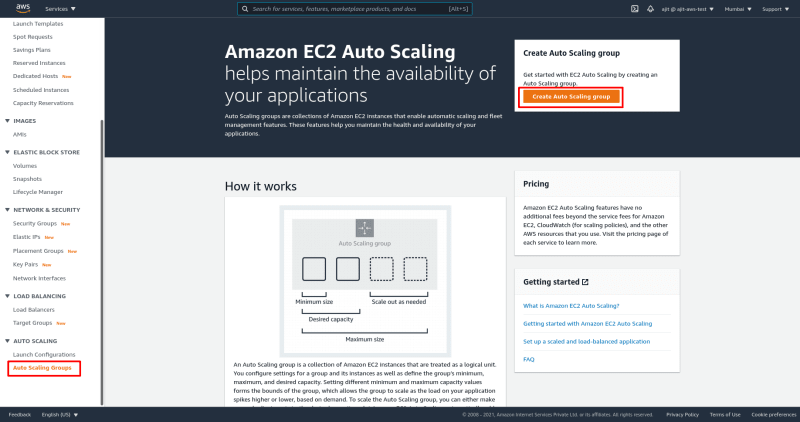
Go to Auto Scaling Groups under auto scaling in your EC2 instance dashboard. Click on Create Auto Scaling Group.
-
Fill the auto scaling group name and select a launch template of you have one if you don't have one select create new launch template. This launch template is a template which will be used to create our new EC2 instances for auto scaling.

- Select a name and description for our template

- Select the AMI for which you want this template. if you don't know select Amazon Linux 2 AMI (HVM), SSD Volume Type for the purpose of this tutorial this should be the first option
- Select the instance type as t2.micro (free tier eligible)
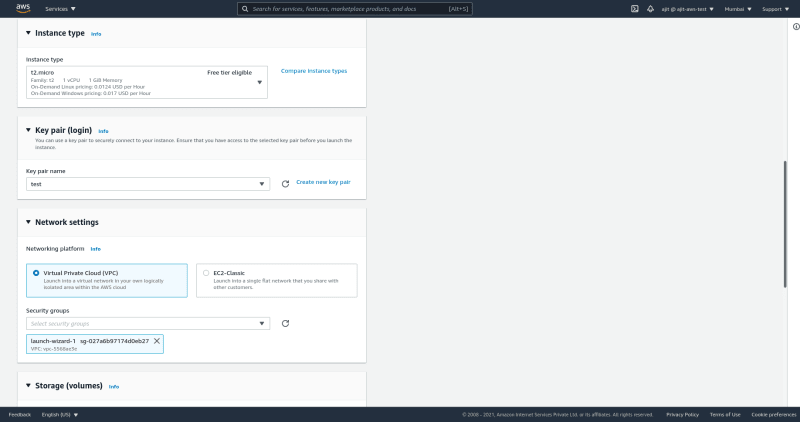
- A key pair name for ssh login. You can select one we created while creating an ec2 instance.
- Let network settings be VPC lets not get into what this is for the purpose of this tutorial
- Select a security group. Select the same one that we select while creating our EC2 instances
- Then there is storage, tags, network interfaces no need to touch them.

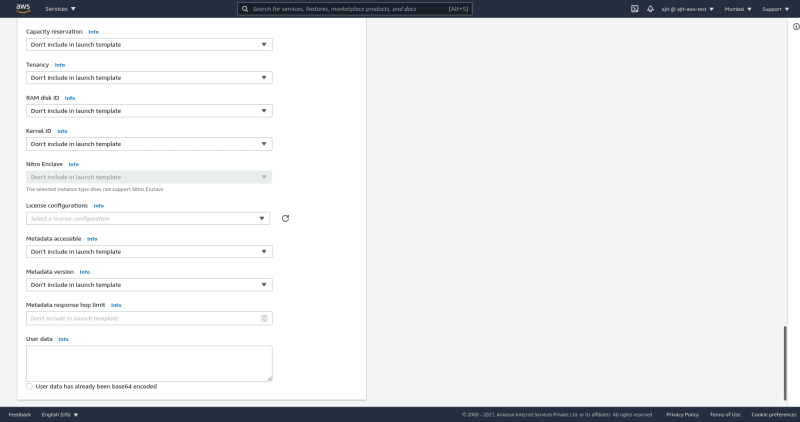
- Open Additional details and in user data paste the following script and click on create new launch template
- Select a name and description for our template
#!/bin/bash
# Use this for your user data (script from top to bottom)
# install httpd (Linux 2 version)
yum update -y
yum install -y httpd
systemctl start httpd
systemctl enable httpd
echo "<h1>Hello World from $(hostname -f)</h1>" > /var/www   /html/index.html
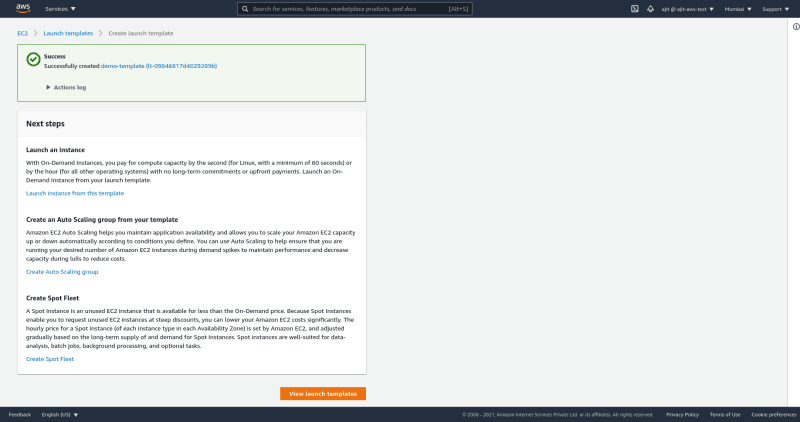
Go to your old tab and click refresh on right side of launch template dropdown. You will see your launch template there select your template in my case its
demo-template.

Now you will see configure settings screen which you can select that all your instances can adhere to launch template or you can mix and match them with spot or other instances I think that will be complex for now. So lets adhere to launch template
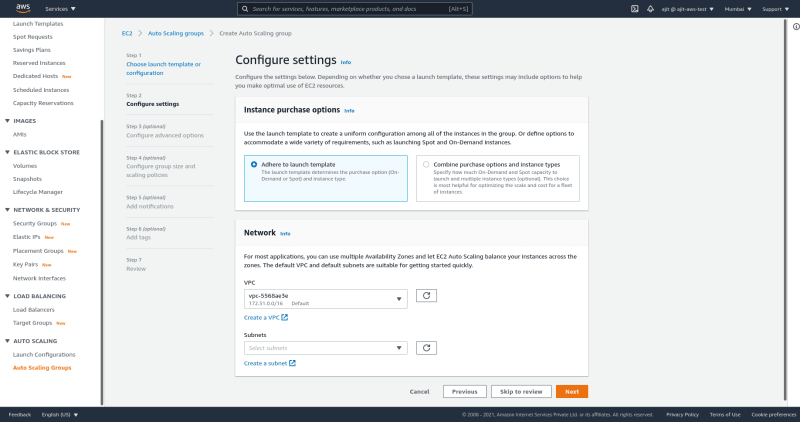
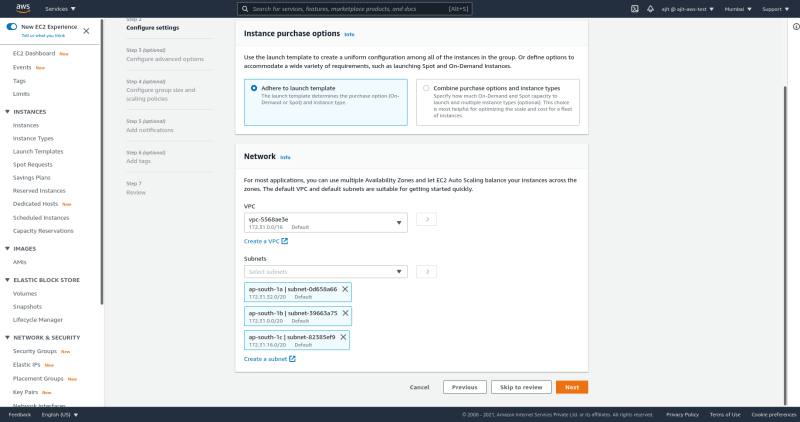
Let the VPC remain same. Select all the subnets in your region. So that we can use multiple availability zones in our region. Click next
Next is load balancing. Select
Attach to an existing load balancer. Select a target group you created while creating the load balancer. Select ELB health checks it checks if the underlying structure is working correctly. If you want to enable cloud watch logs. Select additional settings monitoring else click next. I don't need cloudwatch logs so I left it unchecked.

Next it is the most important part we select our min, preferred and max instances.
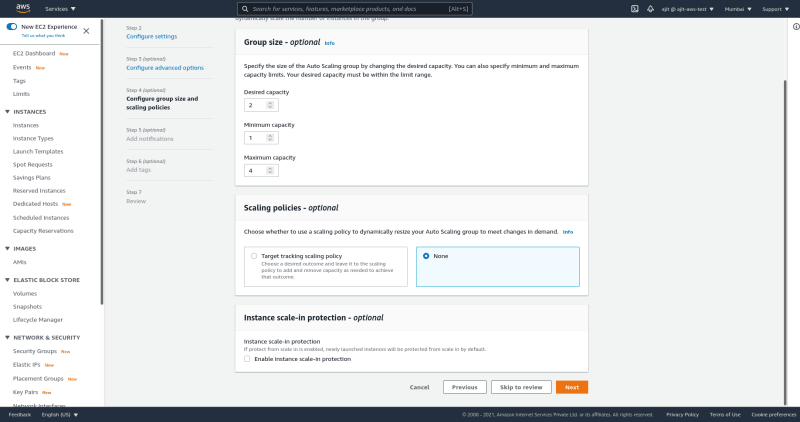
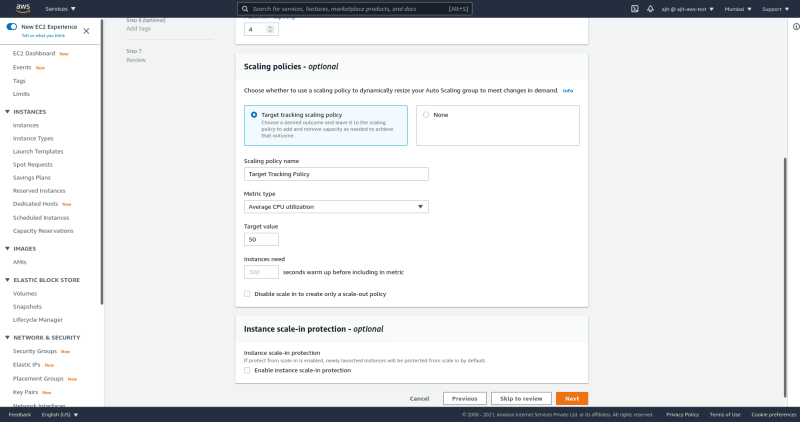
Next we select the auto scaling policy as our needs for CPU utilization of each instance, requests etc. Configure it according to needs. Click on next.
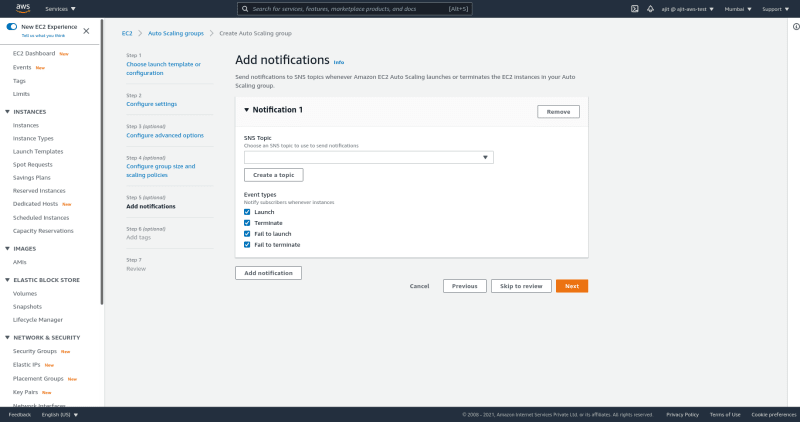
Next we can add notifications on scale in and out but we will study about it later. For now remove it and click next.
You can add tags to better identify our Auto scaling Group and instances associated with it.

Click next review that everything is set correctly and click
Create Auto Scaling Group

Your auto scaling group is created.

To check it go to instances. You will see two instances with the name that we added in tags.

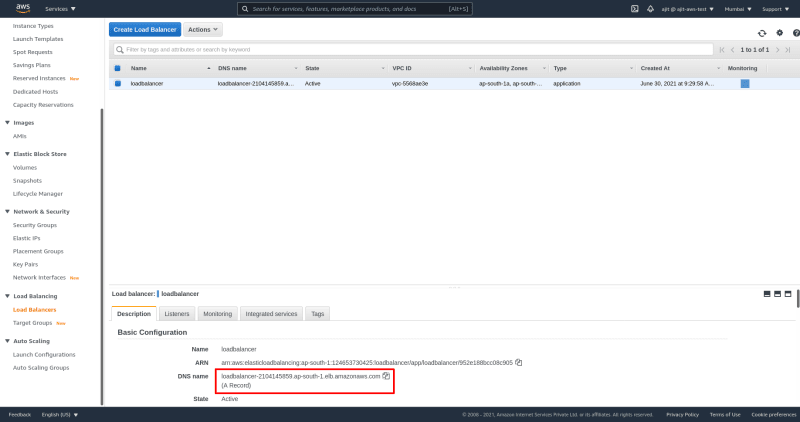
Next go to the load balancer DNS to see if the instances work.

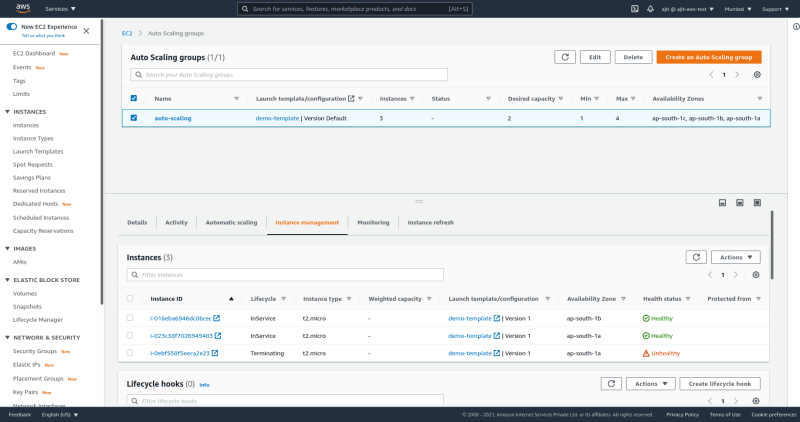
Lets see what happens if we terminate on of our instances.

Go to auto scaling again and in a few seconds once you select instance management. We will see that it shows one healthy instance.

Wait for a few minutes AWS will detect the unhealthy instance and launch a new instance in its place.
You can also check what happens in the activity tab. You will see it launches two instances first and then detects that there is a terminated instance and launches a new instance

Now to deploy an actual application you just have to expose the API over port 80 in deployment for HTTP or over port 443 for HTTPS in your instance and you have to setup SSL. Suggest a small opensource application if you want to see it deployed other wise I'm working on a small python Django project it is a work in progress we will deploy than in 20-30 days until that we have to wait. Until that this is as far as we go.
In the next tutorial we will see how to setup EC2 instances AMI so that we have pre configured EC2 instances on our disposal.


Top comments (0)