In the last article we studied what is an AMI and how it helps in creating preconfigured EC2 instances on AWS. In this exercise we will learn how to create a new AWS AMI with preconfigured Apache server on it.
- To create an AMI launch and EC2 instance like in the second article of this series. Use the following script in userdata in place of script provided in the tutorial.
#!/bin/bash
# Use this for your user data (script from top to bottom)
# install httpd (Linux 2 version)
yum update -y
yum install -y httpd
systemctl start httpd
systemctl enable httpd
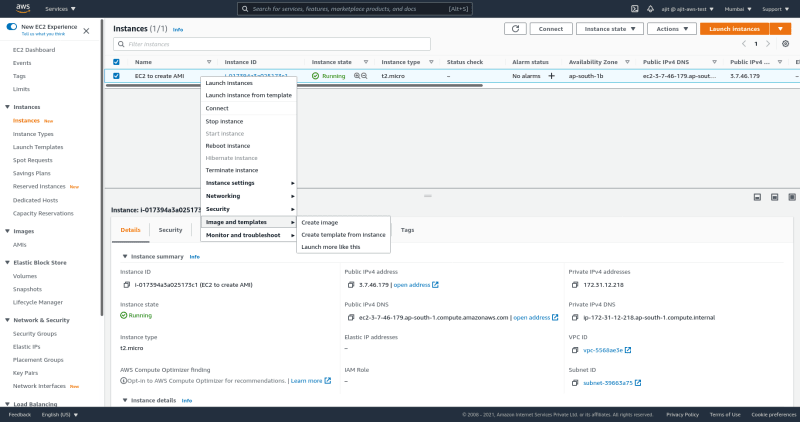
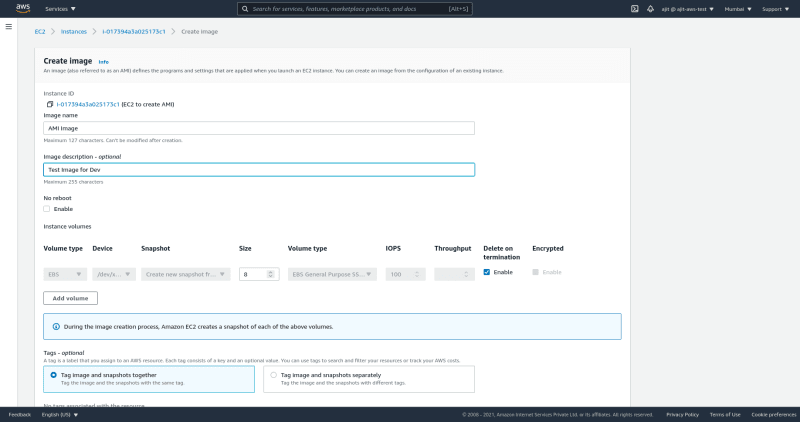
Right click on the instance and select Images and Templates > Create Image
Add a tag of you want to add a tag, let rest of the settings remain same. Click create image to create an image
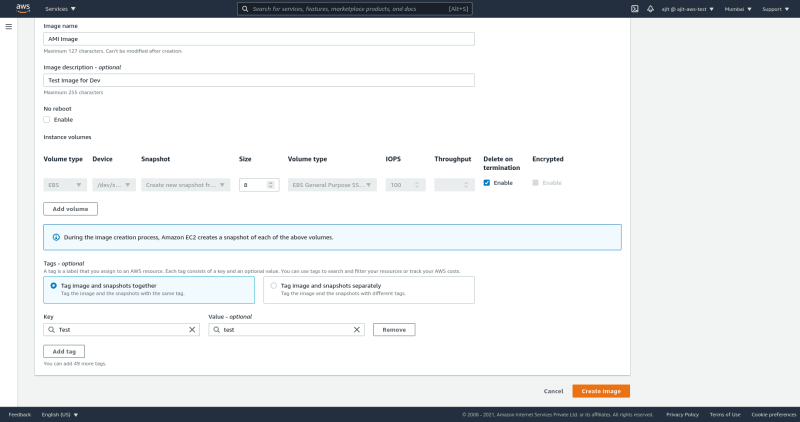
This we will create a snapshot of the root EBS volume and create a image from it
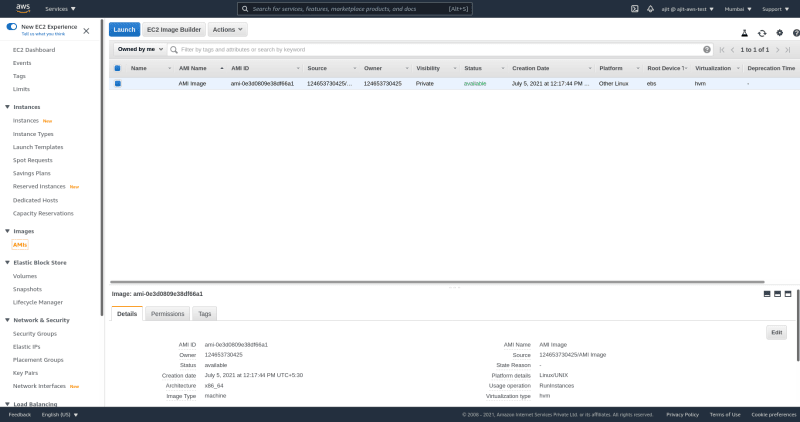
Now wait for a few minutes after that check the AMI tab under Images to see if the AMI is created

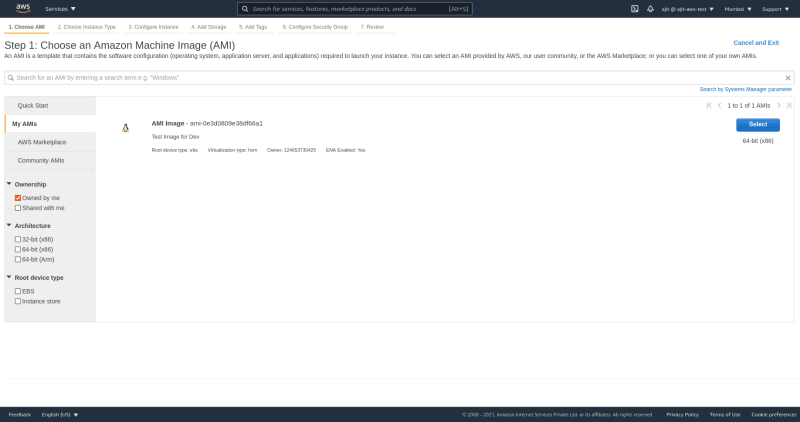
One this is done follow second article of this series to create the instance again but in the second step instead of selecting Amazon AMI select My AMI there you will see your AMI select that and in the userdata add this script instead of the one there
#!/bin/bash
echo "<h1>Hello World from $(hostname -f)</h1>" > /var/www/html/index.html
beacuse we already installed apache server in our AMI
- Once you are done with the select the public IP address you will see the same page running in the server.
Cleanup
Clean all these Ec2 instances they may cost you money
In the next article we will see how to automate creation of these AMI's




Top comments (0)