 There are many ways to create a Team Members Page. With custom fields and Meta Box, you can choose to use cloneable fields or custom post types.
If you are looking for ways with cloneable fields, it’s the same as the method we used in the series on creating brand logos for partners. Just follow it.
We’re having this series of tutorials on using custom post types and using different page builders. Let’s follow us and see how!
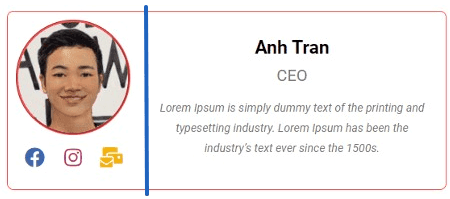
In the first one, we’re going to do it using Meta Box and Elementor. And, this is a sample we’ll use for this practice:

Video Version
Before Getting Started
There is something to clarify before getting started.
As you can see, each member’s information will be included in a separated box, maybe called a name card. They are saved in posts of a custom post type for team members only.
The name and avatar of the member are the titles and the featured images of the post. And other information such as Position, Facebook, Instagram, and Mail will be saved in different custom fields.
To do it, we need Meta Box and its extensions:
- Meta Box core plugin: This is the framework to create custom fields and custom post types. It’s free and available on wordpress.org
- MB Custom Post Type & Custom Taxonomies: It’s a free extension of Meta Box to create custom post types;
- Meta Box Builder: This Meta Box premium extension provides a UI in the back end to create custom fields easily;
- Meta Box - Elementor integrator. This extension allows you to get data from custom fields created by the Meta Box plugin in the templates of Elementor.
To have the display of all the member information on the frontend, I use Elementor for this practice. I also use the Elementor Custom Skin plugin to have the Loop template to display the listing of posts.
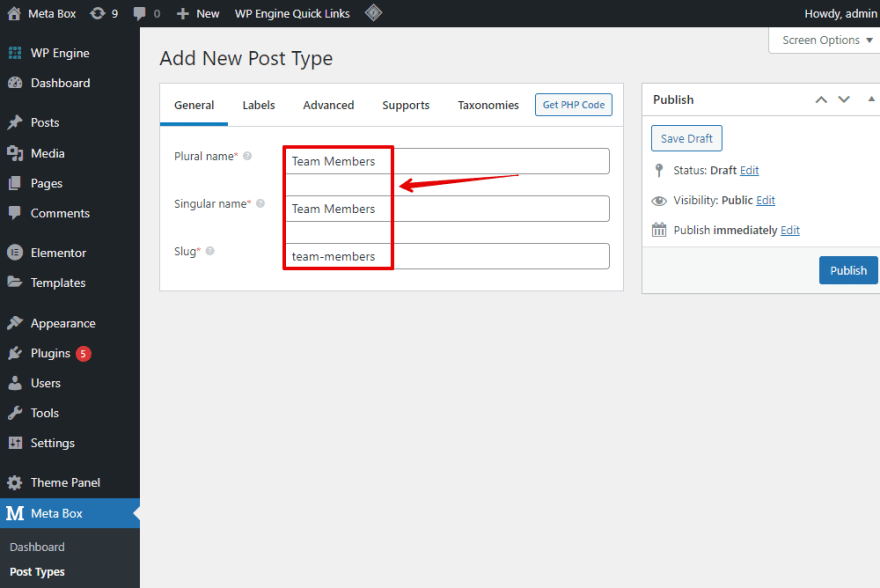
Step 1: Create a New Post Type
In the Admin Dashboard, go to Meta Box > Post Types, then create a new post type for members.

After publishing the new post types, you will see a new menu in your dashboard.
Step 2: Create Custom Fields for the Post Type
Let’s create custom fields to save some extra information for members. Go to Meta Box > Custom Fields.
We have a tutorial on how to create custom fields, you can refer to it for more information.
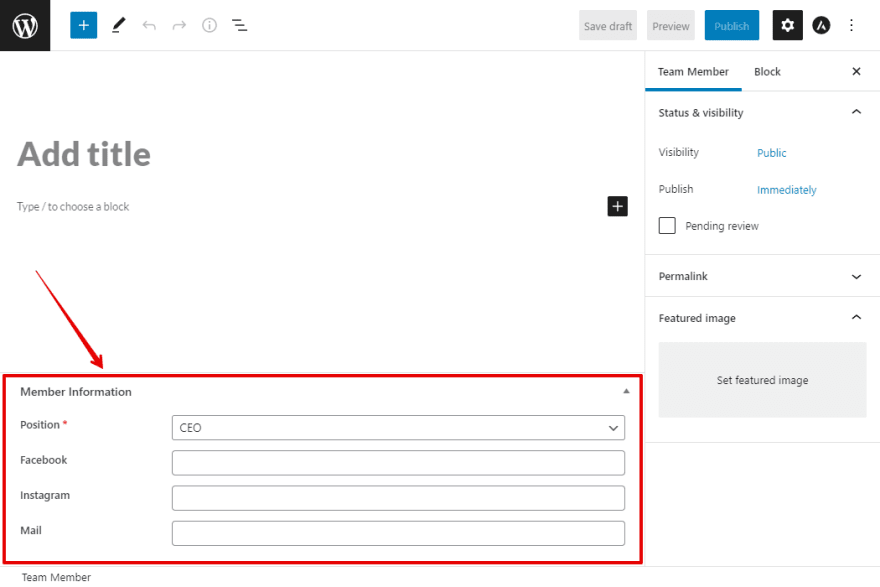
For the position information, I’d like to create a Select field that allows us to set some predefined options to choose from.

For other information such as Facebook, Instagram, and Mail, we set them as URL fields that allow us to fill in a link.
If you want to add some extra information, just create more fields as you go.
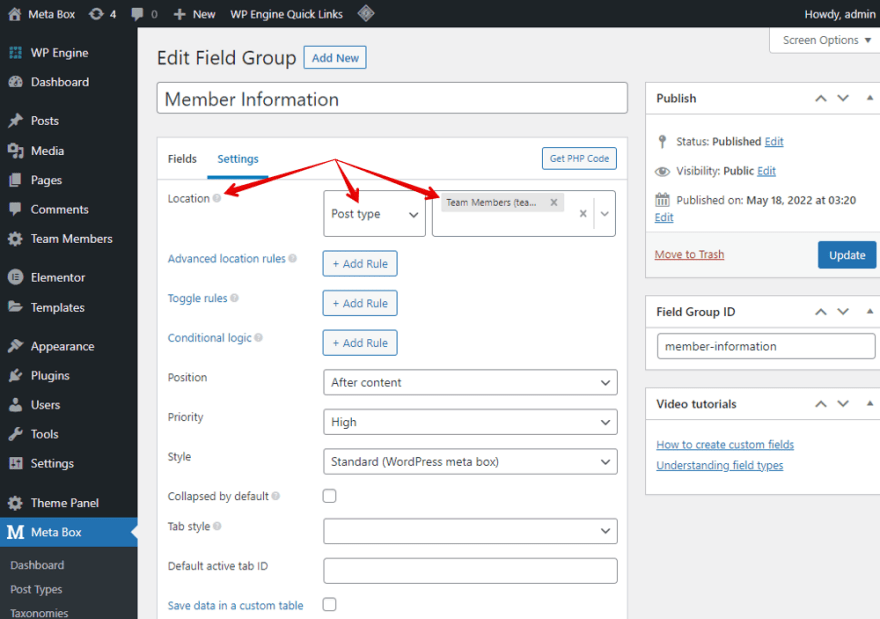
After creating all the fields, move to the Settings tab of the field group. In the Location section, choose the Post Types as Team Members to apply these fields to it.
Now, go to the post editor in Team Members post type, you will see the fields. Add information for some members for the test. We need them for the preview in the next step.
Step 3: Create a Template for the Name Cards
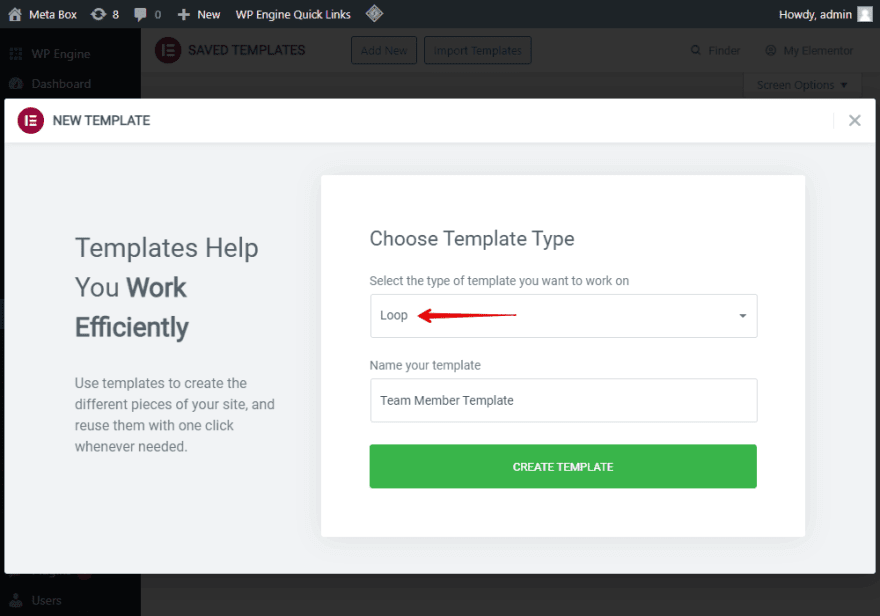
Go to Templates > Saved Templates > Add New.
Each name card is a post and we’ll display all the posts, so we should create a template as a loop.
To get the post from the Team Members post type to have a visual preview, go to the Preview settings, choose Team Members from the list.

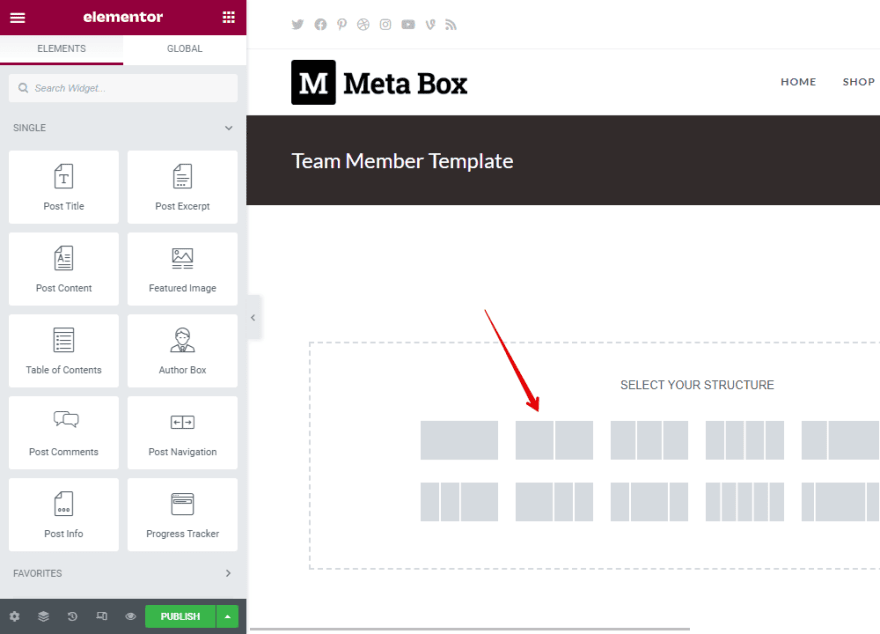
Now, we’ll add a widget to create a name card.
Since each name card of a member has 2 columns. One is to display the avatar and social icons, another one is to show the member information.
So, choose the structure as 2 columns for the widget.
Name the CSS Classes in the Advanced section for styling the name card later.

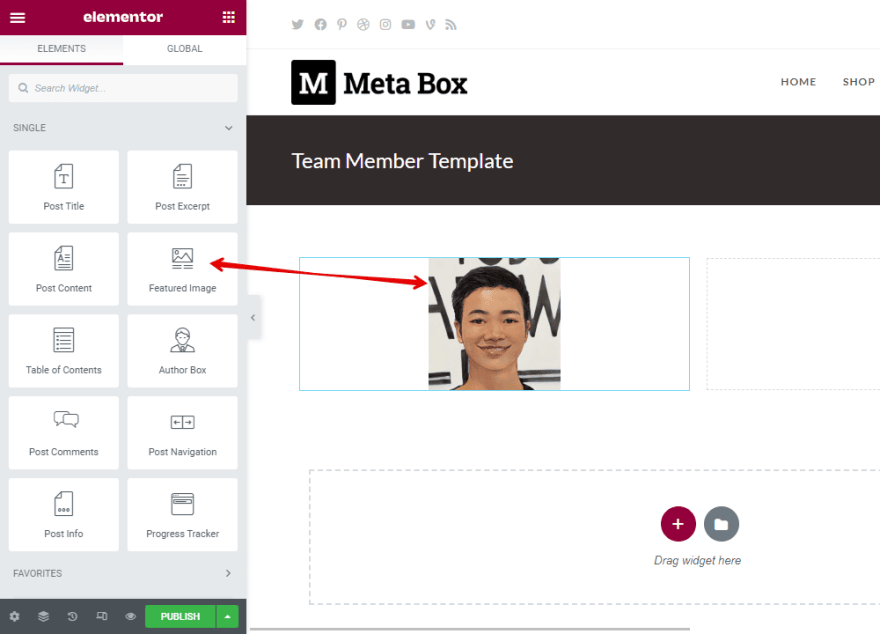
In the first column of the name card, add the Featured Image element to have the avatar saved in the featured image of the post. Then, change the size of the image to the thumbnail size.
All the social contacts are icons with the same style so I’ll add them into a section that will help to style them at once. For it, I choose the Inner Section.

Drag an Icon element to the section and choose what you want.
To get the links saved in the custom fields such as Facebook, Instagram and Mail, click the Dynamic Tags button, choose Meta Box Field option in the Post section and select the corresponding field.

Drag the Post Title element to get the name of each member.

The position of each member also is saved in a custom field. It’s just text so I add a Text Editor element, then also connect it to the corresponding field. Click the Dynamic Tags > Meta Box Field, then find the Position field.

The description about each member is saved in the Post content, so drag the Post Content element into the second column.

Step 4: Style the Name Cards
First, change the columns’ width.

Next, we’ll need to style the social icons a bit. Let’s change their size, color and spacing.

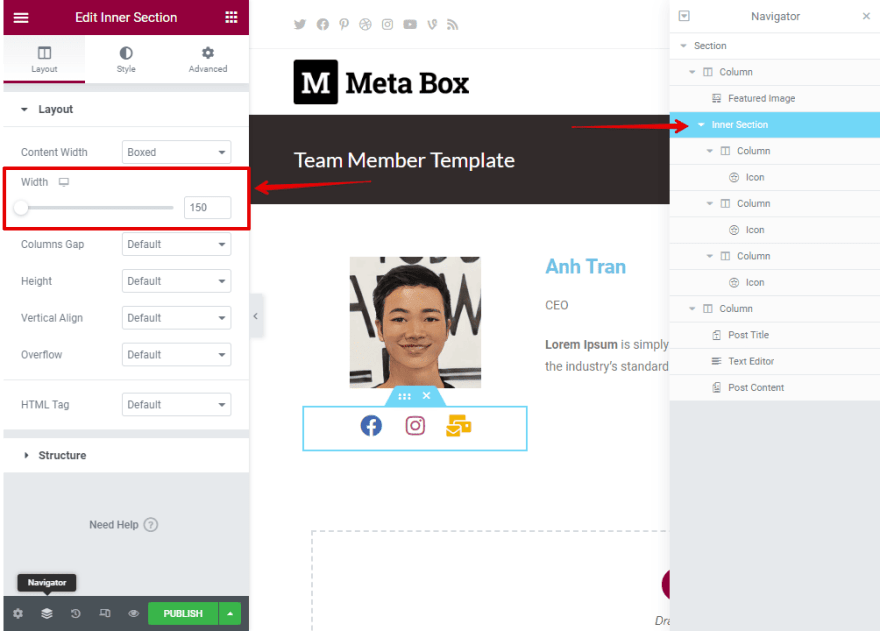
Change the alignment of the second column. Then, add borders to the name card and the avatar.

If you want to style more, customize the settings of each element as you want.
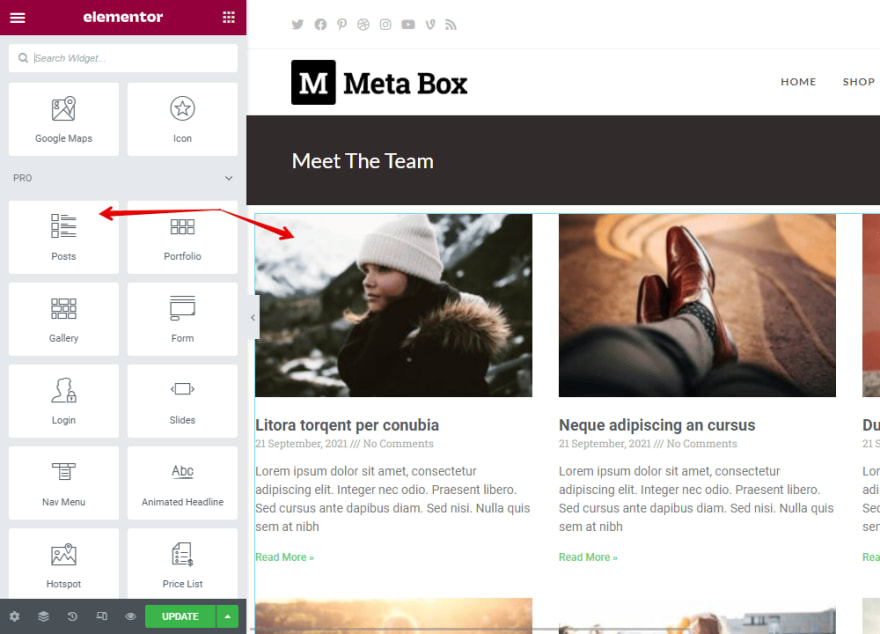
Step 5: Display all the Members’ Name Cards on the Page
If you’ve already had a page for Team Members information, just edit with Elementor directly. Otherwise, create one and edit it with Elementor as well.
Drag the Post widget to the content of the page.
In the setting of the Post element, I have the Skin option in the Layout section because I used the Elementor Custom Skin plugin. In the Select a Default Template settings, choose the Team Member Template which we have just created.

Next, in the Query section, choose the source as the post type of your team members’ information to get all the posts from that post type.

Now, the preview shows the posts with exactly the information we want.

Step 6: Style the Team Members Page
You can skip this step if you see the display of this page reasonably. In my case, I want to change the spacing between each line of information so I add some CSS code.
In the Preview, go to Posts > Advanced > Custom CSS and then add CSS code into the box.

Here is my CSS code that you can refer to:
.team-member .elementor-widget:not(:last-child) {
    margin-bottom: 5px;
}
.team-member p {
    margin: 5px;
}
.team-member .member-box .elementor-row .elementor-widget-wrap .social-icon .elementor-row .elementor-widget-wrap {
    padding: 5px 0;
}
.team-member .member-box .elementor-row .elementor-column .elementor-widget-wrap {
    align-content: center;
}
It displays beautifully as I want.

Last Words
In my opinion, using a custom post type is an easier way than using cloneable fields to create a Team Members Page, especially for those who haven't known much about coding and using a page builder. For other page builders, please keep track of our next tuts.
If you have any questions, leave us a comment. Good luck!

Top comments (1)
What a great article. I appreciate the author of this post sharing something special. I am super excited to share that I have found Ezytor. Developers can easily edit their websites with this editor. EZYTOR is a drag-and-drop website builder.