If you’re having an e-commerce website and there are some on-sale products, you may want to display them on a page for the promotion campaign only. In this practice, we’ll find out how to show posts with this kind of specific criteria using Meta Box and Oxygen.
This is the archive page that I created as an example. Only products are on sale will be displayed:
Video Version
Before Getting Started
The products will be the dishes which are posts of a custom post type. In addition to the basic information of the dishes such as the name, description and the image of the dish, there may be some extra information. They’ll be saved in custom fields.
In this case, I have two fields in order to save the original price and the promotional price. All the dishes, which have the promotional price, are on sale and will be displayed on the page.
In this practice, we need these tools:
- Meta Box core plugin: to have a framework to create custom post types and custom fields;
- MB Custom Post Types & Custom Taxonomies: to create custom post types;
- Meta Box Builder: to have an intuitive UI to create custom fields in the backend;
- MB Admin Columns (optional): to display custom fields as an admin column.
Since we will use Oxygen to build the page, make sure you have it on your site and use version 3.9 or upper to have full integration with Meta Box.
Create a Custom Post Type
Go to Meta Box > Post Types > Add New to create a new post type for the dishes.
Then, you will see a new menu like this in the Admin Dashboard. It’s your post type.
Create Custom Fields
Go to Meta Box > Custom Fields to create a new field group.
Here are 2 fields I created as an example. The value stored in these 2 fields will be set to the condition to choose which dishes will be displayed.
Since I want to know which dishes are having promotion, I set to show both these fields as an admin column like this:
To do it, you will need to tick this box in both fields. You will have this setting when you enable the MB Admin Columns extension.
After creating all the fields, move to the Settings tab > Location as Post type > select Cuisines to apply these fields to it.
Now, you’ll see all the created custom fields in the post editor of the Restaurants post type.
Create the Archive Page
Create a Template
Go to Oxygen > Templates to create a new template for the page.
Next, create a new page. Note to set the created template to apply it to the page. Then, just edit the created page with Oxygen.
Remember to set a preview for the page.
First, add a Section component to contain all the posts.
Then, to have a page title, add a Heading component > Insert Data button and choose Title in the Post section to get the name automatically.
To set content in sections for easy styling later, you should use some Div components.
Add the Condition to Display Posts
Next, add a Repeater component to display all the posts as we want. However, we just choose to show only the dishes which are on sale, so we need to set a condition in the settings of this component.
In the Query section, choose ‘advanced’, and edit the query to add some parameters as below.
The first parameter means that we’ll get posts from the post type which has the slug as ‘cuisine’.
The second one is the condition based on the ‘promotional_price’ field. It means that if the field has any value in the field, the post will be displayed.
That’s all for the condition.
Display the Posts’ Information
Let’s add some other components inside the Repeater to display the information of the posts.
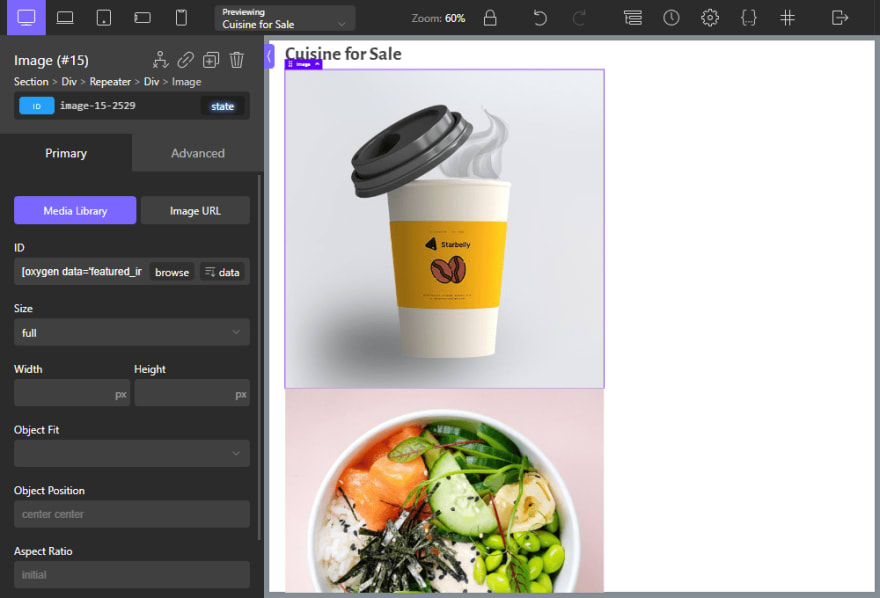
Add an Image component to get the image of the dishes which is the featured image of the post.
Click the Select Dynamic Data button as below picture, and choose the Featured Image option from the list.
Then, you’ll see all the featured images of the posts displayed.
To get the names of the dishes from the post title, add a Heading component > Insert Data button > choose Title in the Post section.
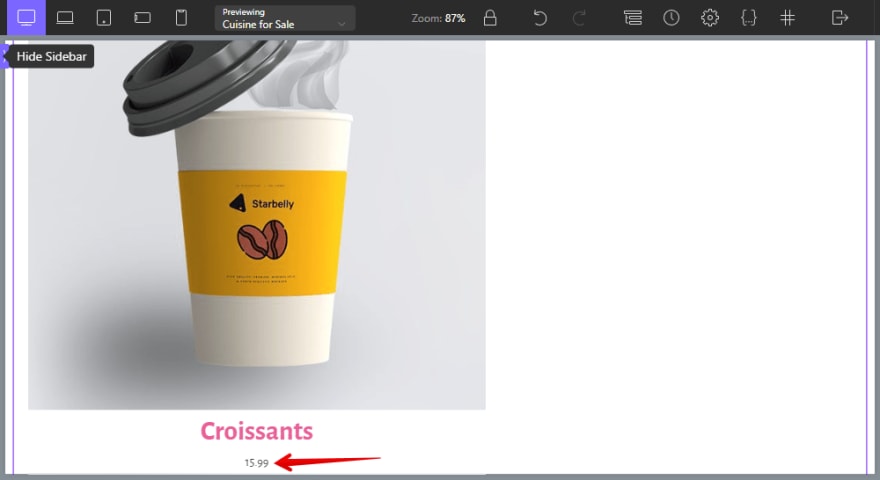
For the original price of the dish, use the Text component.
Choose Insert Data to get the data that saves in the custom fields. Since the field is created by Meta Box, select the Meta Box Field option and choose the corresponding field.
You’ll see the original price of the dishes displayed immediately.
For the promotional price, do likewise. Or you can duplicate the Text component used for the original price and just change the field connecting with it.
For the description of the dish which is the post content, add a Text component as well. Then insert data from the Content fields of the post.
Now, all the information has been obtained and displayed.
Style the Page
For styling, still in the page editor with Oxygen, you can style each component by changing their settings in the Advanced tab.
Then, you will see a new look of the page on the frontend.
Last Words
We’ve found out how to show posts with specific criteria using Meta Box and Oxygen. In the event that you use other page builders, refer more here. Or if you want to suggest any tutorials, feel free to leave a comment and keep track of our blog. Good luck!


Top comments (0)