
The first beta of Helm 3 is now available! This is a particularly important milestone because it signals the finalization of the big helm rewrite. From now on, the Helm team's focus will be in bug fixes and stability. Which means that we can start to build charts targeting Helm 3, right?
I really wanted to try Helm 3 around, but didn't want to mess my local machine (the Helm and Helm 3 binaries are not compatible, so you need to keep separate installs, $HELM_HOMEand whatnots), so instead of testing it in my machine, I decided to launch a development environment in Okteto Cloud and test everything from there.
Launch your development environment in Okteto Cloud
If this is your first time using Okteto, start by installing the Okteto CLI. We'll need it to launch the development environment into Okteto Cloud.
We'll start by initializing our development environment, using the okteto init command to create our manifest (this tells Okteto what kind of development environment to launch). Since we are working on an empty directory, okteto will ask us to pick a runtime. Pick the first one.
$ mkdir helm3
$ cd helm3
$ okteto init
Now that we have our development environment defined, we need to configure our local environment to work with Okteto Cloud.
First, run the okteto login command to create your Okteto Cloud account and link it to your local computer (you only need to do this once per computer).
$ okteto login
 ✓  Logged in as rberrelleza
    Run `okteto namespace` to activate your download your Kubernetes credeentials.
Second, run the okteto namespace command to download the Kubernetes credentials for Okteto Cloud, and to set it as our current context.
$ okteto namespace
 ✓  Updated context 'cloud_okteto_com' in '/Users/ramiro/.kube/config'
Now we are ready to go! Run the okteto up command to launch our development environment directly into Okteto Cloud:
$ okteto up

Deployment okteto-helm3 doesn't exist in namespace rberrelleza. Do you want to create a new one? [y/n]: y
 ✓  Persistent volume provisioned
 ✓  Files synchronized
 ✓  Okteto Environment activated
    Namespace: rberrelleza
    Name:      okteto-helm3

Welcome to your development environment. Happy coding!
okteto>
The okteto up command launches a development environment in Okteto Cloud, keeps your code synchronized between your development environment and your local machine and automatically opens a shell into the development environment for you. From now on we'll be running all the commands directly in our remote development environment (note the okteto> bash symbol in the code samples 😎).
Install Helm 3 in the development environment
Download the v3.0.0-beta.1 release from github, and install it in /usr/bin/local.
okteto> wget https://get.helm.sh/helm-v3.0.0-beta.1-linux-amd64.tar.gz -O /tmp/helm-v3.0.0-beta.1-linux-amd64.tar.gz
okteto> tar -xvzf /tmp/helm-v3.0.0-beta.1-linux-amd64.tar.gz -C /tmp
okteto> mv /tmp/linux-amd64/helm /usr/local/bin/helm
okteto> chmod +x /usr/local/bin/helm
Run helm version to make sure everything is OK (We are dealing with beta software, after all).
okteto> helm version
version.BuildInfo{Version:"v3.0.0-beta.1", GitCommit:"f76b5f21adb53a85de8925f4a9d4f9bd99f185b5", GitTreeState:"clean", GoVersion:"go1.12.9"}
Deploying our first chart
To keep exploring Helm 3, we are going to create a simple chart by running helm create. This command creates a chart with a deployment of an NGINX container and its corresponding service.
okteto> helm create hello-world
Creating hello-world
Deploy your chart by running the helm install command:
okteto> helm install hello-world ./hello-world
NAME: hello-world
LAST DEPLOYED: 2019-08-29 23:01:17.851466604 +0000 UTC m=+0.128796294
NAMESPACE: rberrelleza
STATUS: deployed
....
You can then run helm list to see all the installed releases:
okteto> helm list
NAME                    NAMESPACE   REVISION    UPDATED                                 STATUS      CHART
hello-world             rberrelleza 1           2019-08-29 23:06:40.982957007 +0000 UTC deployed    hello-world-0.1.0
When you launch a development environment in Okteto Cloud, a set of credentials is automatically created for you. The credentials are automatically mounted on your development environment, so you can start using tools like
helmorkubectlwithout requiring extra configuration.
Instead of having to run a port-forward to our local machine, we will let Okteto Cloud automatically create a publicly accessible SSL endpoint for our application by annotating the service with dev.okteto.com/auto-ingress=true. The chart created by helm create doesn't support annotations, so we'll just use kubectl annotate directly:
okteto> kubectl annotate service hello-world dev.okteto.com/auto-ingress=true
service/hello-world annotated
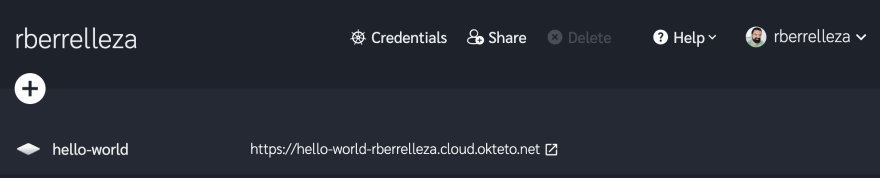
Let's open our browser and head out to Okteto Cloud to see the application's endpoint.
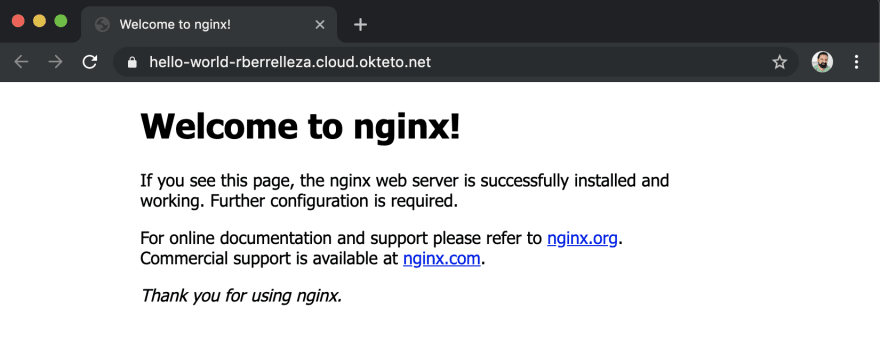
Let's go ahead and cick on the URL to see our application up and running.
Helm 3.0.0-beta.1 can't install charts from a repository due to #6287. It'll be fixed in the next beta release.
Upgrading the chart
Let's change the boring "Welcome to nginx page!" with something with more flair. We'll upgrade our chart and change the container image from nginx to ramiro/hello using the helm upgrade command.
okteto> helm upgrade --set image.repository=ramiro/hello hello-world ./hello-world
Run helm list to see the state of the release. Notice how the value of revision changed from 1 to 2 to indicate that a new version was deployed.
okteto> helm list
NAME        NAMESPACE   REVISION    UPDATED                                 STATUS      CHART
hello-world rberrelleza 2           2019-08-30 00:05:57.204015932 +0000 UTC deployed    hello-world-0.1.0
Go back to your browser, reload the page, and verify that it was correctly upgraded 🐶.
Cleanup
Use the helm uninstall command to uninstall the chart and remove all the related resources.
okteto> helm uninstall hello-world
release "hello-world" uninstalled
Once you're done playing with your development environment, exit the terminal and run the okteto down command to shut it down. But don't worry, all the files you created there (like the chart) were automatically synchronized back to your local machine.
Conclusion
I'm really excited about Helm 3. The team managed to keep all the good things about it (repeatable installations, manifest-driven approach, easy to share charts, same commands) while removing the need to have a central service to keep all the state (buh bye Tiller!). Can't wait to get my hands on the final version!
Ephemeral development environments are a great way to keep different tech stacks from messing with each other, or to quickly try out beta software without "polluting" our machine. Making them super easy to use for everyone is one of our main motivations with building Okteto.
I would ❤️ to hear what you think about this feature.


Top comments (0)