
Welcome to Part-4 of the series.
We will start implementing streams in our project.
 Our Structure
We will now setup the API Server. Now, open the terminal and goto your streams folder. Here create a new folder api and cd into it.
 api folder
Now type npm init in the command line. It will ask you for details of many things. Press enter for each of them.
 npm init
At the end it will show the package.json structure and ask for our permission. Type yes in it.
 Yes
Yes
Now, we have a package.json file inside our api folder. Now, we will install the npm package json-server.
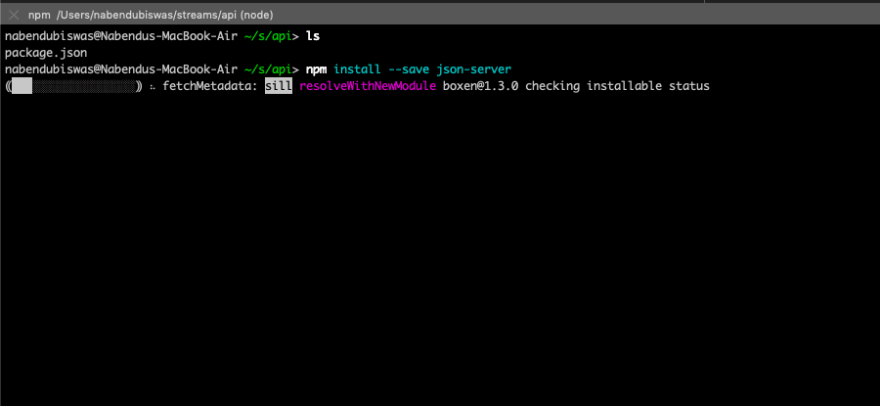 json-server
Now, open the api directory in VSCode. Here add a db.json file and also a .gitignore file(If you are using github).
 api folder
Add the following in db.json file.
{
    "streams": []
}
Now, add the following in .gitignore file
# See https://help.github.com/articles/ignoring-files/ for more about ignoring files.

# dependencies
/node_modules
/.pnp
.pnp.js

# testing
/coverage

# production
/build

# misc
.DS_Store
.env.local
.env.development.local
.env.test.local
.env.production.local

npm-debug.log*
yarn-debug.log*
yarn-error.log*
Now, open the package.json file and update the start script.
{
  "name": "api",
  "version": "1.0.0",
  "description": "",
  "main": "index.js",
  "scripts": {
    "start": "json-server -p 3001 -w db.json"
  },
  "author": "",
  "license": "ISC",
  "dependencies": {
    "json-server": "^0.14.2"
  }
}
Now, goto the api folder in terminal and do a npm start.
 npm start
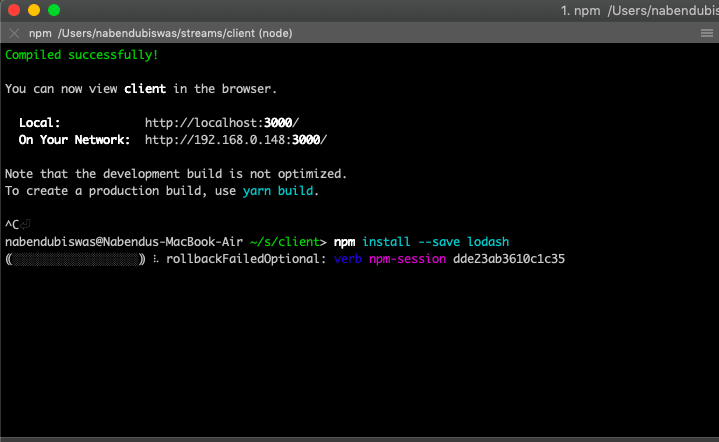
Now, let’s move to our client code again. So, open the terminal where client is running and stop it(Ctrl+c) and then install axios and redux-thunk. Don’t forget to start back the client server after installation with npm start.
 axios and thunk
Now, create a new folder apis inside src. Create a new file streams.js in it.
 streams.js
Add the following code in streams.js
import axios from 'axios';

export default axios.create({
    baseURL: 'http://localhost:3001'
});
Now, we will create our action creator in index.js inside action folder. Here we are first import our axios streams. Then creating an action creator to do a post call to /streams endpoint, with formValues.
import { SIGN_IN, SIGN_OUT } from './types';
import streams from '../apis/streams';

export const signIn = (userId) => {
    return {
        type: SIGN_IN,
        payload: userId
    };
};

export const signOut = () => {
    return {
        type: SIGN_OUT
    };
};

export const createStream = formValues => async dispatch => {
    streams.post('/streams', formValues);
}
Now, head over to our StreamCreate.js to use this action creator. We are first importing connect and our action createStream . Then we are changing our reduxForm at the end of the file a bit, to include connect.
Finally we are using createStream inside onSubmitForm(), to send formValues to action creator.
import React, {Fragment} from 'react';
import { Field, reduxForm } from 'redux-form';
import { connect } from 'react-redux';
import { createStream } from '../../actions';
import './formStyles.css';

class StreamCreate extends React.Component {
…
…

  onSubmitForm = (formValues) => {
    this.props.createStream(formValues);
  }

  render() {
    return (
      <form onSubmit={this.props.handleSubmit(this.onSubmitForm)} className="ui__form">
        <Field name="title" label="Enter Title" component={this.renderInputBox} />
        <Field name="description" label="Enter Description" component={this.renderInputBox} />
        <button>Submit</button>
      </form>
    )
  }
}

…
…

const formWrapped = reduxForm({form: 'streamCreate', validate})(StreamCreate);

export default connect(null, { createStream })(formWrapped);
Next, we also have to include redux-thunk in our project. We do the same by going to our root index.js and adding the things marked in bold.
import React from 'react';
import ReactDOM from 'react-dom';
import App from './components/App';
import { Provider } from 'react-redux';
import { createStore, applyMiddleware, compose } from 'redux';
import reducers from './reducers';
import reduxThunk from 'redux-thunk';

const composeEnhancers = window.__REDUX_DEVTOOLS_EXTENSION_COMPOSE__ || compose;
const store = createStore(reducers, composeEnhancers(applyMiddleware(reduxThunk)));

ReactDOM.render(
<Provider store={store}><App /></Provider>, document.querySelector('#root'));
Now, time to check our POST request. Head to http://localhost:3000/streams/create and enter data and click on Submit button. Also, keep the network tab in developer console open. You can see the POST request sucessfully made.
 The post request
We will also open the db.json to verify that the POST request was done.
 db.json
Now, we will update action creator in index.js inside action folder. We will also add action creators for other RESTful items like DELETE, EDIT, FETCH.
First add those types inside types.js inside action folder.
export const SIGN_IN = 'SIGN_IN';
export const SIGN_OUT = 'SIGN_OUT';
export const CREATE_STREAM = 'CREATE_STREAM';
export const FETCH_STREAM = 'FETCH_STREAM';
export const FETCH_STREAMS = 'FETCH_STREAMS';
export const DELETE_STREAM = 'DELETE_STREAM';
export const EDIT_STREAM = 'EDIT_STREAM';
Next, add function for the above types in index.js inside action folder.
import { SIGN_IN, SIGN_OUT, CREATE_STREAM, FETCH_STREAM, FETCH_STREAMS, DELETE_STREAM, EDIT_STREAM } from './types';
import streams from '../apis/streams';

export const signIn = (userId) => {
    return {
        type: SIGN_IN,
        payload: userId
    };
};

export const signOut = () => {
    return {
        type: SIGN_OUT
    };
};

export const createStream = formValues => async dispatch => {
    const response = await streams.post('/streams', formValues);
    dispatch({ type: CREATE_STREAM, payload: response.data })
}

export const fetchStreams = () => async dispatch => {
    const response = await streams.get('/streams');
    dispatch({ type: FETCH_STREAMS, payload: response.data })
}

export const fetchStream = (id) => async dispatch => {
    const response = await streams.get(`/streams/${id}`);
    dispatch({ type: FETCH_STREAM, payload: response.data })
}

export const editStream = (id, formValues) => async dispatch => {
    const response = await streams.put(`/streams/${id}`, formValues);
    dispatch({ type: EDIT_STREAM, payload: response.data })
}

export const deleteStream = (id) => async dispatch => {
    await streams.delete(`/streams/${id}`);
    dispatch({ type: DELETE_STREAM, payload: id })
}
We will now work on our reducer and put it in one go. Create a new file streamReducer.js inside reducer folder.
 streamReducer.js file
First let create case for FETCH_STREAM, CREATE_STREAM and EDIT_STREAM in our reducer file streamReducer.js as they are similar.
import { CREATE_STREAM, FETCH_STREAM, FETCH_STREAMS, DELETE_STREAM, EDIT_STREAM } from '../actions/types';

export default (state={}, action) => {
    switch(action.type) {
        case FETCH_STREAM:
            return { ...state, [action.payload.id]: action.payload }
        case CREATE_STREAM:
            return { ...state, [action.payload.id]: action.payload }
        case EDIT_STREAM:
            return { ...state, [action.payload.id]: action.payload }
        default:
            return state;
    }
}
Now, we will create FETCH_STREAMS and DELETE_STREAM case. For that we will first install lodash, which have a very useful omit function.
 npm install
Again open the streamReducer.js inside reducer folder.
import { CREATE_STREAM, FETCH_STREAM, FETCH_STREAMS, DELETE_STREAM, EDIT_STREAM } from '../actions/types';
import _ from 'lodash';

export default (state={}, action) => {
    switch(action.type) {
       case FETCH_STREAMS:
            return { ...state, ..._.mapKeys(action.payload, 'id')};**
        case FETCH_STREAM:
            return { ...state, [action.payload.id]: action.payload };
        case CREATE_STREAM:
            return { ...state, [action.payload.id]: action.payload };
        case EDIT_STREAM:
            return { ...state, [action.payload.id]: action.payload };
        case DELETE_STREAM:
            return _.omit(state, action.payload);**
        default:
            return state;
    }
}
Next, we will hook this new reducer to our root reducer. So, open index.js inside reducer folder.
import { combineReducers } from 'redux';
import authReducer from './authReducer';
import streamReducer from './streamReducer';
import { reducer as formReducer } from 'redux-form';

export default combineReducers({
    auth: authReducer,
    form: formReducer,
    streams: streamReducer
});
We will now start to show the streams created by us. Open StreamList.js which is inside components -> streams folder and hook our action creator.
import React from 'react';
import { connect } from 'react-redux';
import { fetchStreams } from '../../actions';

class StreamList extends React.Component {
  componentDidMount() {
    this.props.fetchStreams();
  }

  render(){
    return (
    <div>
      StreamList
    </div>
  )
  }
}

export default connect(null, { fetchStreams })(StreamList);
Now, go to http://localhost:3000/ and open the developer console. Goto the Redux tab. You can see the stream, we created earlier here.
 Stream created earlier
Before moving forward, let’s create another stream So, open http://localhost:3000/streams/create and create another stream.
 Another stream
Next, we will show these streams in our home page. So, go ahead and open StreamList.js which is inside components -> streams folder and add below. Here, we are getting the data in streams object. We are then iterating over it and showing it through a renderList method.
import React from 'react';
import { connect } from 'react-redux';
import { fetchStreams } from '../../actions';

class StreamList extends React.Component {
  componentDidMount() {
    this.props.fetchStreams();
  }

 renderList() {
    return this.props.streams.map(stream => {
      return (
        <div className="item" key={stream.id}>
          <div className="content">{stream.title}</div>
          <div className="description">{stream.description}</div>
          <hr />
        </div>
      )
    })
  }

  render() {
    return (
      <div>
        <h2 className="header">Streams</h2>
        <div className="list">{this.renderList()}</div>
      </div>
    )
  }
}

const mapStateToProps = (state) => {
  return { streams: Object.values(state.streams) };
}

export default connect(mapStateToProps, { fetchStreams })(StreamList);
Right now if you look into our Home page, the list is been show but there is no style.
 Not much style
Next, we will add some styles to it to make it look good. Create a new file StreamList.css inside same components -> streams folder. Don’t forget to import it first in our StreamList.js file.
import React from 'react';
import { connect } from 'react-redux';
import { fetchStreams } from '../../actions';
import './StreamList.css';
...
...
Now in StreamList.css add the following code.
.list{
    display: grid;
    grid-gap: 1.2rem;
}

.content{
    font-size:1.2rem;
    font-weight: bold;
    margin-bottom: 5px;
}

.description{
  font-size:1.1rem;
}

.header{
    background: #E6F2F5;
    padding: 10px;
}
Now, our app looks like below.
 Good looking app
This concludes part-4 of the series. You can find code till this point here.


Top comments (0)