
Welcome to Part-3 of the series. We will start implementing forms in our project. We will use Redux-forms, but first let hook up redux-devtools in our project.
Redux Devtools is a chrome/firefox extension, which is extremely useful to debug Redux based project.
Head over to Redux Devtools Extension page here. You will find link for both Firefox and chrome webstore there. Go ahead and install it.
Next, you have to make some changes in root index.js file to use this extension. The changes are marked in bold.
import React from 'react';
import ReactDOM from 'react-dom';
import App from './components/App';
import { Provider } from 'react-redux';
import { createStore, applyMiddleware, compose } from 'redux';
import reducers from './reducers';

const composeEnhancers = window.__REDUX_DEVTOOLS_EXTENSION_COMPOSE__ || compose;
const store = createStore(reducers, composeEnhancers(applyMiddleware()));

ReactDOM.render(
<Provider store={store}><App /></Provider>, document.querySelector('#root'));
Now, head over to localhost and open the Developer panel. There click on the Redux tab. If the setup went right, you will see something like below.
 Redux Devtools
Next, we will start with adding Redux-form in our project. It is a third party library, which helps us to use forms in an efficient way in our project.
Open your terminal, stop the running instance of server and install
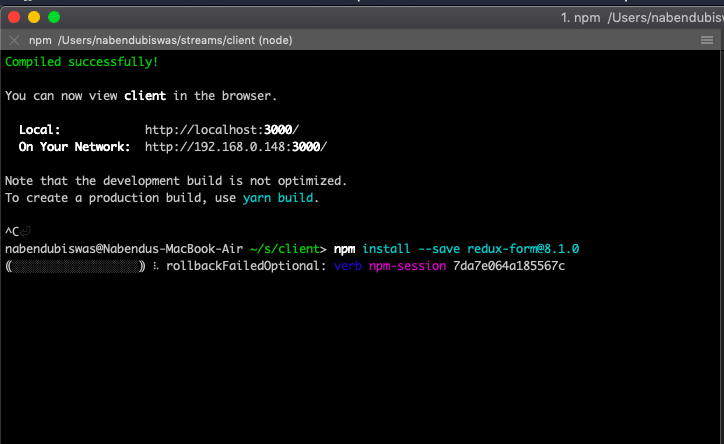
Don’t forget to restart your server by npm start. Let’s now wire-up redux-form in our project. Open index.js file in reducers folder and update below code.
import { combineReducers } from 'redux';
import authReducer from './authReducer';
import { reducer as formReducer } from 'redux-form';

export default combineReducers({
    auth: authReducer,
    form: formReducer
});
Next, we will update our StreamCreate.js file to use redux-form
import React, {Fragment} from 'react';
import { Field, reduxForm } from 'redux-form';
import './formStyles.css';

class StreamCreate extends React.Component {
  renderInputBox({input, label}) {
    return (
      <Fragment>
        <label>{label}</label>
        <input {...input} />
      </Fragment>
    )
  }

  render() {
    return (
      <form className="ui__form">
        <Field name="title" label="Enter Title" component={this.renderInputBox} />
        <Field name="description" label="Enter Description" component={this.renderInputBox} />
      </form>
    )
  }
}

export default reduxForm({form: 'streamCreate'})(StreamCreate);
Here, it is mostly boilerplate code. We import Field, reduxForm from redux-form. The reduxForm is used like connect in a Redux project.
The Field component is used for different form element. Here, we are using to create two input boxes. Then we have a function renderInputBox(), which have label and input.
Next, we will hook up some styles in our form. So, create a formStyles.css file in the same folder and add the below code.
.ui__form {
    display: grid;
    grid-gap: 10px;
    background: #f9f9f9;
    border: 1px solid #c1c1c1;
    margin: 2rem auto 0 auto;
    max-width: 600px;
    padding: 1em;
  }

  .ui__form input {
    background: #fff;
    border: 1px solid #9c9c9c;
    padding: 0.7em;
  }
  .ui__form input:focus {
    outline: 3px solid gold;
  }
  .ui__form label {
      font-size:1.2rem;
  }
Now, goto http://localhost:3000/streams/create to see our form.
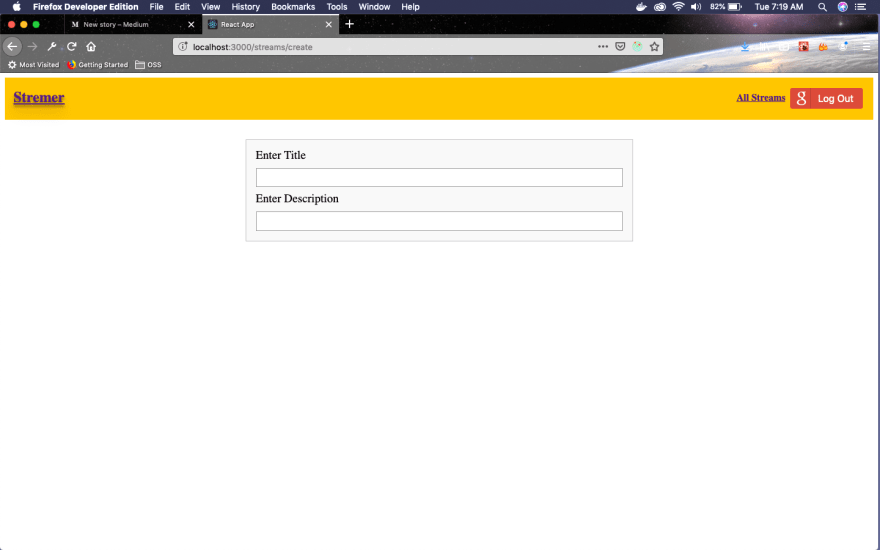 Our Form
Next, let’s add submission capabilities to our form. We will update the below in StreamCreate.js.
In the onSubmit of the form we use this.props.handleSubmit() to get the values submitted by user.
...
...
onSubmitForm(formValues) {
    console.log(formValues);
  }

  render() {
    return (
      <form onSubmit={this.props.handleSubmit(this.onSubmitForm)} className="ui__form">
        <Field name="title" label="Enter Title" component={this.renderInputBox} />
        <Field name="description" label="Enter Description" component={this.renderInputBox} />
        <button>Submit</button>
      </form>
    )
  }
...
...
Let’s also add some CSS to make our default button beautiful in formStyles.css
.ui__form button {
    background: lightgrey;
    font-size:1.2rem;
    padding: 0.7em;
    width: 100%;
    border: 0;
  }
  .ui__form button:hover {
    background: gold;
  }
Now, goto http://localhost:3000/streams/create and enter some values in form. Then submit the form by pressing on button. You can see in console, the form values gets passed in a nice Object.
 Easy Redux form
Next, we will add form validation to our form. Redux-form have a different way to validate forms. We will first have a function named validate, then we will have an empty error object inside it. If the title and description doesn’t have any value, add error object with values.
Next in the renderInputBox() we add meta and show meta.error
import React, {Fragment} from 'react';
import { Field, reduxForm } from 'redux-form';
import './formStyles.css';

class StreamCreate extends React.Component {
  renderInputBox({input, label, meta}) {
    return (
      <Fragment>
        <label>{label}</label>
        <input {...input} />
        <div>{meta.error}</div>
      </Fragment>
    )
  }

  onSubmitForm(formValues) {
    console.log(formValues);
  }

  render() {
    return (
      <form onSubmit={this.props.handleSubmit(this.onSubmitForm)} className="ui__form">
        <Field name="title" label="Enter Title" component={this.renderInputBox} />
        <Field name="description" label="Enter Description" component={this.renderInputBox} />
        <button>Submit</button>
      </form>
    )
  }
}

const validate = (formValues) => {
  const errors = {};
  if(!formValues.title) {
    errors.title = "You must enter a title";
  }
  if(!formValues.description) {
    errors.description = "You must enter a description";
  }

  return errors;
}

export default reduxForm({form: 'streamCreate', validate})(StreamCreate);
Now, open http://localhost:3000/streams/create and you will see our error messages as below screenshot. Enter some values in the fields for them to go away.
 Errors
As you might have noticed that, we are directly showing the error message on form loading. We generally should give the user a chance to fill the fields. We will update our code to do so. We are taking the meta property and calling a function renderError(). Inside it checking whether the user have touched the input fields and then only displaying error.
...
...
renderError(meta) {
    if(meta.touched && meta.error) {
      return (
        <div className="err__msg">{meta.error}</div>
      );
    }
  }

  renderInputBox = ({input, label, meta}) => {
    return (
      <Fragment>
        <label>{label}</label>
        <input {...input} />
        {this.renderError(meta)}
      </Fragment>
    )
  }
...
...
Also, add a little bit of CSS in formStyles.css to show this error message in red.
.err__msg{
      font-size: 1rem;
      color:red;
  }
Now, open http://localhost:3000/streams/create and you will not see error messages by default. Enter some values one fields for other just, tab in and tab out. You will see the error message.
 Error message
This completes our Redux-form and concludes part-3 of the series.


Top comments (0)