We studied about S3 file versioning in the last part . In this part we will see how to start file versioning in S3 and what are its advantages.
Go to your S3 dashboard
Select the bucket that we used in last exercise while deploying a static site in S3

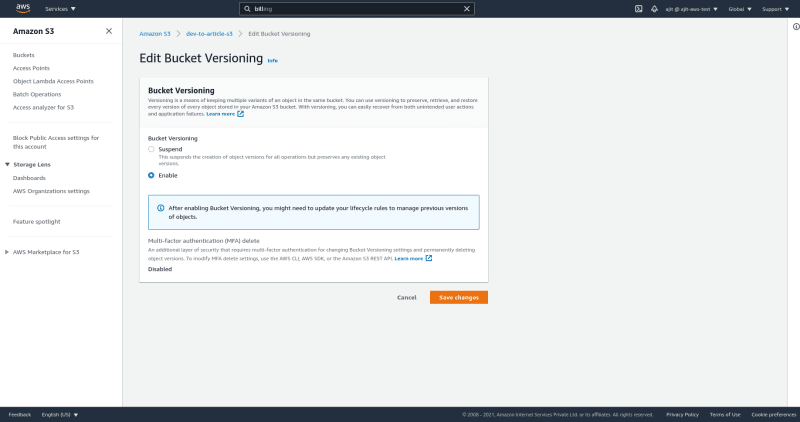
Go to the properties tag. The first setting is bucket versioning.

Click on edit in bucket versioning
Now let us see what it affects and how it can be useful
- Change the contents of the index.html file and upload it again I've changes the contents to the following.
<html>
    <head>
        <title>Test s3</title>
    </head>
    <body>
        <h1>Ajit Singh</h1>
        <p>Hello world new!</p>
    </body>
</html>
- Upload the new file again

Enable show versions from bucket dashboard you will see that you have two versions of the file
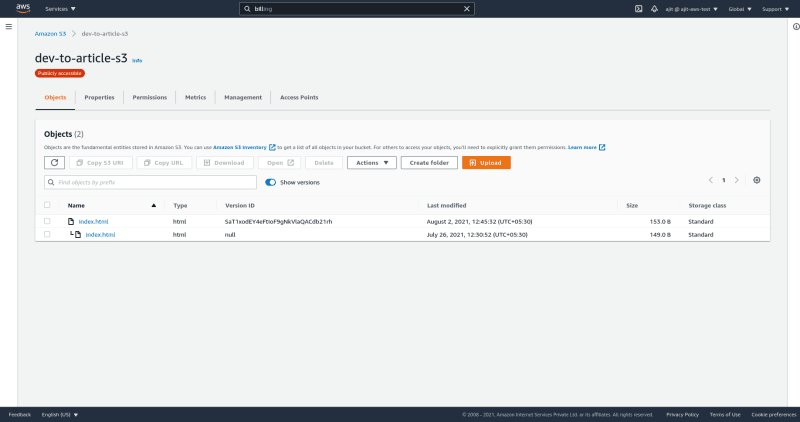
Now on checking the website link you will see the contents changes

Now let us see how to recover our old file
- To recover the old file we can select a specific version on the dashboard and delete it then we will recover our old file
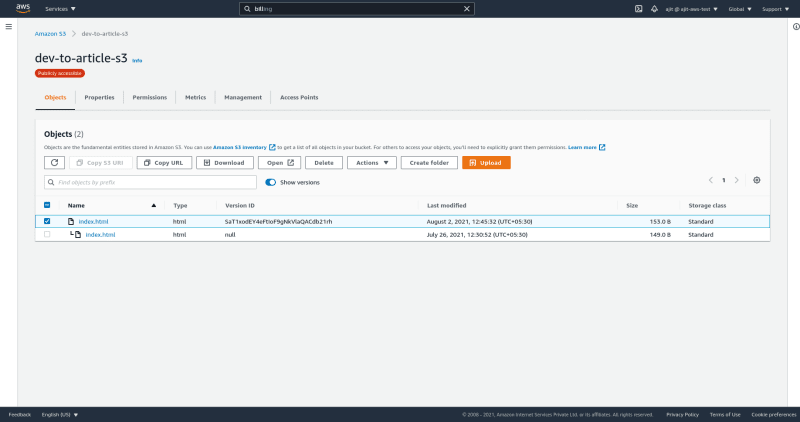
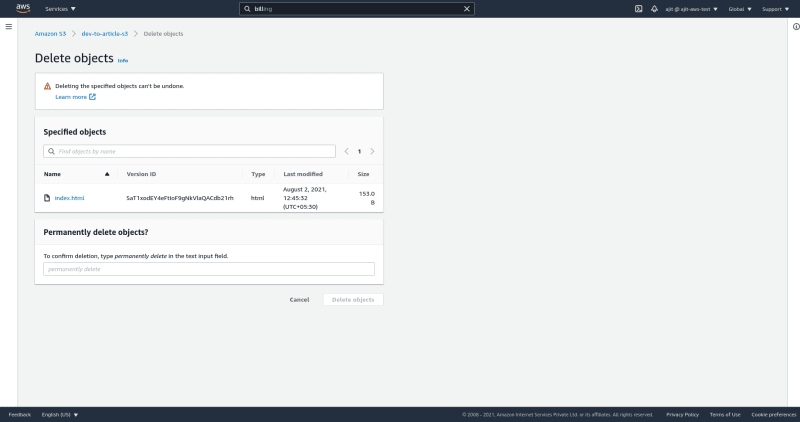
- Now let us again go to our website link. we will see that our file is reverted back.
- Let us now try to delete the last index.html file but turn off show versions.

- You will see that this is not an option of permanently delete but a delete

- After you delete the object you will see you bucket is empty
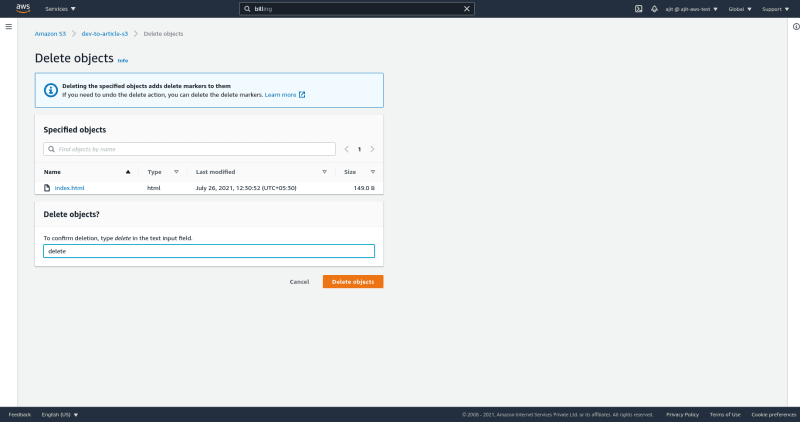
Enable show versions you will see that it is not actually deleted but S3 adds a delete marker on it

We can now recover the object by deleting the delete marker on the object same way we deleted the other version
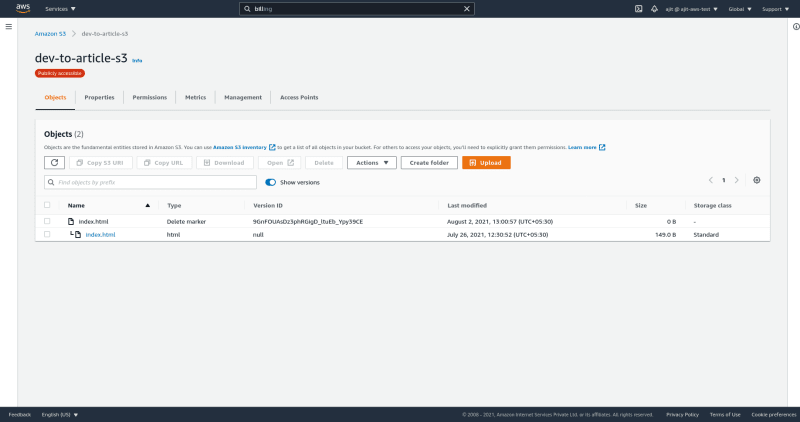
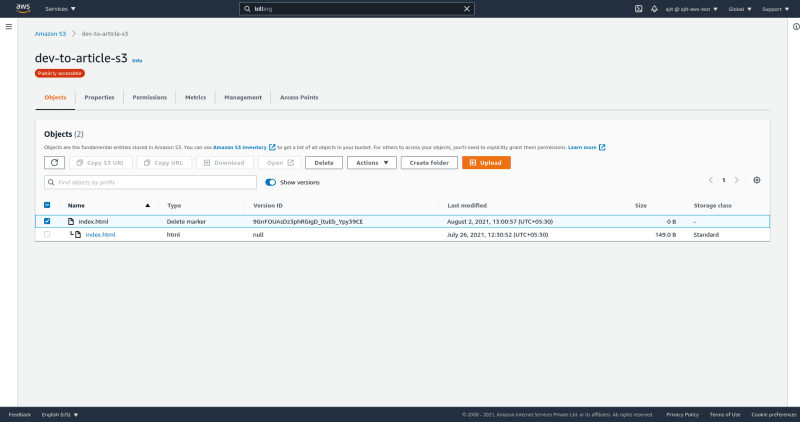
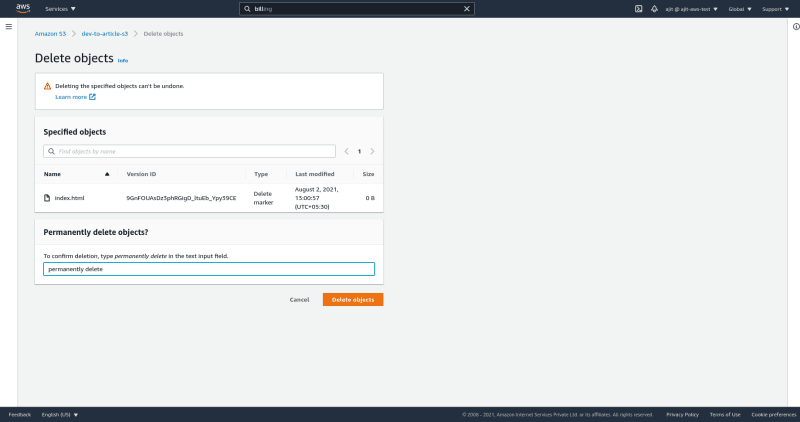
Voila we have recover the version
So here we see why bucket versioning is so important in S3 and why this should definitely be enabled for important buckets. We have already created a S3 bucket but how to see logs if retrieval of file is failing. Next time we will study how to enable logging in S3 buckets.




Top comments (0)