

Welcome to part-16 of the series. In this part we will create a new addon called Domain Blocker. This addon will blocks requests to any website that are in the user-defined list.
So, go ahead and create a folder DomainBlocker and inside it another folder icons. Inside that folder place three icons. You can get them from the github link at the end of this post.
 DomainBlocker
Now, create a file manifest.json inside the folder DomainBlocker and put the below content in it.
It is using the permissions for proxy, storage and all urls, which we are going to use soon.
 manifest.json
Create a new folder options inside, the folder DomainBlocker and create a file options.html inside it.
In this html file, we have link to the css and js files and two span and a textarea to enter the hosts.
 options.html
Next, we will create the styles for this html file. So, create a file options.css in the same folder and the below content in it.
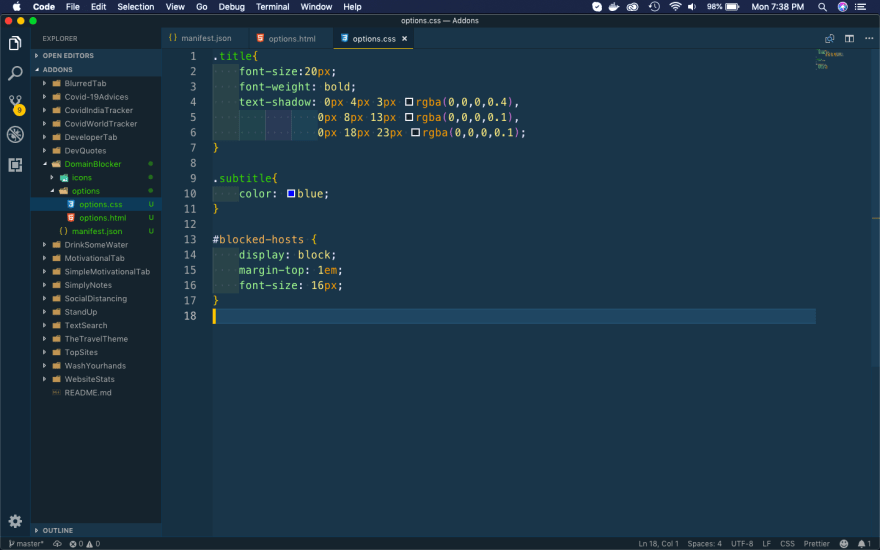 options.css
Now, we will create the logic for this options file. So, create a file options.js in the same folder and put the below content in it.
In this we are first selecting the textarea id blocked-hosts at Line 1. After that at Line 25, we have an event-listener which fires on any change in the textarea and runs a function storeSettings(). In this function, we are using split to change the newline string, into an array of string. After that we are setting it to the local storage.
We also have an browser.storage.local.get() on line 22, fired when the options page is opened. It runs a function updateUI(), which sets the textarea value from blockedHosts value. The blockedHosts is an array of strings, so we change it to string separated by newline.
 options.js
Now, it’s time to make the main background script. Create a new folder background inside, the folder DomainBlocker and create a file proxy-handler.js inside it.
First the runtime.onInstalled is executed when the extension is installed and it sets the blockedHosts array with [“example.com”, “example.org”], in the local storage.
Next, at line 9 the local storage is fetched into blockedHosts array. After that at line 15 we have a local storage onChanged event-listener, which changes the blockedHosts array with the new value.
On Line 19 , we listen for a request to open a webpage and call the handleProxyRequest(). Inside this function we are first extracting the url the user is attempting to go. After that we are checking whether it is in blockedHosts array. If it is there we are blocking it, other-wise passing it.
 proxy-handler.js
I had checked it by testing the temporary addon and it works perfectly.
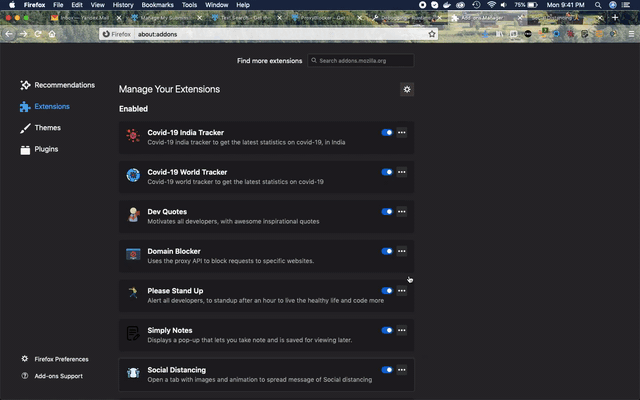 Working
So, it’s time to publish it in the mozilla addon store. I will follow the procedure from another of my blog in the series. The link is here.
As Domain Blocker name was already taken, i had to change the name of the addon to List Domain Blocker.
 List Domain Blocker
This complete part-16 of the series. You can add this addon to firefox from here.
You can find the code for the same in my github account here.


Top comments (0)