So we got to know about MongoDB and installed it. Now we will connect to it using our Nodejs application.
Connecting to MongoDB
Create a database folder inside src/core folder. Inside this folder create a connection.ts file. This file will contain the code to connect to MongoDB.
// src/core/database/connection.ts
import { MongoClient } from 'mongodb';

export class Connection {
    /**
     * The MongoDB client.
     */
    public client?: MongoClient;
}

const connection = new Connection();

export default connection;
We just created an empty class, we defined then a connection property which is an instance of this class. We also exported this variable. This variable will be used to access the MongoDB client.
Now let's create a connect function inside this file. This function will be used to connect to MongoDB.
// src/core/database/connection.ts
import { MongoClient } from 'mongodb';

export class Connection {
    /**
     * The MongoDB client.
     */
    public client?: MongoClient;

    /**
     * Connect to MongoDB.
     */
    public async connect() {
        try {
        this.client = await MongoClient.connect("mongodb://localhost:27017", {});
        console.log("Connected!");
        } catch (error) {
        console.log(error);
        }
    }
}

const connection = new Connection();

export default connection;
We created a connect function inside the Connection class. This function will connect to MongoDB. We are using the MongoClient.connect function to connect to MongoDB. This function takes two parameters, the first one is the connection string which contains the host localhost and the port 27017 which is the default connection port of Mongodb and the second one is the options. We are using the default options for now. We are also logging the connection status.
Now let's open a new terminal and run:
mongod
This command will start the MongoDB server. Now let's go back to our src/index.ts file and try our connection
// src/index.ts
import connection from 'core/database/connection';

connection.connect();
Now we should see the Connected! message in the terminal. This means that we are connected to MongoDB.
Creating an auth user
Now we're connected to the database successfully. But this is a very bad practice to connect to the database without any authentication. So let's create an auth user.
MongoDB Shell
Starting from MongoDB 6, there is a new shell called mongosh. This shell is a new version of the old mongo shell. It is a new shell that is written in JavaScript and it is more powerful than the old shell. It is also more secure. just download it from here.
Once downloaded, don't forget to add the bin directory it to your PATH variable. Now let's open a new terminal and run:
mongosh
Now we should see something like this
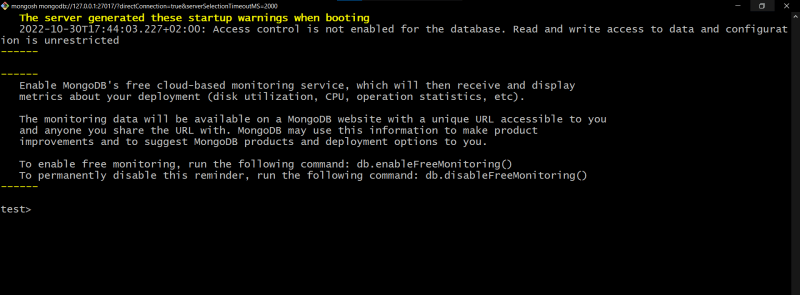
Now let's create the user
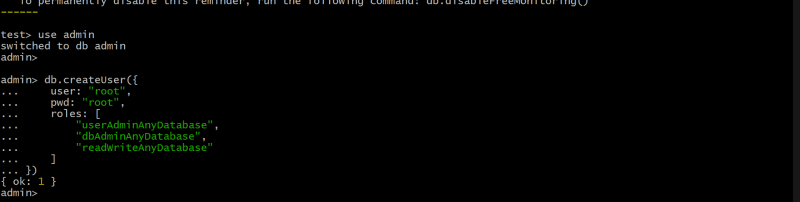
use admin
Switch to the admin database
db.createUser({
    user: "root",
    pwd: "root",
    roles: [
        "userAdminAnyDatabase",
        "dbAdminAnyDatabase",
        "readWriteAnyDatabase"
    ]
})
All what we need to change here is the username and the password, so set your own username and password. This command will create a user with the root username and the root password. This user will have the userAdminAnyDatabase, dbAdminAnyDatabase and readWriteAnyDatabase roles. This means that this user can do anything in any database.
Now we're good to go
Connect an authenticated user
Now let's go back to our src/core/database/connection.ts file and connect to the database using the root user.
// src/core/database/connection.ts
import { MongoClient } from 'mongodb';

export class Connection {
    /**
     * The MongoDB client.
     */
    public client?: MongoClient;

    /**
     * Connect to MongoDB.
     */
  public async connect() {
    try {
      this.client = await MongoClient.connect("mongodb://localhost:27017", {
        auth: {
          username: "root",
          password: "root",
        },
      });
      console.log("Connected!");
    } catch (error) {
      console.log(error);
    }
  }
}

const connection = new Connection();

export default connection;
Now let's see our console, we shall see that the connection is successful, try to change the username or the password and you will see that the connection will fail.
Disallow multiple connections
We will just add a simple to see if the mongodb client is connected, then return from the connect method, this will ensure that if we called the connect multiple times it will not connect multiple times.
// src/core/database/connection.ts
// import MOngoDB Client
import { MongoClient } from "mongodb";

export class Connection {
  /**
   * MongoDB Client
   */
  public client?: MongoClient;

  /**
   * Connect to MongoDB
   */
  public async connect() {
    if (this.client) return;

    try {
      this.client = await MongoClient.connect("mongodb://localhost:27017", {
        auth: {
          username: "root",
          password: "root",
        },
      });
      console.log("Connected!");
    } catch (error) {
      console.log(error);
    }
  }
}

const connection = new Connection();

export default connection;
Conclusion
In this article, we learned how to connect to MongoDB using the MongoClient class. We also learned how to create an authenticated user and how to connect to the database using this user. We also learned how to disallow multiple connections to the database.
In our next article, we'll start working on a new section, the configuration section. We will learn how to create a configuration file and how to use it in our application so we don't make our sensitive data in anywhere in our project.
🎨 Project Repository
You can find the latest updates of this project on Github
😍 Join our community
Join our community on Discord to get help and support (Node Js 2023 Channel).
🎞️ Video Course (Arabic Voice)
If you want to learn this course in video format, you can find it on Youtube, the course is in Arabic language.
💰 Bonus Content 💰
You may have a look at these articles, it will definitely boost your knowledge and productivity.
General Topics
- Event Driven Architecture: A Practical Guide in Javascript
- Best Practices For Case Styles: Camel, Pascal, Snake, and Kebab Case In Node And Javascript
- After 6 years of practicing MongoDB, Here are my thoughts on MongoDB vs MySQL
Packages & Libraries
- Collections: Your ultimate Javascript Arrays Manager
- Supportive Is: an elegant utility to check types of values in JavaScript
- Localization: An agnostic i18n package to manage localization in your project
React Js Packages
Courses (Articles)

Oldest comments (0)