In this video and post, we will be learning about the most fundamental file type and language that makes up the web - HTML, which stands for hypertext markup language.
This is the second post and video in a series on learning web development. You may need to check out the first post to learn how to get setup to begin coding:

You may watch the following video or follow along with the expanded transcript that follows.
Open VSCode. If you already had it open from the previous lesson, select File > New Window. You will also need to create a new folder for VSCode to open for this quick lesson to save the file we'll create.
To begin an HTML file, we just need to create a new file in VSCode and we'll name it index.html.
Index is not a random name - it is specifically the name that web hosting servers look for that indicates the first page of your website. In some circles this is called the home page. If this page lived on the site mywebsite.com then anything on this index page would be viewable directly at that web address, also called a URL. If we make a new folder called page1 and add an index.html, then visiting mywebsite.com/page1 would display the content of that index. If you use any other name besides index, such as about.html, then the URL would become mywebsite.com/about.html by default, which is how you create additional pages for your website. But we'll get more into that later.
So what do we actually put in an HTML file? For the modern web, here is your essential template, which is also referred to as the boilerplate.
<!doctype html>
<html>

<head>
    <meta charset="utf-8">
    <title>Website</title>
    <meta name="viewport" content="width=device-width, initial-scale=1">
</head>

<body></body>

</html>
We first begin by declaring the doctype as html. Then, we see our first standard HTML tag. A tag is the name for what defines elements that appear in HTML, and is identified by an opening and closing bracket. Some tags wrap other items, some are one-line, self-contained tags.
The first tag happens to be the actual <html> tag. Next in sequence, is the <head> tag, and you'll see that it is wrapping some other required items. First in this sequence is the meta tag which declares the type of character encoding the document uses. Essentially utf-8 is the most common type which has the greatest support for the most types of content, so for now just know that it's a required tag.
Next up is the <title> tag which is what you see displayed as the text in places such as the browser tab, search results, and social media previews. Best practice for this tag is to ensure it matches the type of content that is found on the page, such as the business name for the home page, or something like "Contact Us".
Following this is a <meta> viewport tag which is necessary for our site to adjust it's size appropriately whether it's displayed on a large desktop monitor or a mobile phone. There are a few ways to define this, but this is the most recommended which says to set the HTML document width to match the browser window width, and to not impact the scaling of items on the page as a default.
<meta name="viewport" content="width=device-width, initial-scale=1">
Whew! That was a lot of things - but since this is all part of the required template, it's something you can copy/paste from one project to another for easy reuse and not have to precisely memorize what's needed.
But we do have one more tag, and that's the <body> tag. All the content you want to appear on the page resides in the <body> tag. As an example, let's add a paragraph tag, which is represented by a <p>.
<body>
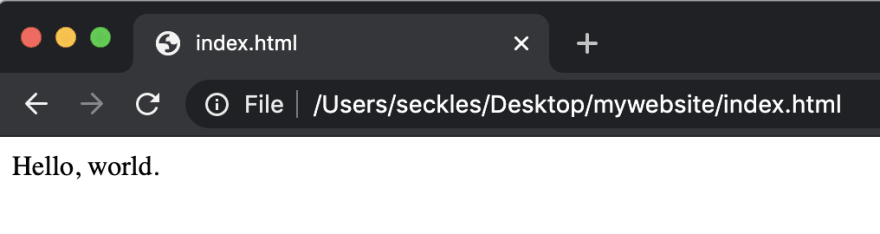
<p>Hello, world.</p>
</body>
Now, in the setup lesson, we did a bit of magic to launch and view a webpage in the browser, but really any file that ends in .html can be manually opened in the browser. So go out to the browser and do a File > Open to find this file. And there we have it - you've written your first HTML!

Top comments (3)
You explain stuff very simple. Keep writing Steph.
Thanks for the feedback, that's my goal! 😊
I absolutely love your Modern CSS Challenges website! It's my taste 1000%, so I can't wait to go through this course!