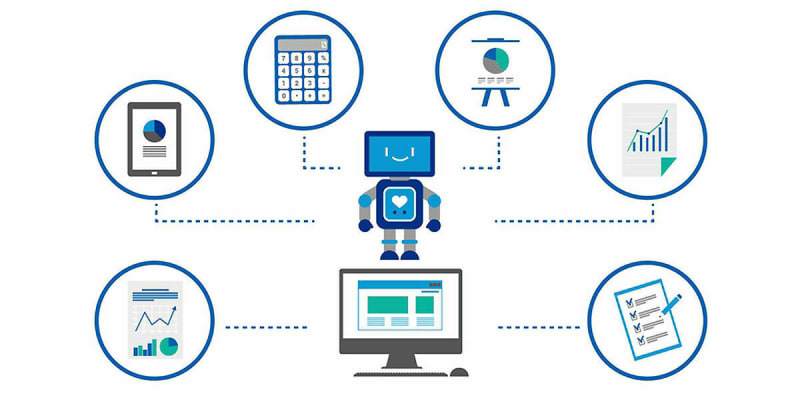
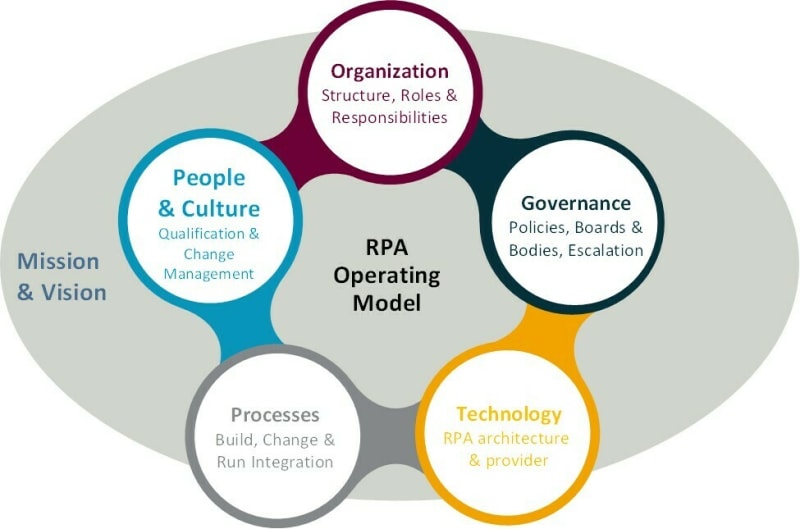
Hello everyone, today I start another chapter of my Logbook. The subject is about RPA (Robot Process Automation), I will demonstrate how to automate a simple task, but with this knowledge you can automate anything. Let’s look at an example to understand the subject, shall we? OK, let's go guys.
What is RPA?
As Automation Anywhere says "With RPA, software users create software robots, or “bots,” that can learn, simulate, and execute rules-based business processes. RPA automation allows users to create bots by observing human digital actions. Show your bots what to do and let them do the work. Robotic process automation software bots can interact with any application or system in the same way as people, except that RPA bots can operate uninterruptedly, without stopping, much faster and with 100% reliability and accuracy."
I still don't understand, cloud you explain better?
With RPA we can carry out various automations, from the most basic to the most advanced. Automations are nothing more than functions that a person does repeatedly, which a robot is capable of doing more easily, quickly and safely. If you edit and post your article in the same way every day, this can be automated, if you are a photographer and always make the same edit, this can be automated, if you are a programmer, and every time you start a project, its structure in the same way, this can be automated. So if you notice, there are several possibilities to automate an action, task and that is RPA.
RPA with Python in practice, how do I do it?
To do any automation in Python, you will need three things
- An IDE of your choice
- Python language
- The PyautoGui library
Pyautogui is used to manipulate only your keyboard and mouse, so all the actions that a person does, in your automation you can produce.
Understanding our task step by step.
Firstly, we need to understand the steps we normally take to back up the file to Google Drive, which are:
- We open google or a browser of your choice on our computer.
- Secondly, we access Google Drive, writing the link to it.
- We return to the work area.
- We click on the file and drag it.
- We open the browser while dragging the file.
- We release the file to upload.
After listing, let's start, we'll go step by step and at the end of each one I'll explain.
Step 1
We start by importing the pyautogui library as it is the main library that we will use in this entire example, and we also import the time library, later on you will understand why.
import pyautogui
from time import sleep
After the import, we first have to inform the user that a code will run and that they will not be able to use the computer until it is finished, how do we do this? In the pyautogui library there is a function called alert, with it, we will create an alert to inform the user and click O, then the code will run completely.
pyautogui.alert('The code will start, please do not touch the keyboard while the code is running!')
So, how do we open our browser, an easier way is by clicking the win key and writing the name of the browser and then clicking enter. So we will do this, in pyautogui we have the press function that is used to access any key on the keyboard, we could use win, but we will use winleft which means it is the win key on the left, To write, we could use the press function and press key by key, but it would be laborious, wouldn't it? That's why there is a function called write, it can be used to write anything.
pyautogui.press('winleft')
pyautogui.write('chrome')
pyautogui.press('enter')
Step 2
In the second step, with Google open as we did in the previous step, we will use the write function that we learned to type the Google Drive link and the press function to press enter.
pyautogui.write('https://drive.google.com/drive/u/0/my-drive')
pyautogui.press('enter')
Step 3
Now in the third step we have to return to the desktop, and an easy way to do this is using the shortcut win + d, but as we use the shortcut in pyautogui, we have a function called hotkey where we pass the keys separating them with commas and that way we can use the shortcut.
pyautogui.hotkey('winleft', 'd')
Step 4
In the fourth step we will learn how to manipulate the mouse, the way I will teach you is a static way, what do you mean? You will learn how to get the position of the mouse, where do you want it to get the file from, how do we get the position? In pyautogui we have a function called position, place the mouse over the file and use a shortcut to execute the line of code and it will return the position.
pyautogui.position()
With this it returns the following values, x and y axis 1856, 54.
And now we will learn how to move and click the left mouse button to move the file. To move we use the moveTo function and pass the x and y axis, and to click with the left button we use the mouseDown() function which will hold the file, we need to move the file to a location where always Once we release it, it can be uploaded to Google Drive, so repeat the step of getting the position and using moveTo.
pyautogui.moveTo(1856, 54)
pyautogui.mouseDown()
pyautogui.moveTo(3726, 738)
Step 5
With this we use the shortcut *alt + tab * to open the browser with Google Drive loaded, we will do it the same way as we did to return to the desktop.
pyautogui.hotkey('alt', 'tab')
Step 6
And we finish by releasing the file, using the mouseUp function and then using the alert function and sending a message to the user saying that they can use the computer again.
pyautogui.mouseUp()
pyautogui.alert('The code has just run, you can use your computer again!')
This was a simplified way of doing it, I made an example using good practices and to improve it I added a log to know everything documented step by step.
If you want to copy my example, it is available on github.If you want to know all the functions here is the pyautogui documentation.
This was Diary nº 17. Today I chose to talk about RPA (Robot Process Automation) next week I will bring up another topic that I haven't chosen yet, folks. Let's say goodbye here. We will return in another logbook.
This article was helpful to you?
Leave a comment below.


Top comments (0)
Some comments may only be visible to logged-in visitors. Sign in to view all comments.