
This series introduces hosting Blazor WebAssembly on Netlify using Github Actions. Previously, in part 1, we have created a Blazor WebAssembly Project using Visual Studio 2019 and in part 2 we used Visual Studio 2019 to set up Github Project. In this last part we will use Github Actions to push our Blazor WebAssembly to Netlify.
Creating Netlify tokens for Github actions
You should never expose these tokens
Github actions require your Netlify personal access token and site API ID to push the Blazor WebAssembly.
User personal access token can be created by going to your Netlify settings page. When you navigate to the Create a new personal access token page, enter NETLIFY_AUTH_TOKEN in the text box and click Generate Token button. 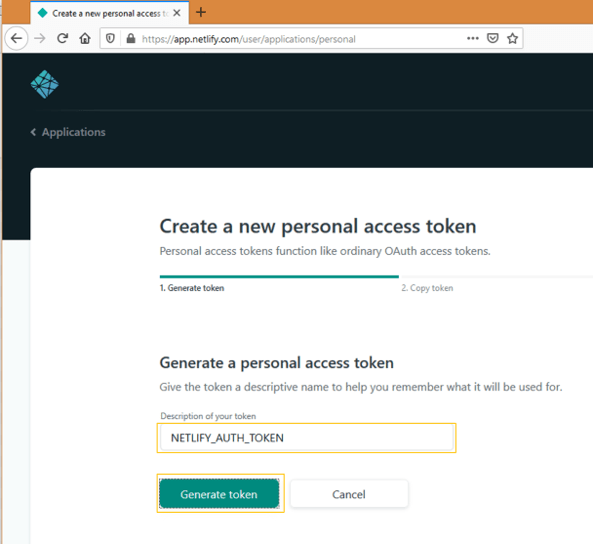
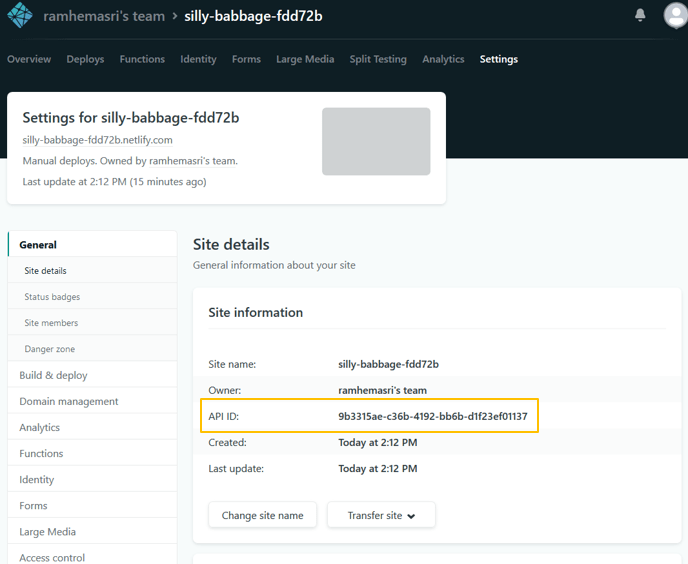
Netlify site API ID is unique to every site. We can easily create a site by dragging a folder with index.html page on to Netlify.

After site is successfully created, go to Site Settings and you can take a note of API ID under site information.
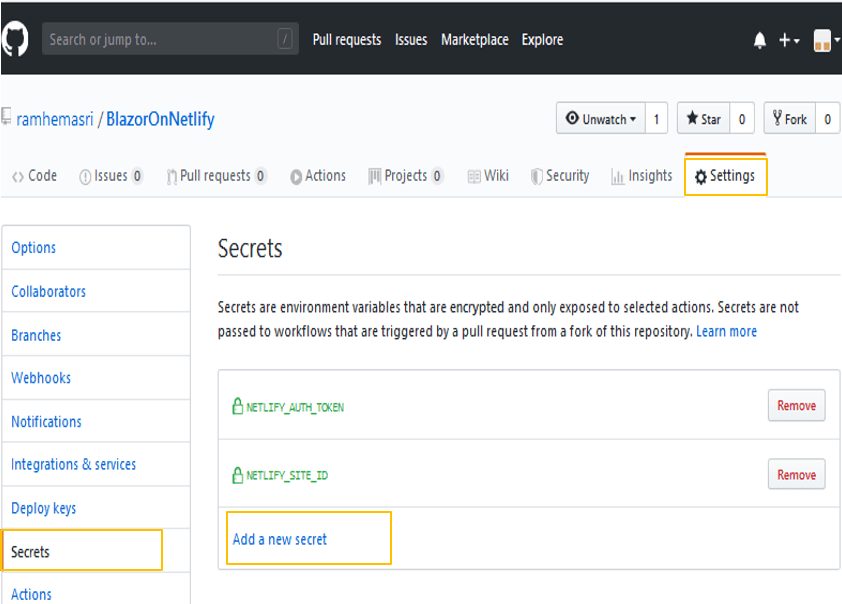
Go to your github repository settings created in part 2 and add the secrets. You have to add the two token and API ID generated on Netlify as NETLIFY_AUTH_TOKEN and NETLIFY_SITE_ID.
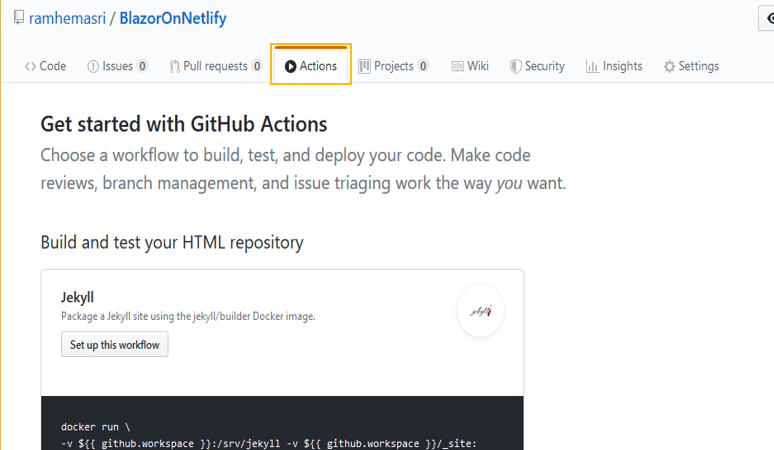
Setting up Github Actions
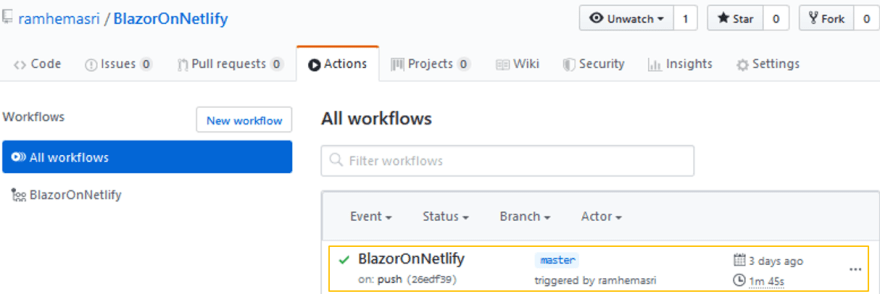
- Click on Actions tab in your Github repository
- Scroll down and click on Workflows for Python, Maven,Docker and more

- The previous step will bring more workflows. Scroll until you find .Net Core and click on Set up this workflow. We require .Net workflow for building Blazor WebAssembly.

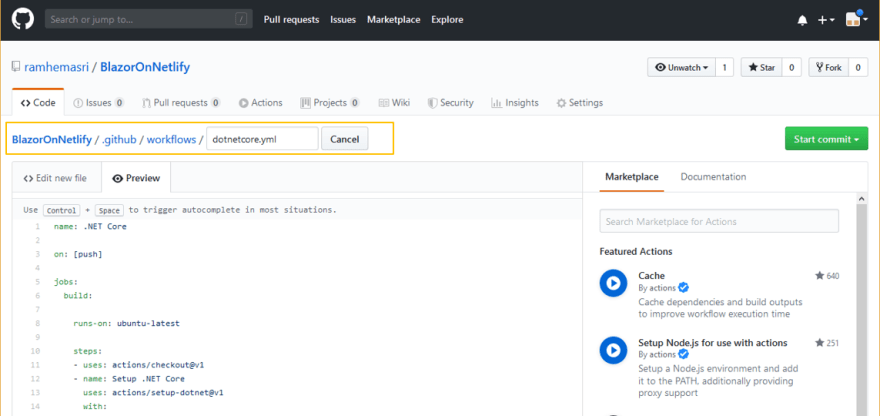
- Github creates dotnetcore.yml in your Blazor project repository.
-
Edit your dotnetcore.yml as below and commit your changes. This triggers github workflow and publishes your Blazor site to Netlify.
name: BlazorOnNetlify #your workflow name
on: [push] #on push to your branch run this workflow

jobs:
  build:
    runs-on: ubuntu-latest
    steps:
    - uses: actions/checkout@v1
    - name: Setup .NET Core
      uses: actions/setup-dotnet@v1
      with:
        dotnet-version: 3.1.100 #Blazor WebAssembly requires 3.1.100
    - name: Build with dotnet
      run: dotnet build --configuration Release
    - name: Publish Blazor webassembly using dotnet
#create Blazor WebAssembly dist output folder in the project directory
      run: dotnet publish -c Release --no-build -o ./
    - name: Publish generated Blazor webassembly to Netlify
      uses: netlify/actions/cli@master #uses Netlify Cli actions
      env: # these environment variables are added in github secrets
          NETLIFY_AUTH_TOKEN: ${{ secrets.NETLIFY_AUTH_TOKEN }}
          NETLIFY_SITE_ID: ${{ secrets.NETLIFY_SITE_ID }}
      with:
          args: deploy --dir=BlazorOnNetlify/dist --prod #push dist folder to Netlify
          secrets: '["NETLIFY_AUTH_TOKEN", "NETLIFY_SITE_ID"]'
Github workflow status is available in Actions tab
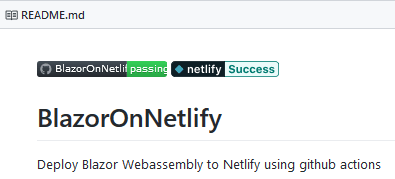
Status Badges
Status badges are useful to know your workflow and netlify deployment statuses. These can be added to your Github Readme file.
Github status badge can be created from using the following markdown
[](https://github.com/{owner}/{repo}/actions)
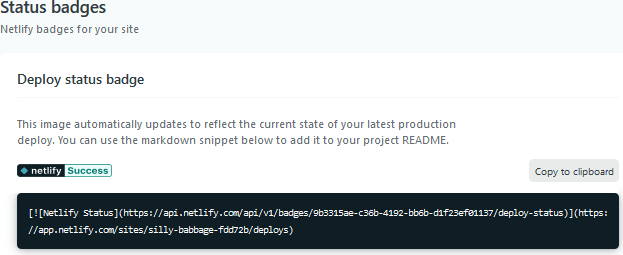
Netlify status badge can be found under your Blazor Site Settings

Top comments (1)
Thanks buddy.