This series introduces hosting Blazor WebAssembly on Netlify using Github Actions. In part 1 we will create a Blazor WebAssembly Project using Visual Studio 2019
What is Blazor?
Blazor is a feature of ASP.NET Core which lets you build interactive web UIs using C#. Blazor can run on client-side directly in the browser using WebAssembly or it can be hosted on server side in a ASP.NET core app.
Prerequisites
As of this writing Blazor WebAssembly is still in preview and it requires .Net Core 3.1 SDK. Check your dotnet version by running dotnet --version in a command shell. This command should return 3.1.100. Otherwise, you have to install .NET Core 3.1. Visual Studio 2019 16.4 or Visual Studio for mac 8.4 preview 4 also includes .NET Core 3.1. Run the following command shell to install Blazor project templates.
dotnet new -i Microsoft.AspNetCore.Blazor.Templates::3.1.0-preview4.19579.2
Create Blazor WebAssembly App in Visual Studio 2019
- In Visual Studio 2019, create a new project by navigating to File > New > Project
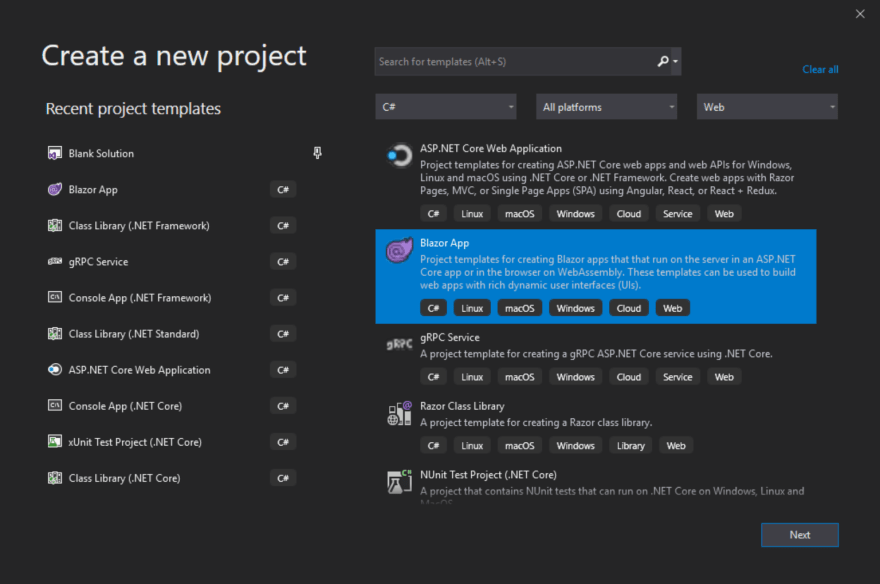
- Select Blazor App from the Create a new Project window and click Next

- In Create a new Blazor app window Select Blazor WebAssembly App and uncheck Asp.NET Core hosted. Click on Create.

- In Configure your new project window enter Project name and click on Create.

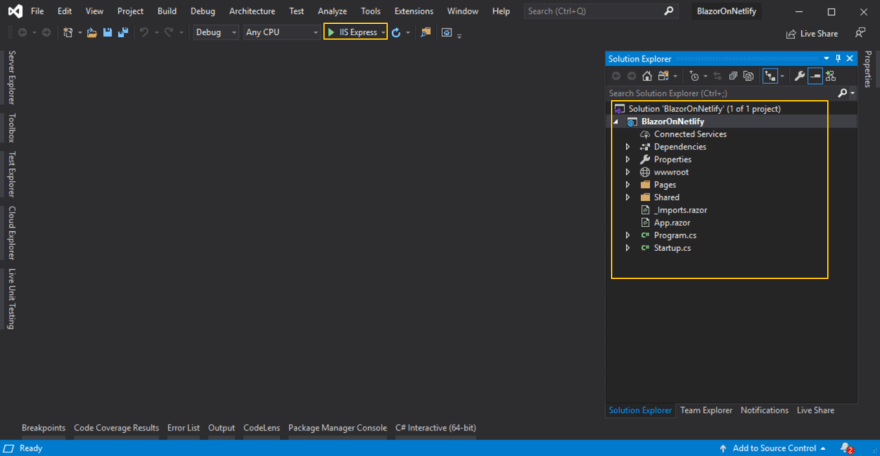
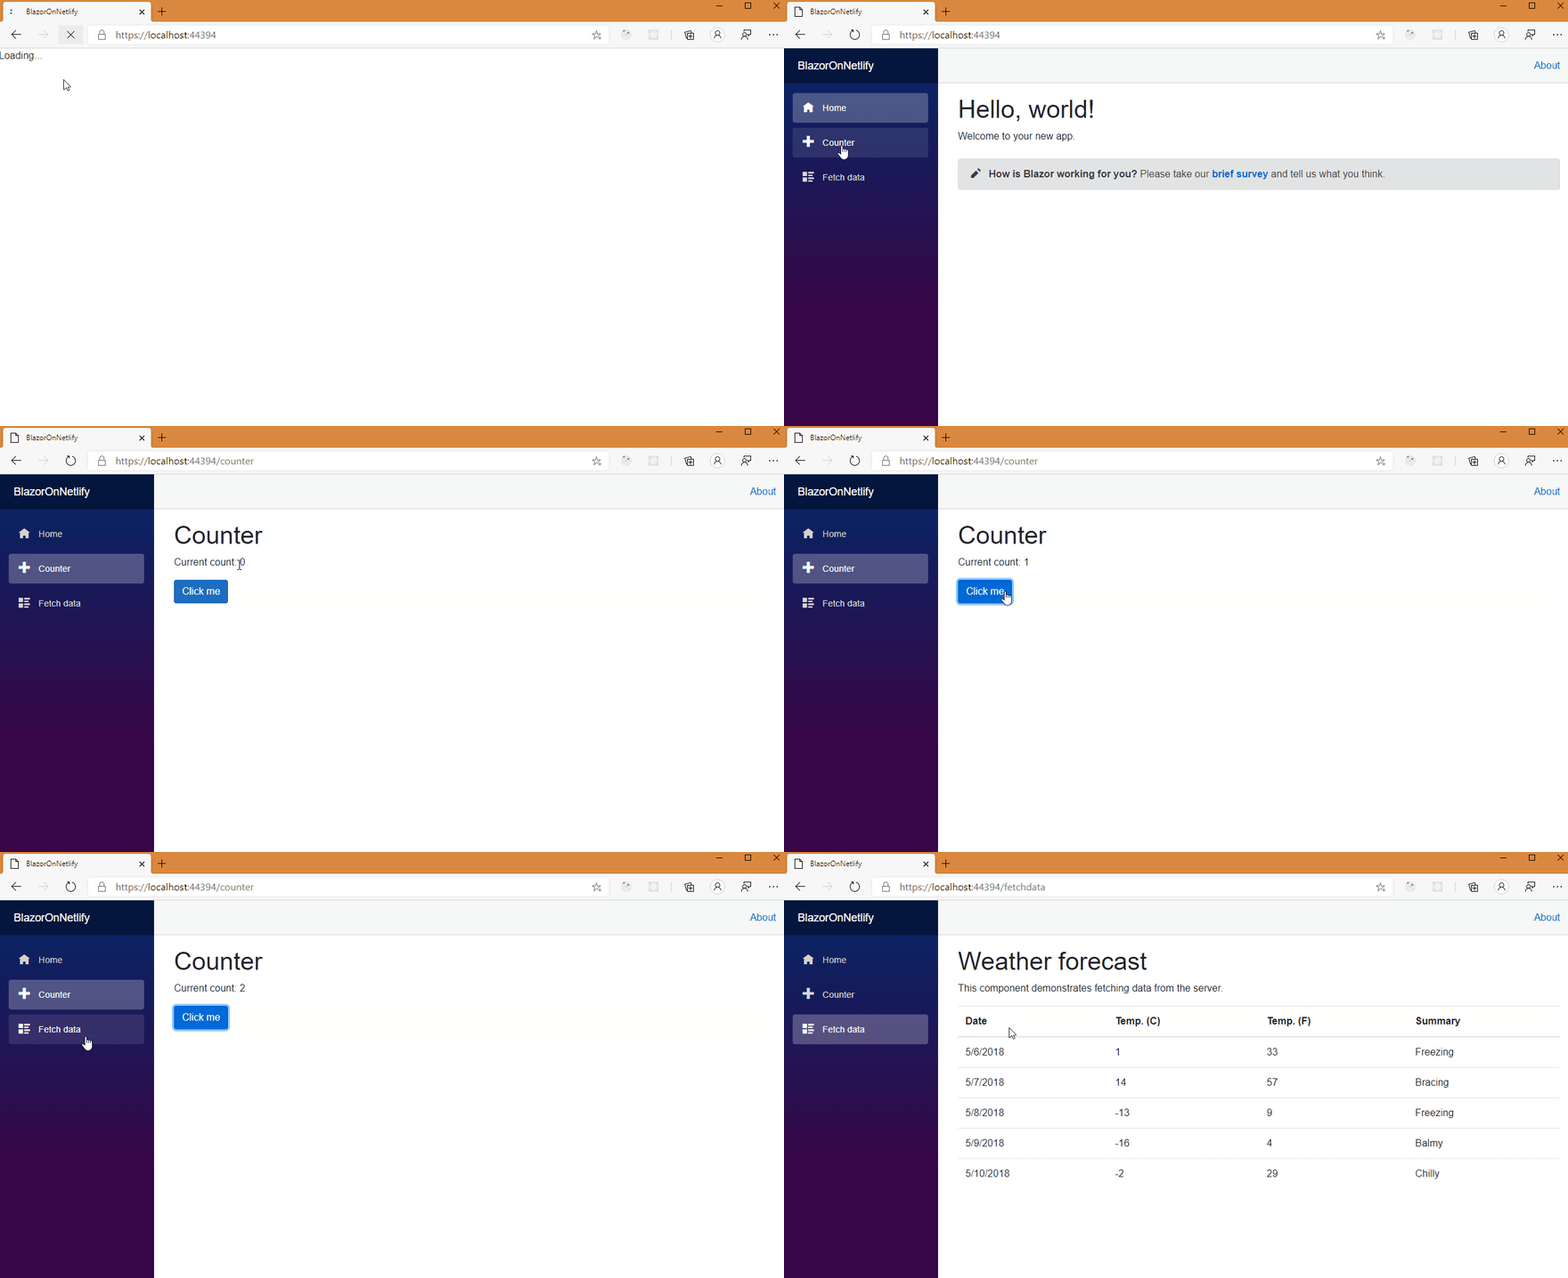
- Visual Studio displays the newly created Blazor WebAssembly app in Solution Explorer. You can run the app by pressing F5 or clicking IIS Express.


Top comments (0)