11 Days of Salesforce Storefront Reference Architecture (SFRA) — Day 4: Creating a Basic Cartridge

With all our preparations behind us, it’s time to get down to business and create our very first cartridge. Cartridges are a core foundation of the SFCC ecosystem. In fact, most of the business logic of SFCC is organized in cartridges. Really, in its core, a cartridge is really just a way to package and deploy code (and data) to an SFCC instance. For example, a cartridge can contain new controllers or scripts that add functionality to a site. For this post, we will create a cartridge that will add a new controller and a new template to the demo site.
Creating a New Cartridge
The easiest way to create a new cartridge is to use a boilerplate. SFCC provides us with a boilerplate as part of the SFRA command-line tools (the sgmf-scripts package we installed on day 2).
- Create a new folder, cartridgesHub, and cd to it.
- Run the
sgmf-scriptscommand to create a new cartridge calledmagicCartridge_: sgmf-scripts —-createCartridge magicCartridge - Browse to the newly created cartridge (
cd cartridges/magicCartridge/cartridge). If you list the content of the folder, you’ll see that the SFRA CLI tool created a set of folders and files for us:

Each folder in the boilerplate serves a different integration point for the cartridge:
- client — used for client-side resources, such as CSS or JS files
- controllers — used for adding new server-side controllers.
- models — used for adding new data models.
- templates — used for adding new ISML templates.
Adding a New Controller
If you are coming from SGJC then you are no stranger to the concept of controllers. To make sure everyone is on the same page, controllers essentially (as the name suggests) control the flow of the storefront. When you browse to a storefront page, a controller picks up the request and, based on the action, decides which template to render. For this example, we will create a controller called Magic which will have a single action — Show, thus responding to a request coming to the /magic-show route.
- cd to the controllers folder of the newly created cartridge.
- Create a new file called Magic.js with the following content:
So what are we seeing here?
Line 1: Imports the server module, which in our case, is mostly used for routing.
Lines 3–6: Adds a “listener” for the Show route (i.e /magic-show). If the route is hit — the magic template will be rendered to the page.
Line 7: Calls the next method, that will pass the request to the next middleware in the chain. When the request reaches a middleware that does not call next, the request will be considered as handled and the response object will return to the caller.
🐘To learn more about middleware, consult ExpressJS’s Using Middleware guide.
Line 10: Exports the module using the server’s class exports method.
Uploading the Cartridge
Now that we have a new controller in our cartridge, it’s time to test it out! To upload our new cartridge:
- cd back to the cartridges hub root folder (
/cartridgesHub). - Fill in the details in
dw.json(use the same credentials as thedw.jsonfile instorefront-reference-architecture). - Upload the cartridge using the SFRA CLI tools:
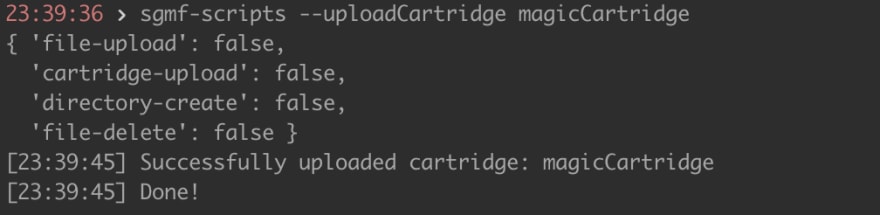
sgmf-scripts — uploadCartridge magicCartridge.
If all went well you should see the success message printed out for you:
🐘 You can also use NPM to upload the cartridge by running
npm run uploadCartridgeinstead of using the CLI tools.
Registering the Cartridge
Before we can use our new cartridge, we have to register it.
Registering the cartridge is basically the equivalent of “deploying” it, meaning the site you registered the cartridge on will be able to use its resources.
- Open your Business Manager and navigate to Administration > Sites > Manage Sites > RefArch.
- Click on the Settings tab.
- You should now see all the cartridges currently registered to the site in the Cartridges line. To register our cartridge, simply add its name to the list of Cartridges and click apply:

🐘 The order of the cartridges in the Cartridges flow is crucial. The more to the left a cartridge is positioned, the more powerful it is. What does powerful mean?
In the case where there are two controllers with the same name in more than one cartridge, the controller in the left-most cartridge will override the controller in the other cartridges and will be used by the platform.
With the cartridge registered, let’s test our new controller:
Navigate to the site’s URL by using the instance URL: https://.demandware.net/on/demandware.store/Sites-RefArch-Site/default/Magic-Show
If the controller loaded up correctly, you should get the following page:

Adding the Magic Template
When testing our new controller we reach the above error page. The reason for that is simple; in our controller we specified a template to render called magic, but we never actually added it to the cartridge.
- cd to the
templates/defaultfolder of our magicCartridge cartridge. - Add a new file called
magic.ismlwith the following content:
cd back to the cartridges hub root folder (
/cartridgesHub).Upload the cartridge using the SFRA CLI tools:
sgmf-scripts — uploadCartridge magicCartridge.
Refresh the page again and you should be greeted with a magical surprise :)
That will do it for our basic cartridge, we will keep the magic (pun intended) alive tomorrow when we use custom site preferences with our cartridge.
As always, looking forward to your comments either here or on Twitter 😎

Top comments (0)