
Expo has first-class support for building full-stack websites with React, so I can leverage that to add Cypress/Playwright for E2E testing and add the Storybook for UI components.
In this blog, I am going to add Cypress, Playwright, and Storybook to my Nx Expo app:
 xiongemi
/
nx-expo-monorepo
xiongemi
/
nx-expo-monorepo
a repo showing 2 apps created by @nx/expo
NxExpoMonorepo
This workspace is created using @nx/expo (Nx and Expo).
![]()
✨ This workspace has been generated by Nx, a Smart, fast and extensible build system. ✨
Workspace structure
It contains 2 apps:
- cats and its e2e (cypress/playwright)
- dogs and its e2e (cypress/playwright)
4 libs:
- models
- queries: tanstack react-query
- states: redux state management
- ui

Commands
-
nx start catsto start the cats app -
nx start dogsto start the dogs app -
nx build catsto build the cats app using EAS -
nx build dogsto build the dogs app using EAS -
nx test catsto test the cats app -
nx test dogsto test the dogs app -
nx lint catsto lint the cats app -
nx lint dogsto lint the dogs app -
npm run deployto deploy the cats app to github page -
nx e2e cats-cypressto run cypress e2e tests on cats app -
nx e2e cats-playwrightto…
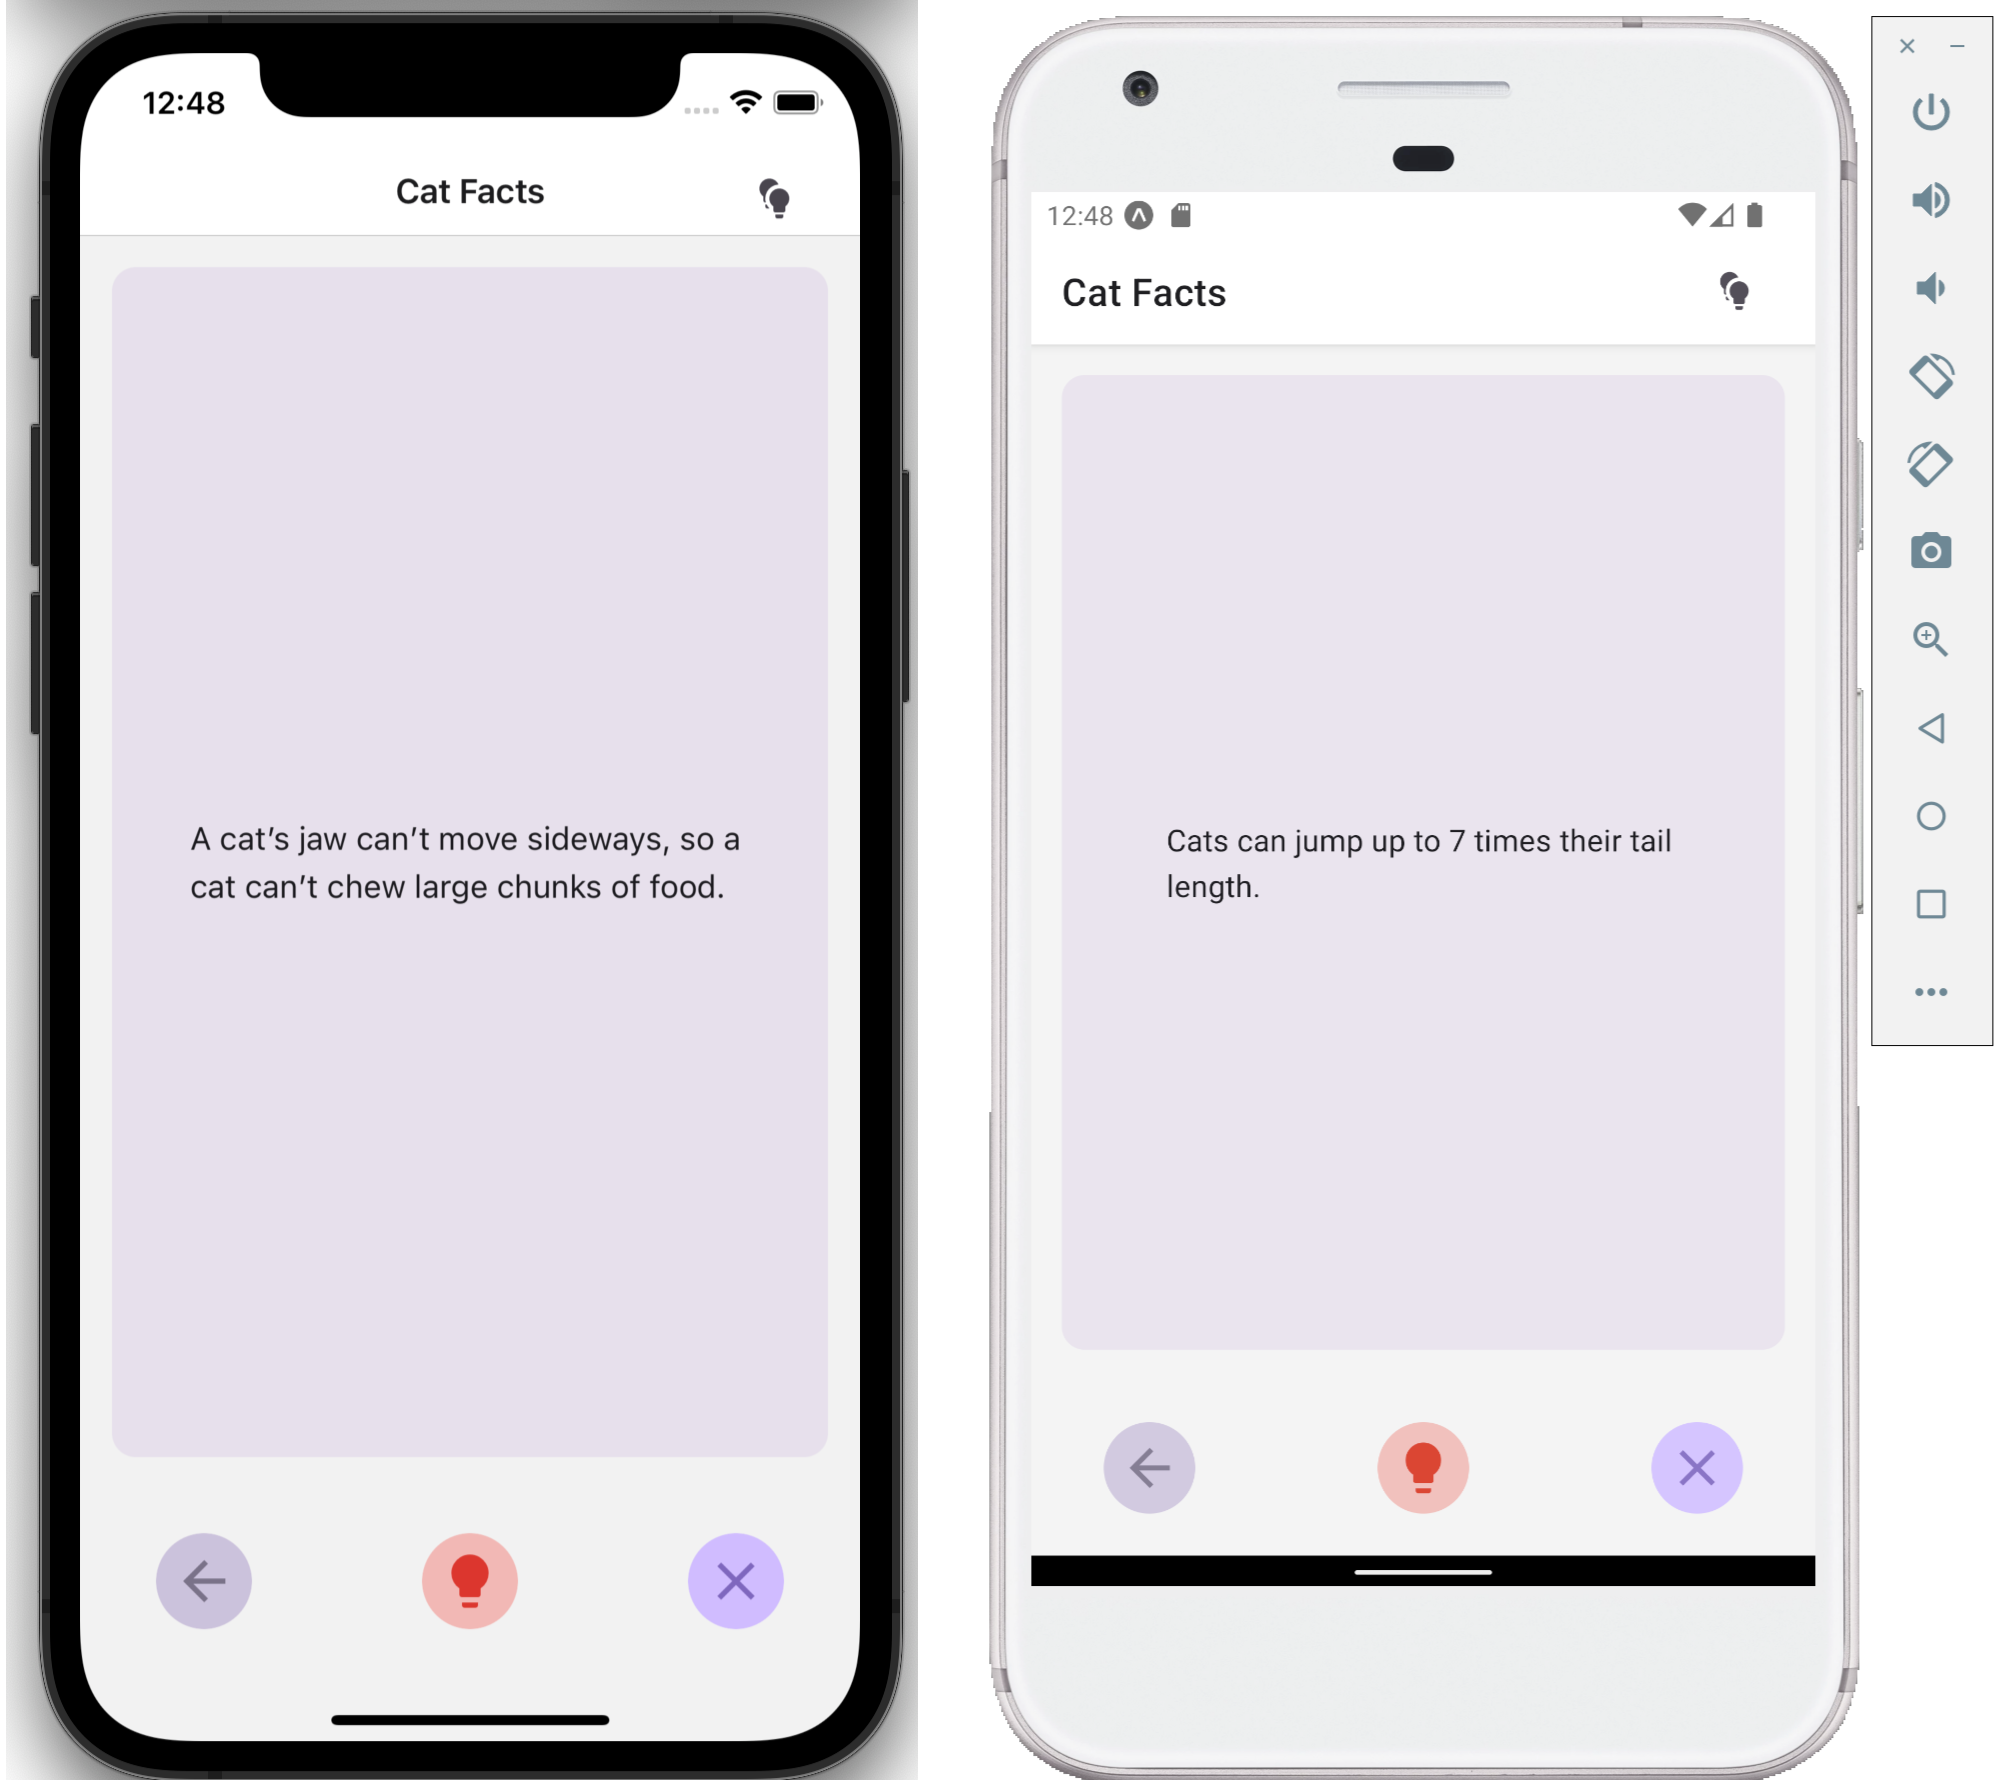
It is an app that shows a random fact about cats:

What is @nx/expo? Nx is a build system that helps you maintain and scale monorepos, both locally and on CI. @nx/expo contains generators for managing Expo applications and libraries within an Nx workspace.
I am going to go through:
- How to add Cypress
- How to add Playwright
- How to add Storybook
Add Cypress
In this section, I am going to go through:
- When I already have an existing Nx Workspace, how do I add the Expo and Cypress projects?
- When I already have an existing Nx Expo app, how do I add the Cypress tests to my app?
Add a new Expo App in an Nx Workspace
In any Nx workspace, I can install @nx/expo by running the following command:
npx nx add @nx/expo
Now when I generate a new Expo app, I can simply use @nx/expo:application generator with the flag --e2eTestRunner=cyperss:
npx nx generate @nx/expo:app --e2eTestRunner=cypress
It should create the expo app and its Cypress e2e tests. I can run npx nx run <your-app-name>-e2e:e2e to run the Cypress e2e tests.
Add Cypress to an Existing Nx Expo App
Before I start, I need to make sure I can serve my Expo app for the web view. In this example, in my apps/cats/project.json, I got a serve target defined:
   "serve": {
      "executor": "@nx/expo:serve",
      "options": {
        "port": 8081
      }
    },
So I can run the command npx nx run cats:serve to serve the app on http://localhost:8081/.

I can also use @nx/expo inferred tasks without having a serve target in project.json. In .env file, set NX_ADD_PLUGINS=true; then run the command
npx nx add @nx/expo
Then I can still run the serve command npx nx run <your expo project>:serve without a serve target defined.
Then I can set up the cypress e2e project against the web app.
First, I need to install @nx/cypress:
npx nx add @nx/cypress
Second, I create a project.json for my Cypress project. In this example, I create a project.json at apps/cats-cypress/project.json, I name the project cats-cypress:
{
  "name": "cats-cypress"
}
Third, run the below command to generate Cypress configuration:
npx nx generate @nx/cypress:configuration --project cats-cypress --devServerTarget=cats:serve --baseUrl=http://localhost:8081 --verbose --bundler=none
Since the serve command is npx nx run cats:serve, so the flag is --devServerTarget is cats:serve. Also, the --baseUrl is http://localhost:8081.
It should generate cypress.config.ts and a sample test:

I can run the Cypress test using the below command:
npx nx run cats-cypress:e2e
Add Cypress Tests
I change the example tests:
Now I can run the command npx nx run cats-cypress:e2e and it should pass:
 2 passing (867ms)


  (Results)

  ┌────────────────────────────────────────────────────────────────────────────────────────────────┐
  │ Tests:        2                                                                                │
  │ Passing:      2                                                                                │
  │ Failing:      0                                                                                │
  │ Pending:      0                                                                                │
  │ Skipped:      0                                                                                │
  │ Screenshots:  0                                                                                │
  │ Video:        false                                                                            │
  │ Duration:     0 seconds                                                                        │
  │ Spec Ran:     app.cy.ts                                                                        │
  └────────────────────────────────────────────────────────────────────────────────────────────────┘


\===================================================================================

  (Run Finished)


       Spec                                              Tests  Passing  Failing  Pending  Skipped
  ┌────────────────────────────────────────────────────────────────────────────────────────────────┐
  │ ✔  app.cy.ts                                869ms        2        2        -        -        - │
  └────────────────────────────────────────────────────────────────────────────────────────────────┘
    ✔  All specs passed!                        869ms        2        2        -        -        -


 —————————————————————————————————————————————————————————————————————————————————

 >  NX   Successfully ran target e2e for project cats-cypress (15s)
Add Playwright
Alternatively, I can use Playwright to e2e test.
In this section, I am going to go through:
- When I already have an existing Nx Workspace, how do I add the Expo and Playwright projects?
- When I already have an existing Nx Expo app, how do I add the Playwright tests to my app?
Add a new Expo App in an Nx Workspace
In any Nx workspace, I can install @nx/expo by running the following command:
npx nx add @nx/expo
Now when I generate a new Expo app, I can simply use @nx/expo:application generator with the flag --e2eTestRunner=playwright:
npx nx generate @nx/expo:app --e2eTestRunner=playwright
It should create the expo app and its Playwright e2e tests.
Add Playwright to an Existing Nx Expo App
Similarly to Cypress steps, before I start, I need to make sure I can serve my Expo app for the web view. In this example, in my apps/cats/project.json, I got a serve target defined:
   "serve": {
      "executor": "@nx/expo:serve",
      "options": {
        "port": 8081
      }
    },
First, I need to install @nx/playwright:
npx nx add @nx/playwright
Second, I create a project.json for my Playwright project. In this example, I create a project.json at apps/cats-playwright/project.json, I name the project cats-playwright:
{
  "name": "cats-playwright"
}
Third, run the below command to generate Cypress configuration:
npx nx g @nx/playwright:configuration --project cats-playwright --webServerCommand "nx run cats:serve" --webServerAddress http://localhost:8081
Since the serve command is npx nx run cats:serve, so the flag is --webServerCommand is nx run cats:serve. Also, the --webServerAddress is [http://localhost:8081](http://localhost:8081.).
It should generate playwright.config.ts and a sample test file:

For this example, I change the example test at apps/cats-playwright/e2e/example.spec.ts to:
import { test, expect } from '@playwright/test';

test('has title', async ({ page }) => {
  await page.goto('/');

  // Expect h1 to contain a substring.
  expect(await page.locator('h1').innerText()).toContain('Cat Facts');
});
Run command npx nx run cats-playwright:e2e, and the tests should pass:

Add Storybook
To add the storybook, simply run the command:
npx nx generate @nx/react:storybook-configuration <your expo app name>
In this example, I should see in the console output:
npx nx g @nx/react:storybook-configuration cats

>  NX  Generating @nx/react:storybook-configuration

✔ Do you want to set up Storybook interaction tests? (Y/n) · true
✔ Automatically generate \*.stories.ts files for components declared in this project? (Y/n) · true

✔ Configure a static file server for the storybook instance? (Y/n) · true
UPDATE nx.json
UPDATE package.json
CREATE apps/cats/.storybook/main.ts
CREATE apps/cats/.storybook/preview.ts
CREATE apps/cats/tsconfig.storybook.json
UPDATE apps/cats/tsconfig.app.json
UPDATE apps/cats/tsconfig.json
UPDATE apps/cats/project.json
CREATE apps/cats/src/app/App.stories.tsx
CREATE apps/cats/src/app/bookmarks/bookmarks.stories.tsx
CREATE apps/cats/src/app/facts/facts.stories.tsx
That is it! In one single, it should generate the Storybook for me. Run the command to see Storybook in web view:
npx nx run <your-expo-app>:storybook
It interpolates my native UI components to web components and then creates the Storybook. How does it achieve that?
In this example, it generates a file apps/cats/.storybook/main.ts:
import type { StorybookConfig } from '@storybook/react-webpack5';

const config: StorybookConfig = {
  stories: \['../src/lib/\*\*/\*.stories.@(js|jsx|ts|tsx|mdx)'\],
  addons: \[
    '@storybook/addon-essentials',
    '@storybook/addon-interactions',
    '@nx/react/plugins/storybook',
  \],
  framework: {
    name: '@storybook/react-webpack5',
    options: {},
  },
  webpackFinal: async (config) => {
    if (config.resolve) {
      config.resolve.alias = {
        ...config.resolve.alias,
        'react-native$': 'react-native-web',
      };
      config.resolve.extensions = \[
        '.web.tsx',
        '.web.ts',
        '.web.jsx',
        '.web.js',
        ...(config.resolve.extensions ?? \[\]),
      \];
    }
    return config;
  },
};

export default config;

// To customize your webpack configuration you can use the webpackFinal field.
// Check https://storybook.js.org/docs/react/builders/webpack#extending-storybooks-webpack-config
// and https://nx.dev/recipes/storybook/custom-builder-configs
Notice there is a line:
      config.resolve.alias = {
        ...config.resolve.alias,
        'react-native$': 'react-native-web',
      };
It uses Webpack to bundle and alias react-native to react-native-web.
When serving up my Storybook for the first time, I have some issues and problems preventing components from rendering. Below are the issues I run into and how I troubleshoot them.
Troubleshooting
Root Element
“Full-screen React Native apps with a root <ScrollView> may require the following styles inlined in the HTML document shell.” (https://necolas.github.io/react-native-web/docs/setup/#root-element).
In this example, I do have a root element, so I need to add styles to apps/cats/.storybook/preview-head.html to make my root full height:
<style type="text/css">
  /\* These styles make the body full-height \*/
  html,
  body {
    height: 100%;
  }
  /\* These styles disable body scrolling if you are using <ScrollView> \*/
  body {
    overflow: hidden;
  }
  /\* These styles make the root element full-height \*/
  #storybook-root {
    display: flex;
    height: 100%;
  }
</style>
Error: Couldn’t find a navigation object.
Because I am using the library @react-navigation/native and I use its hooks like useNavigtion and useRoute inside my component, I have this error:

The easiest way is just to mock this library and create a decorator for it. In this example, I create a Navigation Decorator at apps/cats/.storybook/mocks/navigation-decorator.tsx:
import { NavigationContainer } from '@react-navigation/native';
import React from 'react';

export const NavigationDecorator = (story: any) => {
  return (
    <NavigationContainer independent={true}>{story()}</NavigationContainer>
  );
};
Then I can add this decoration to my story file. In this example, I add it to apps/cats/src/app/bookmarks/bookmarks.stories.tsx:
import type { Meta, StoryObj } from '@storybook/react';
import { Bookmarks } from './bookmarks';

import { within } from '@storybook/testing-library';
import { expect } from '@storybook/jest';
import { NavigationDecorator } from '../../../.storybook/mocks/navigation-decorator';

const meta: Meta<typeof Bookmarks> = {
  component: Bookmarks,
  title: 'Bookmarks',
  decorators: NavigationDecorator, // <---- add the decorator here
};
export default meta;
type Story = StoryObj<typeof Bookmarks>;

export const Primary = {
  args: {},
};

export const Heading: Story = {
  args: {},
  play: async ({ canvasElement }) => {
    const canvas = within(canvasElement);
    expect(canvas.getByText(/Welcome to Bookmarks!/gi)).toBeTruthy();
  },
};
Error: Couldn’t find a route object.

This issue is similar to “Couldn’t find a navigation object”, it is also related to the library @react-navigation/native.
It happens because my component is using the useRoute hook and expecting certain routing parameters. I simply need to customize the mock NavigationDecorator for my component. For example, below is a component that is expecting an id from the route parameters:
const route = useRoute<RouteProp<{ params: { id: string } }>>();
const id = route.params?.id;
I can simply modify the mock NavigationDecorator at apps/cats/.storybook/mocks/navigation-decorator.tsx:
import { NavigationContainer } from '@react-navigation/native';
import { createNativeStackNavigator } from '@react-navigation/native-stack';
import React from 'react';

export const NavigationDecorator = (story: any) => {
  const Stack = createNativeStackNavigator();
  return (
    <NavigationContainer independent={true}>
      <Stack.Navigator>
        <Stack.Screen
          name="MyStorybookScreen"
          component={story}
          initialParams={{ id: 123 }}
        />
      </Stack.Navigator>
    </NavigationContainer>
  );
};
Error: No QueryClient set, use QueryClientProvider to set one
This happens because I use the library @tanstack/react-query. I need to create a decorator for QueryClientProvider. At apps/cats/.storybook/mocks/query-client-decorator.tsx, I create this decorator:
import { QueryClient, QueryClientProvider } from '@tanstack/react-query';
import React from 'react';

export const QueryClientDecorator = (story: any) => {
  const queryClient = new QueryClient();
  return (
    <QueryClientProvider client={queryClient}>{story()}</QueryClientProvider>
  );
};

export default QueryClientDecorator;
In this example, my story at apps/cats/src/app/facts/facts.stories.tsx will become:
import type { Meta, StoryObj } from '@storybook/react';
import { Facts } from './facts';

import { within } from '@storybook/testing-library';
import { expect } from '@storybook/jest';
import { NavigationDecorator } from '../../../.storybook/mocks/navigation-decorator';
import { QueryClientDecorator } from '../../../.storybook/mocks/query-client-decorator';

const meta: Meta<typeof Facts> = {
  component: Facts,
  title: 'Facts',
  decorators: \[NavigationDecorator, QueryClientDecorator\], // <---- add the QueryClientDecorator here
};
export default meta;
type Story = StoryObj<typeof Facts>;

export const Primary = {
  args: {},
};

export const Heading: Story = {
  args: {},
  play: async ({ canvasElement }) => {
    const canvas = within(canvasElement);
    expect(canvas.getByText(/Welcome to Facts!/gi)).toBeTruthy();
  },
};
Error: Unable to load react-native-vector-icons.
I got this error when I tried to compile the storybook:
You may need an additional loader to handle the result of these loaders.
|
|       return (
>         <Text selectable={false} {...props}>
|           {glyph}
|           {children}
 @ ./node\_modules/react-native-vector-icons/MaterialCommunityIcons.js 6:0-50 9:16-29
 @ ./node\_modules/react-native-paper/lib/module/components/MaterialCommunityIcon.js 8:27-94
 @ ./node\_modules/react-native-paper/lib/module/core/PaperProvider.js 3:0-72 73:12-33
 @ ./node\_modules/react-native-paper/lib/module/index.js 4:0-59 4:0-59 5:0-64 5:0-64
 @ ./apps/cats/src/app/App.tsx 1:717-760 1:1882-1892
 @ ./apps/cats/src/app/ lazy ^\\.\\/.\*$ namespace object ./App.tsx ./App
 @ ./storybook-stories.js 1:383-427
 @ ./storybook-config-entry.js 1:171-216 1:1789-1797 1:1871-1985 1:1926-1984 1:1972-1980
This happens because I use the library react-native-paper which depends on react-native-vector-icons.
In react-native-vector-icons, it .js files contain jsx code: <Text selectable={false} {…props}>. To solve this, I need to load the react-native-vector-icons library using babel-loader. In this example, I can add a rule to Storybook’s Webpack config:
        config.module.rules.push({
          test: /\\.(js|jsx)$/,
          include: /react-native-vector-icons/,
          loader: 'babel-loader',
          options: {
            presets: \[
              '@babel/preset-env',
              \['@babel/preset-react', { runtime: 'automatic' }\],
            \],
          },
        });
Then I need to also load the font MaterialCommunityIcons.ttf for Storybook:
- Download the font from https://github.com/oblador/react-native-vector-icons/blob/master/Fonts/MaterialCommunityIcons.ttf to
apps/cats/.storybook/public. - Add
staticDirsoption to Storybook configuration atapps/cats/.storybook/main.ts:
staticDirs: \['./public'\],
- Add the below style to
apps/cats/.storybook/preview-head.htmlto load the font:
<style type="text/css">
  @font-face {
    font-family: 'MaterialCommunityIcons';
    src: url('/MaterialCommunityIcons.ttf') format('truetype');
  }
</style>
The Storybook configuration at apps/cats/.storybook/main.ts will become:
import type { StorybookConfig } from '@storybook/react-webpack5';

const config: StorybookConfig = {
  stories: \['../src/app/\*\*/\*.stories.@(js|jsx|ts|tsx|mdx)'\],
  staticDirs: \['./public'\],
  addons: \[
    '@storybook/addon-essentials',
    '@storybook/addon-interactions',
    '@nx/react/plugins/storybook',
  \],
  framework: {
    name: '@storybook/react-webpack5',
    options: {},
  },
  webpackFinal: async (config) => {
    if (config.resolve) {
      config.resolve.alias = {
        ...config.resolve.alias,
        'react-native$': 'react-native-web',
      };
      config.resolve.extensions = \[
        '.web.tsx',
        '.web.ts',
        '.web.jsx',
        '.web.js',
        ...(config.resolve.extensions ?? \[\]),
      \];
      if (config.module?.rules) {
        config.module.rules.push({
          test: /\\.(js|jsx)$/,
          include: /react-native-vector-icons/,
          loader: 'babel-loader',
          options: {
            presets: \[
              '@babel/preset-env',
              \['@babel/preset-react', { runtime: 'automatic' }\],
            \],
          },
        });
      }
    }
    return config;
  },
};

export default config;

// To customize your webpack configuration you can use the webpackFinal field.
// Check https://storybook.js.org/docs/react/builders/webpack#extending-storybooks-webpack-config
// and https://nx.dev/recipes/storybook/custom-builder-configs
Now I can see react-native-vector-icons are being loaded correctly for the Storybook.
Now I can run npx nx run cats:storybook and it should render the storybook for me.

Summary
In this article, you have learned how to add Cypress, Playwright, and Storybook to your Nx Expo app.
With Nx, it will help you with your Expo development process.

Top comments (3)
Cool stuff, btw
@storybook/addon-react-native-webcan help configure react native web storybook.thanks, i will try it out
Hi Emily Xiong,
Your tips are very useful
Thanks for sharing