
My first project was not yet finished and a comment shows up in my notification list. This comment recommend I try https://devchallenges.io/challenges.
This is such a nice discovery for me who hate designing things myself and always struggle to find an idea that motivates me.
So I registered and picked this challenge up :
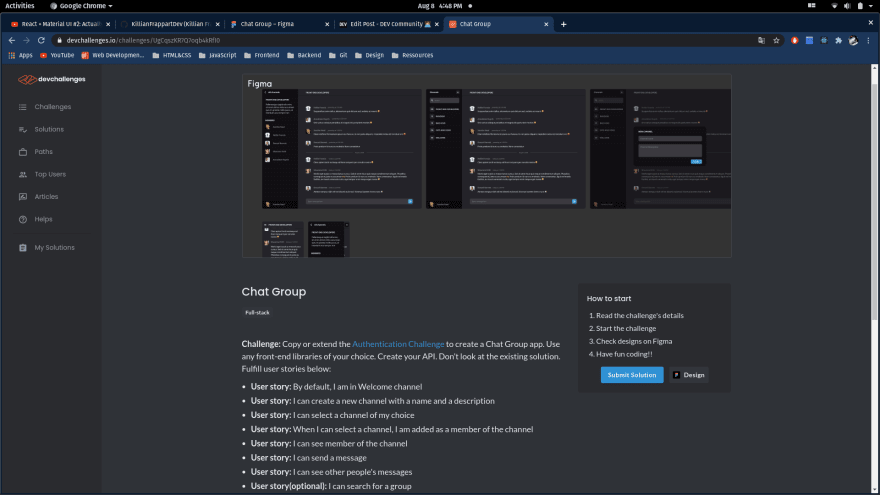
Let's get that chat group project done 👍.
1. Planning the app
a. Idea
Here, we are building an app where people can join chat groups and talk together. Simple and efficient just as I like it!
b. Features
-Authentication.
-Create a channel with name and description.
-Join any channel.
-Show channel's other members.
-Send message and browse through other member's messages.
-Search for group.
c. Frontend
Once again frontend will be build on React. I'm considering using Material UI for this project because I heard of it recently and it looks great.
-(/) Everything happens here.
-(/auth) sign up and login.
d. Backend
Node/Express for building a Rest API and MongoDB for storing data.
-(POST)(api/users/signup) sign up.
-(POST)(api/users/login) login.
-(GET)(api/users/:groupId) Fetch members of a group.
-(GET)(api/groups) Fetch all groups.
-(POST)(api/groups) Create a new group.
-(GET)(api/messages/:groupId) Fetch messages of a group.
-(POST)(api/messages/:groupId) Add a new message.
2. Process
a. Frontend
npx create-react-app
I am getting started by cleaning up directories and files. Thereafter, I initialize a new GitHub repository.
Time to install dependencies: react-router-dom, @material-ui/core and axios.
Ok at this point I literally spend hours watching tutorials and reading Material UI docs.
I did not realize how cool this component library was but It is not as easy as I thought to get started with.
I decided to start "the easy way", I mean using a pre-built template and customize it. So, here comes my authentication page:
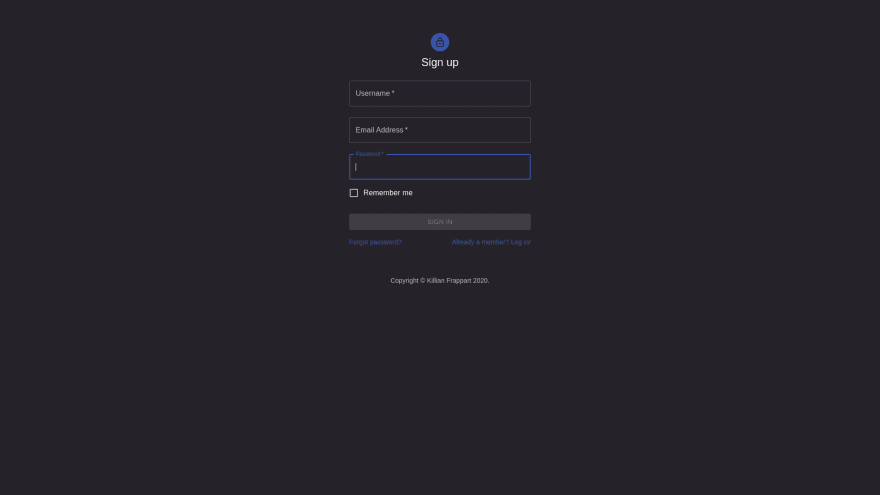
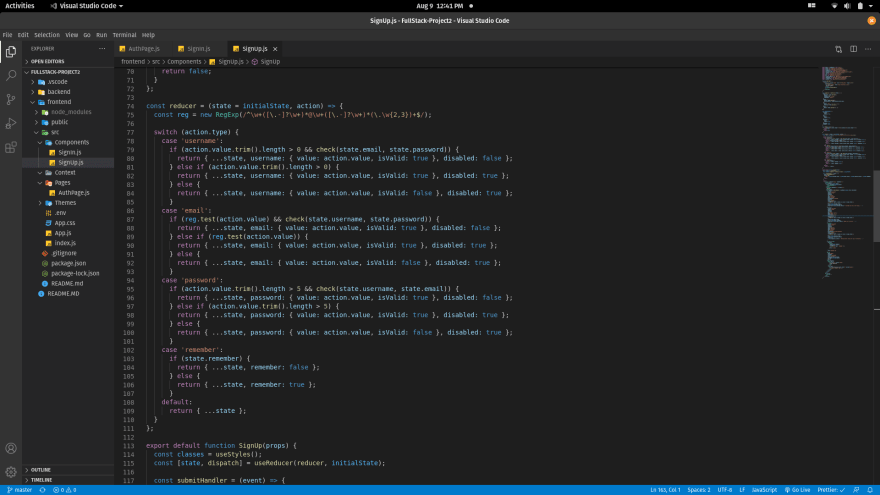
After some design adjustments I focused on the input validation which is in my opinion really decent. (It probably deserves to be refactored tho 😅)
Right now, I feel kind of guilty because my login pages never looked so great but it is all thanks to an external library...
I will now have to implement a global state management to redirect authenticated user to the main page and for that I'll go for React Context API.
I am done with the overall design, it was great learning core concepts of Material-UI and final design looks great 😇
A lot of data passed through props, it is becoming a little messy in there...
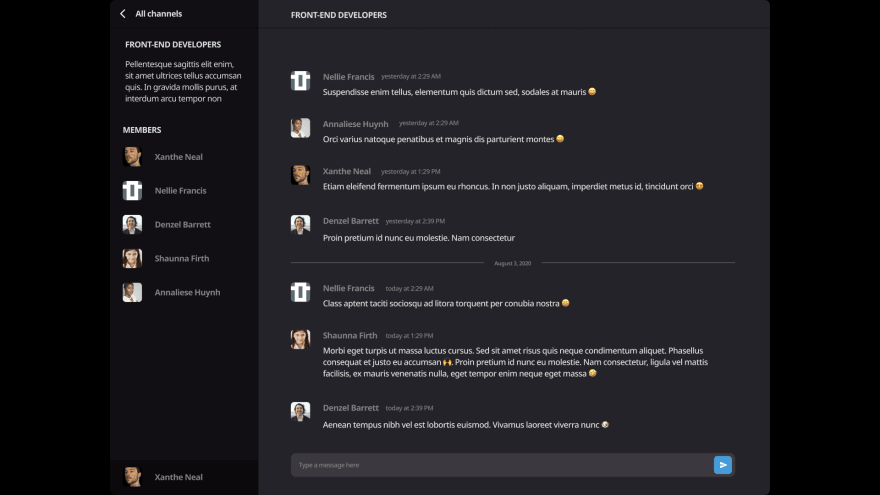
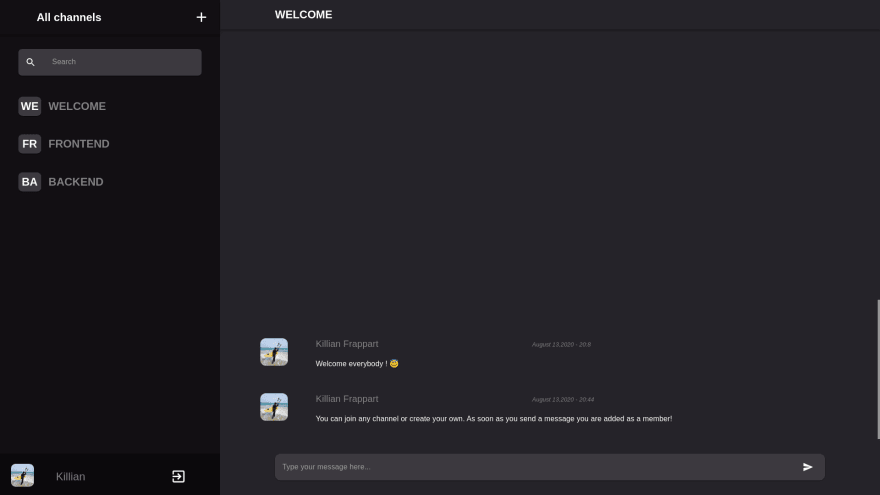
The main page is divided in two pieces, the darker one is displaying a list of groups and members and the second part is the actual chat component.
I don't think that was the best way to achieve this but I set an interval that fetch potential new messages from my backend every 5 seconds.
b.Backend
Let's build an API ! This is by far my favorite part of the development process.
npm init
npm install --save cors express body-parser mongoose jsonwebtoken etc...
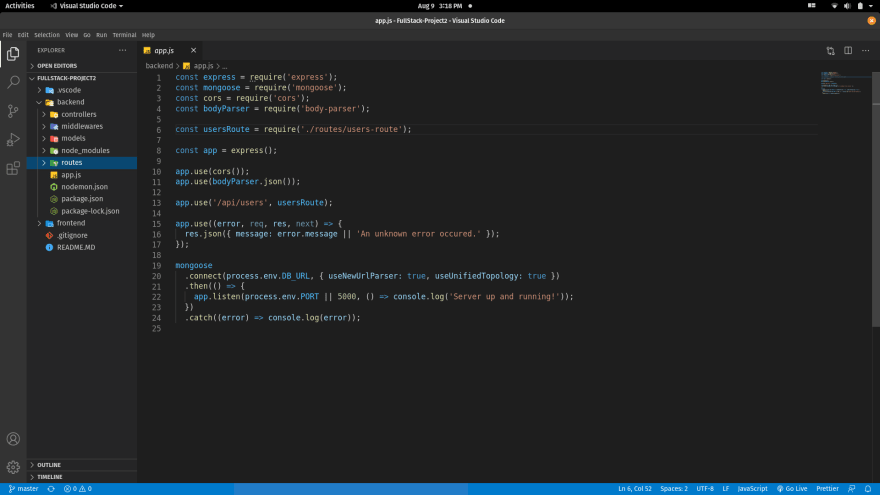
As always, I start by creating my directories (routes, controllers, models, middlewares, ...) and then I dive in my app.js file where I enable cors.
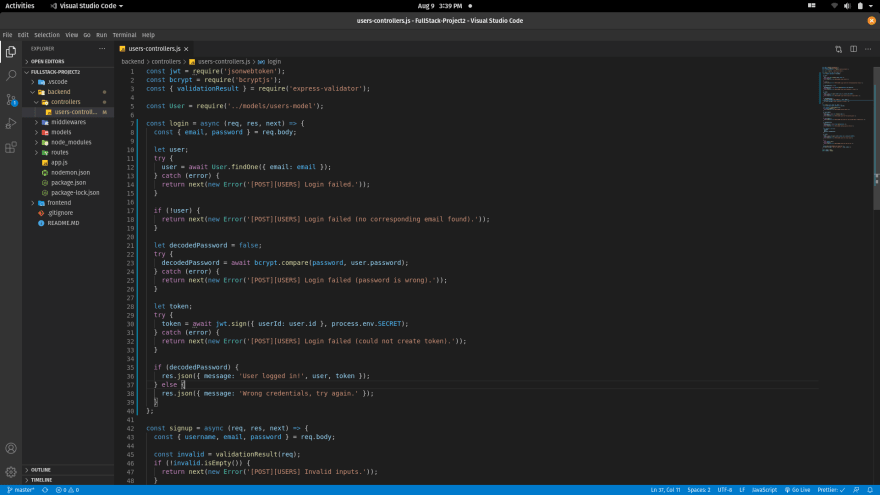
Since I started building my frontend with the sign up/login page, I am going to work on my personal authentication system first.
A simple middleware that uses express-validator for input validation, connect to the MongoDB database and send a token back to the frontend.
Moving forward and implementing features one by one, always using the same pattern:
- Adding a middleware to listen to a certain path.
- Building a route for the given path.
- Connecting to custom controllers.
- Importing a new model if necessary.
3. Build & Deploy
After switching to environment variables, I deploy my Node app on Heroku.
Thanks to React script I can simply run
npm run build
and then deploy on Firebase.
Project 2 is now live! 🔥 (Open in chrome for optimal user experience)
Note :
If you are considering having a look to the live version, please remember I'm still learning and there are probably plenty of issues/bugs...
As always, I'd love to have feedback and tips from you! 😇
Source code:

Latest comments (0)