You have recently set up your beautiful Gatsby blog. Now, you are choosing a commenting plugin to add to your website. True, there is a dilemma if a blogger should add comments to his/her website. It is up to you to decide. In most popular blogs, there are comments sections that allow users to interact and share their ideas. This also increases the session duration of your website. And many benefits...
If you decided to add comments to your Gatsby blog, let's start!
There are numerous services you can choose between. In this tutorial, I'll be using Hyvor Talk. Why?
- It's fast & easy to integrate
- It's privacy focused and ad-free
- It's beautiful: perfectly blends with gatsby themes
- It's fully customizable (colors, fonts, and texts)
- It has many features that make the moderation process very easy
- It has an official react library
- It offers a generous free plan
- It supports lazy loading by default (So, zero-performance effect on your blog)
Adding Comments to your Gatsby Blog
1. Sign Up
Go to Hyvor Talk and sign up (Here you sign up for a Hyvor Account, which allows you to use any service of Hyvor).
2. Register Your Website
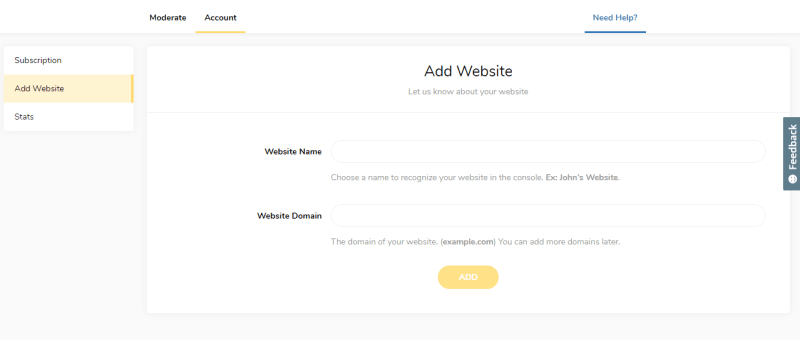
After signing up, you will see the console, where the magic happens. Make sure you are in the "Account -> Add Website" Section.
Then, fill the Website Name and Website Domain and click "ADD". If you have multiple domains, you can add them later.
3. Installing
1. First Install Hyvor Talk React Package
npm install hyvor-talk-react
or
yarn add hyvor-talk-react
2. Import
Now, we can add Hyvor Talk comments to Gatsby Template.
First, open your template file which is often src/templates/post.js. Then, add the import code.
import React from 'react'
import HyvorTalk from 'hyvor-talk-react'
...
3. Add Embed
return (
  <Global>
    ...
    <PageBody>
      ...
      <HyvorTalk.Embed websiteId={WEBSITE_ID} id={PAGE_ID} />
    </PageBody>
  </Global>
)
-
WEBSITE_IDshould be replaced with your website ID which can be found at General section of the console. -
PAGE_IDis an ID Hyvor Talk uses to identify each page. You can use a slug (likemy-page), post ID, or nothing. If you don't set this ID, the canonical URL of the page will be used as the identifier.
How to Lazy Load Comments
You can easily Lazy Load the comments plugin. Add loadMode="scroll" attribute to HyvorTalk.Embed.
<HyvorTalk.Embed
    websiteId={WEBSITE_ID}
    id={PAGE_ID}
    loadMode="scroll"
/>
Find more details about load modes here
Adding Comment Counts to Listing Pages
You may need to add comment counts to listing pages (maybe the home page). For this, hyvor-talk-react's CommentCount component can be used.
Add the following to the place where you need to show the comment counts for a post. Note that the id attribute is compulsory here.
<HyvorTalk.CommentCount websiteId={WEBSITE_ID} id={PAGE_ID} />
This will render a <span> with text like No comments, 43 comments, etc. If you only need the number,
<HyvorTalk.CommentCount websiteId={WEBSITE_ID} id={PAGE_ID} mode="number" />
After Installing...
After installing Hyvor Talk on your website, you can
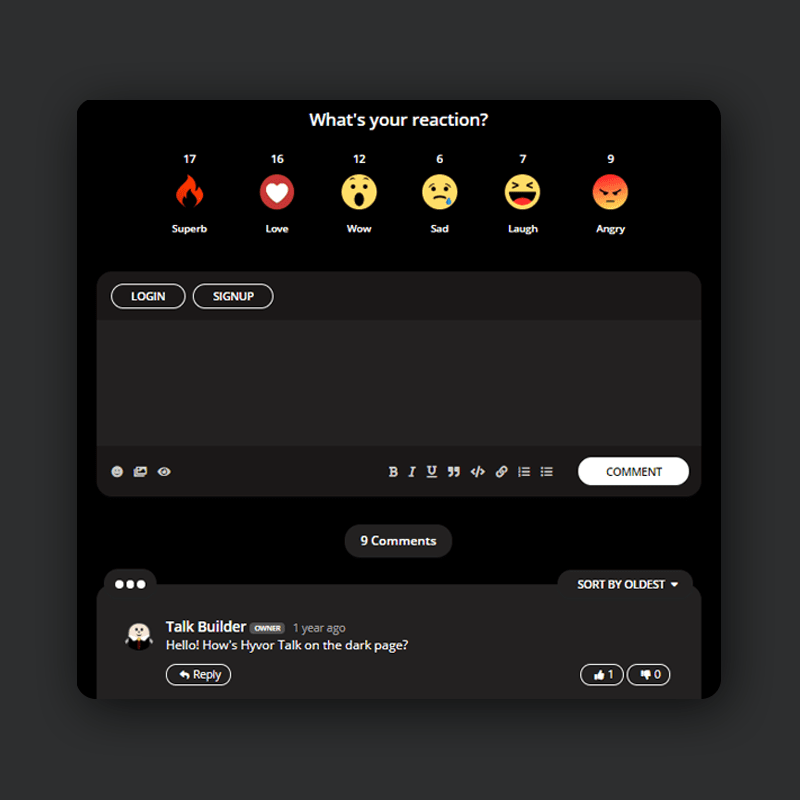
- Change appearance - Hyvor Talk is fully customizable. Here's how it can be customized for a dark website.
- Change community settings - Here you can change many settings including Guest Commenting options, Spam Detection, Pre Moderation, Language, Default Sort, Moderator Tags, Votes, etc.
Yay! You have just installed Hyvor Talk on your Gatsby blog. If you have any questions, please let me know.


Top comments (5)
Thanks. Just installed it and was easy to implement. Waiting to see how it works out and see if it fits my site's needs.
Nice to hear that 🥰
Promising, great read, thank you!✌🏻️
You are welcome :)
Thanks for the post buddy! Was very easy to install. the lazy loading feature is what I was lloking for my static blog.