
In this tutorial, we'll learn how to create an Animoji using Reality Composer and ARKit within Swift. Let's start with the definition of Animoji: It is an interactive filter that is featured in modern iPhones and uses face recognition to track face patterns.
We will focus on creating a character that can wink and blink at the same time that we are doing the same action.
The final result of the App would look like this:

Let's begin!
First Create a new project in Xcode, chose Augmented reality Application type.
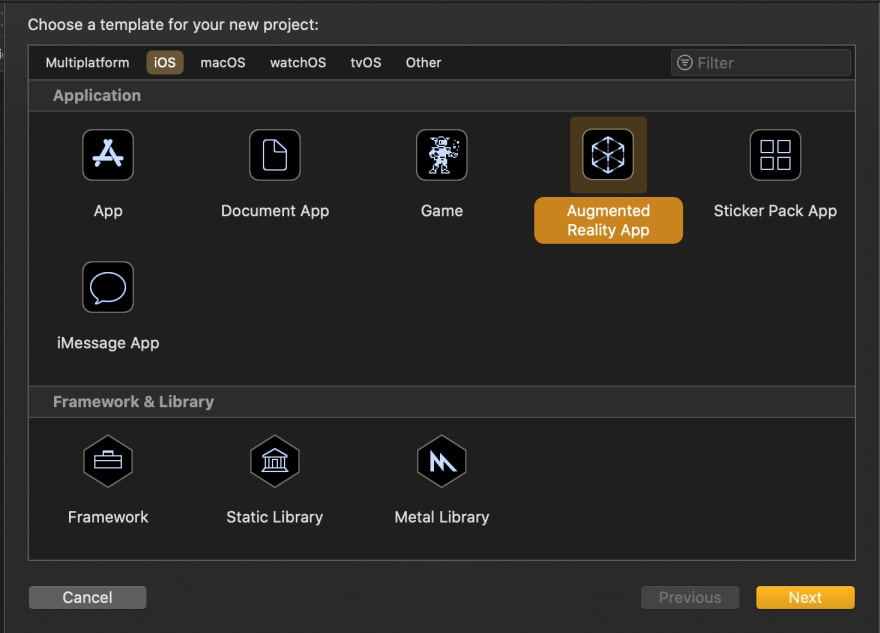
Then set the project settings, make sure to select RealityKit as "Content Technology"

On your Project folder select the .rcproject file and chose the option on the right top corner that says "Open in Reality Composer".
 This will open the application where you'll be able to create your own shapes and/or use the built-in figures.
Then, head over to the properties panel and make sure to select the Face Anchor type.
On the top, you'll find a series of objects and shapes that you can integrate into the face model.
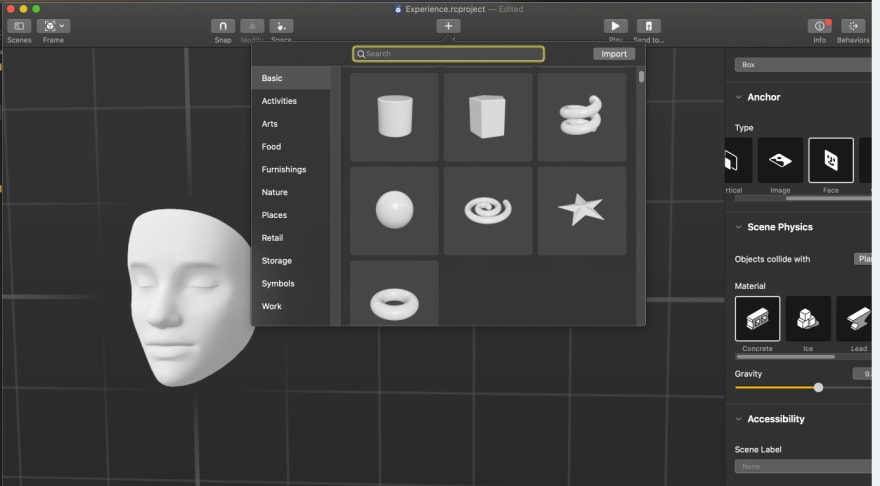 Start designing your Animoji, eyes, mouth, ears, etc. You can set colours and object materials on the properties panel.
 Before going to the code we must set identifiers to both of the eyes objects that the character has, like this:
 (make sure to use proper names that you can easily identify).
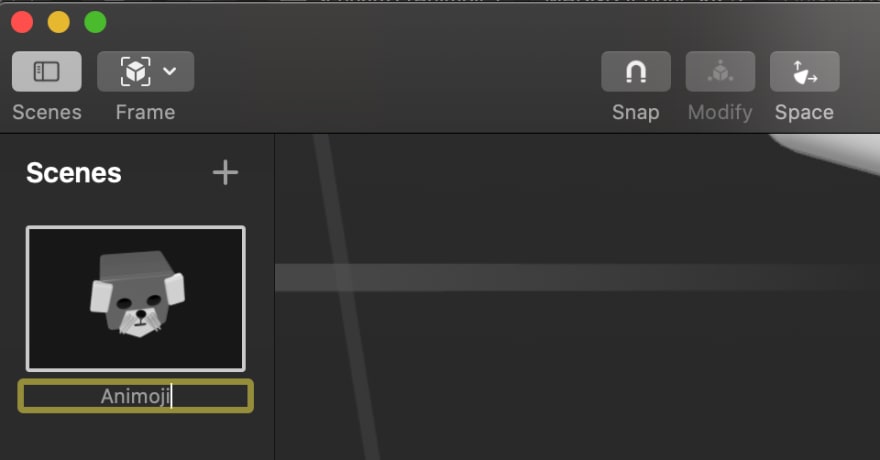
Next, add an identifier name to our scene opening the top left scene tab.
A Scene is a collection of entities that contain Anchors, Objects, Behaviours and the Physics world.
Open the ViewController.swift file and import at the top the ARKit that will allow us to use our front camera and track our facial movements.
import ARKitAdd the
ARSessionDelegateto the ViewController Class to control and follow the changes on face anchors.-
Create a variable that will save the scene created on reality composer. Then create 2 more variables for the eyes, set them as Entity type.
Entity is every object created on the reality composer scene

create a
viewWillAppear(- animated: bool)function, it will load the view by itself. Inside it, create a Face Tracking configuration constant to detect faces in device's front camera feed and run the arView session setting a delegate.

Load the Animoji scene with
Anchor variable name = rcproject file name.loadAnimoji(). If desired use try/catch to handle load scene errors and then, append it to the arView scene.

Target the eye objects on reality composer and save them on the global variables previously created.
eyeRight = schnauzerAnchor.findEntity(named: "eyeRight")!

eyeLeft = schnauzerAnchor.findEntity(named: "eyeLeft")!
Make sure that the names match with the identifiers set on reality composer objects
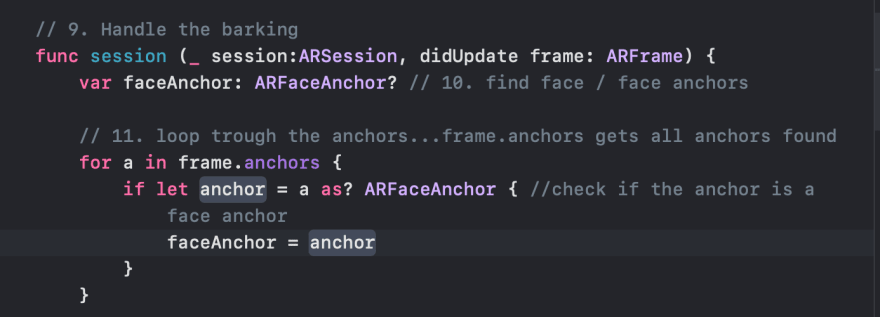
- Handle the eye blink: Create a session function
func session (_ session:ARSession, didUpdate frame: ARFrame)
- set a variable to store the ARFaceAnchor object to find face anchors.
- Make a for into loop thought the anchors found using
frame.anchorsto make a face anchor checking.
Here's an explanation
ARFaceAnchor
- Get Value of eyes movement: We'll use the blendShapes dictionary that represents the facial features recognized by ARKit. the value of each key on the dictionary is a floating-point number indicating the current position of the feature and it ranges from 0.0 (neutral) to 1.0 (maximum movement).
Finally, we will match the eye-opening and closing with the character's eye objects, scaling them on the z-axis.

And we are officially done! Now you can run your application and share your Animoji :D

Top comments (0)