Before you start your business on your ecommerce Prestashop site, though, you'll have to know how to install Prestashop, and then, set up your theme.
These days, owning a professional looking website is of crucial importance for any type of business. And you need a really good theme, because it's your greatest ambassador on this endless digital market.
If it doesn't look professional and presentable, people will avoid interacting with it.
The goal of this tutorial is to show you everything that needs to install Prestashop theme with sample data.
Prestashop allows you to choose between different outlooks for your store built from Prestashop. As a beginner, you probably have heard about tons of available free and paid Prestashop themes. You've found the web design of your dreams, and it happened to be a theme.
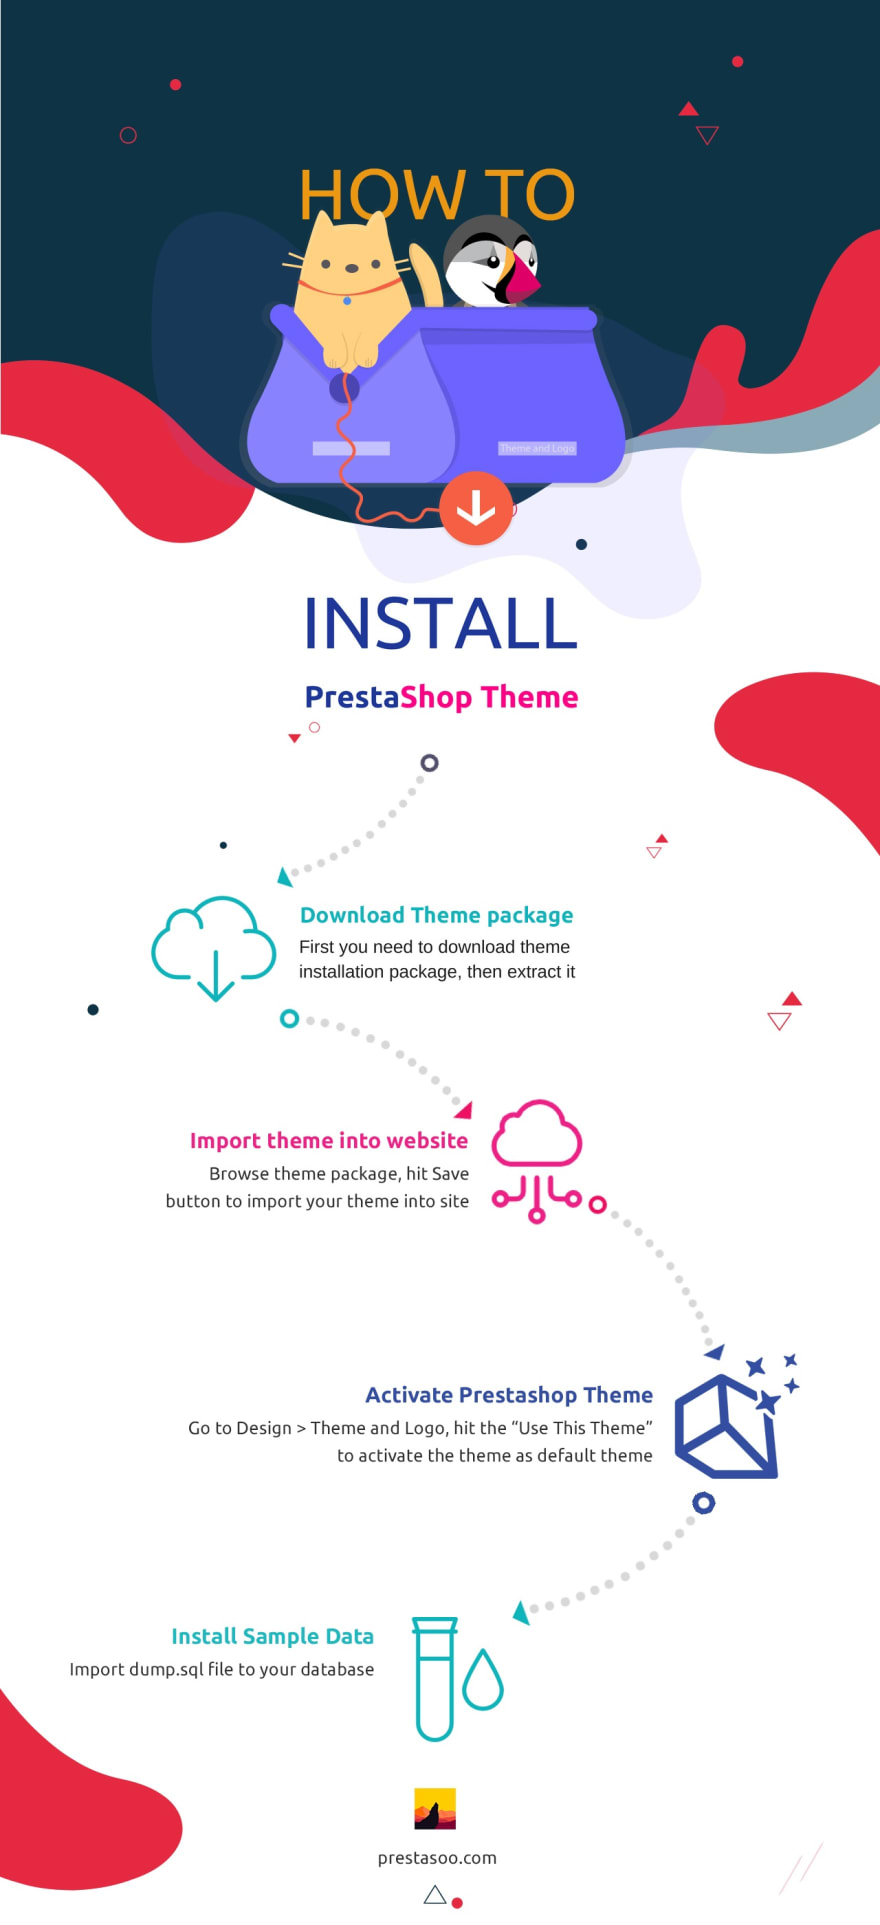
You will learn about
I. Download Theme Package to Local PC
II. Import Theme into Website
III. Activate Prestashop Theme
IV. Install Sample Data
Step I - Download Theme Package to Local PC
First you need to download theme installation package. Usually the theme comes with the installation guide and provides several ways of installation (manual, via plugin, etc), so make sure to check the guide before you even start working with the theme.
Then, extract the downloaded file.
Step II - Import theme into website
Log into PrestaShop admin panel and go to Design -> Theme and Logo.
You would be redirected to the Theme management page. Here you need to click Add New Theme button.
Import from your computer: It's an easy way - just browse theme package inside the folder you downloaded and extracted on Step I, and then, hit Save button to import your theme into site.
Import from FTP: It's a hard way. Why do we need it? By default, PHP permits a maximum file upload of 2MB, and you can find a simple and light weight theme but let’s face it: they are the large files. That's why you shouldn't deploy your ecommerce website on a hosting - everything is limited!
You might want to ask your hosting provider to configure your hosting for uploading a big file. And you need to wait some hours (or some days) to receive the answer. So crazy, huh? Lets use a KVM VPS, it's just 5-10 usd per month. Today, KVM VPS pricing is lower than yesterday.
Where do you find a good provider? I love Linode, Digitalocean, Vultr ... They are some good providers you can believe for your business. It's my suggest. It's not advertising. There is no affiliate link here.
And remember, if your site is running on a hosting or a weak server, you can not use our Prestashop Cloud Backup module to schedule to backup your website automatically.
You know that feeling you get when you're waiting for hosting provider's answer.
Can't wait anymore? So now, upload theme package to your-website/themes/ using FTP clients.
Once have done that, back to Design -> Theme and Logo -> Add a new theme. Here you might want to select the newly uploaded theme from the list of available themes at "Select the archive" and press the “Save” button.
Congratulations! The theme is now installed! Now, activate the theme as default theme.
Step III - Activate Prestashop Theme
Now go back to the Design > Theme and Logo page and find the newly installed theme. Hover the theme thumbnail image and hit the “Use This Theme” to activate the theme as default theme.
Step IV - Install sample data
Dump file is a database file that stores all the theme settings. Usually it is imported into the database to make the website look like the demo of the theme you have purchased.
Import dump.sql file to your database. You should get the following message: Import has been successfully finished, XXX queries executed (dump.sql).
The installation is successfully completed. Refresh your Prestashop site to enjoy the result and start to download Prestashop Modules to improve your website features and boost your sales.
Don't forget visit our blog to discover more Prestashop Tutorials.


Top comments (0)