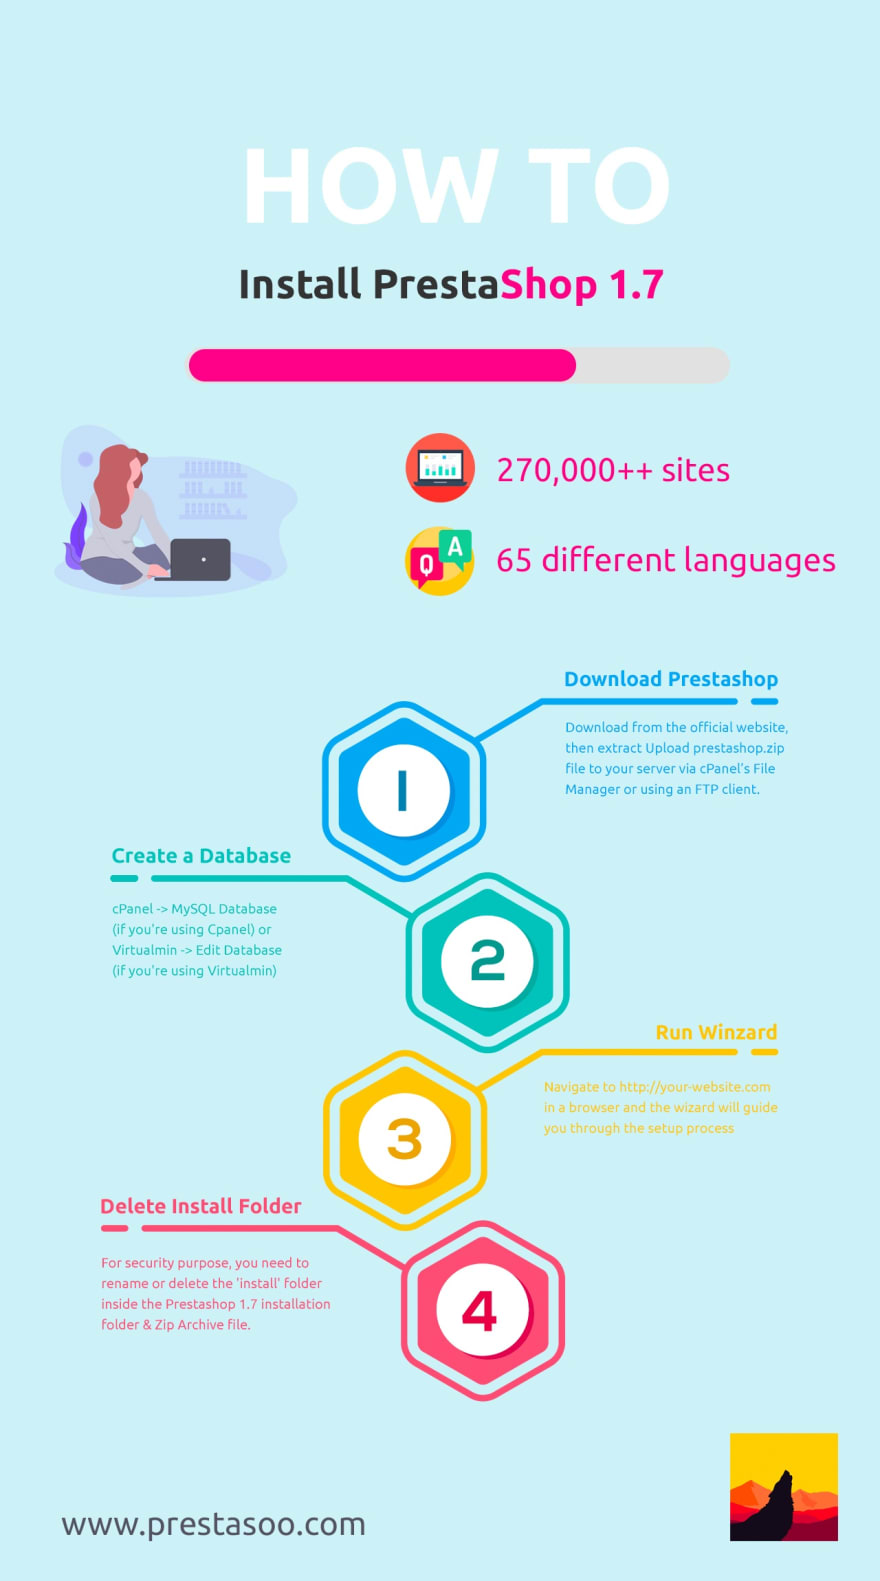
Prestashop is one of the most popular content management system for e-commerce websites. It is used by small businesses and large enterprise companies alike, and can be enhanced by thousands of extensions and themes. More than 270,000 ecommerce sites worldwide run on PrestaShop and is available in 65 different languages.
It is fairly easy to use, provides a powerfully responsive store interface for shoppers, offers a comprehensive set of features, and it's free.
In this tutorial, we will go over how to install Prestashop on your hosting / server (i always love to install a Prestashop ecommerce site on a Ubuntu Server - it's lightweight and easy-to-use).
What are the steps to prepare for Installing Prestashop 1.7
I. Download Prestashop & Upload to Server
II. Create a Database
III. Run Prestashop 1.7 Installation Wizard
IV. Delete Install Folder & Archive file
And remember, installing Prestashop on a server is more involved and time-consuming than using cloud hosting, but the rewards are greater: Better Performance, Greater Flexibility with the freedom to tweak your settings as you see fit. You won’t ever have to wait for a cloud-host support team to change PHP settings for you.
Step I - Download Prestashop & Upload to Server
Download the PrestaShop package from the official website then Extract the package locally on your computer.
In order to do that, please, use any extracting software to unzip. For example : Winzip, Winrar, 7Zip (Windows) or Keka, Archive Utility (MacOS)...
Open the extracted folder that includes prestashop.zip file. Upload this file to your server via cPanel’s File Manager or using an FTP client.
Bear in mind that the uploaded package should reside under the public_html directory, which is the web root folder for your account, or alternatively under a subdirectory of it.
Once you have uploaded the archive, extract it there.
Step II - Create a Database
As soon as the files are uploaded to your server, you should create a database for runing the setup Wizard.
You can easily do this from cPanel -> MySQL Database (if you're using Cpanel) or Virtualmin -> Edit User / Edit Database (if you're using Virtualmin). If PhpMyadmin is installed on your server, use it to create a new database.
Step III - Run Prestashop 1.7 Installation Wizard
Navigate to your-website. com in a browser and the wizard will guide you through the setup process. On this step you will be asked to choose the language you want to use for your store.
Select language: The first screen is the language setting. Select the language for the installer, then click the “Next” button.
This will also set the default language for your PrestaShop installation – but other languages will also be available for you to enable later.
License agreements: PrestaShop is free and distributed under a certain set of open-source licenses. Read the terms and condition and select to agree with the terms and conditions.
(You simply cannot use this software if you disagree with the terms of the licenses, and this step requires you to explicitly acknowledge them).
System compatibility: It's a quick check of all the server parameters. If it is proceeded, that means, the system is ready to install Prestashop 1.7.
Store information: Where you can start customizing your shop: give it a name, indicate its main activity and personal information of the owner.
System configuration: Do you remember Step II? Fill in all the fields with the database connection information: Database server address, Name, Login, Password, Tables prefix (The table prefix can be left unchanged as well).
Ok, now test your connection to the database server.
When you done, click the next button to proceed with the installation. This might take a few minutes: please, be patient and do not touch your browser.
The Wizard will create the necessary tables and finalize setting up the store. You will see a page that looks something like this:
Step IV - Delete Install folder & Archive file
For security purpose, you need to rename or delete the “install” folder inside the Prestashop 1.7 installation folder & Zip Archive file.
Final
Waw! PrestaShop 1.7 was successfully installed on your server.
You can now log into the PrestaShop back-office by going to your newly-renamed “admin” folder, and start modifying your store by downloading Prestashop Modules to improve the feature & customize theme.
Let's enjoy it & don't forget to visit our blog to see more Prestashop Tutorials!

Top comments (0)