
Creating Resource Group and Virtual Machine with Powershell
Step 1:
Visit portal.azure.com, login or sign up if you don't have an account, you can get a free account at azure.microsoft.com/en-us/free/
Step 2:
On the Azure portal page click the icon on the top right corner, then click powershell
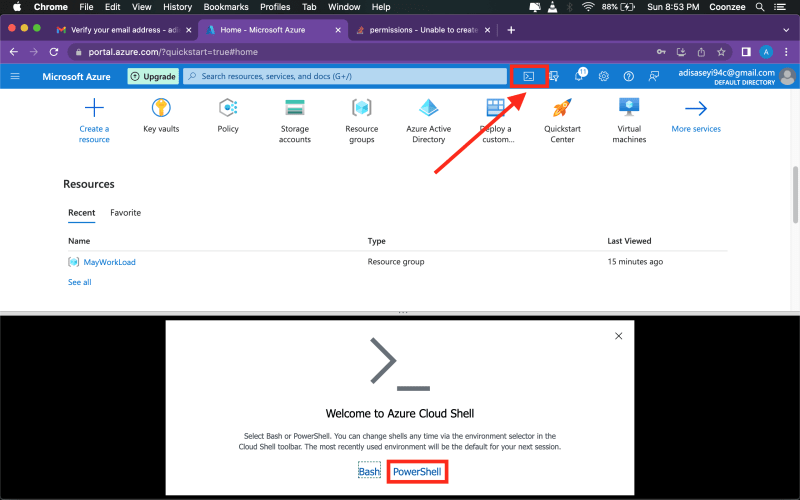
Step 3:
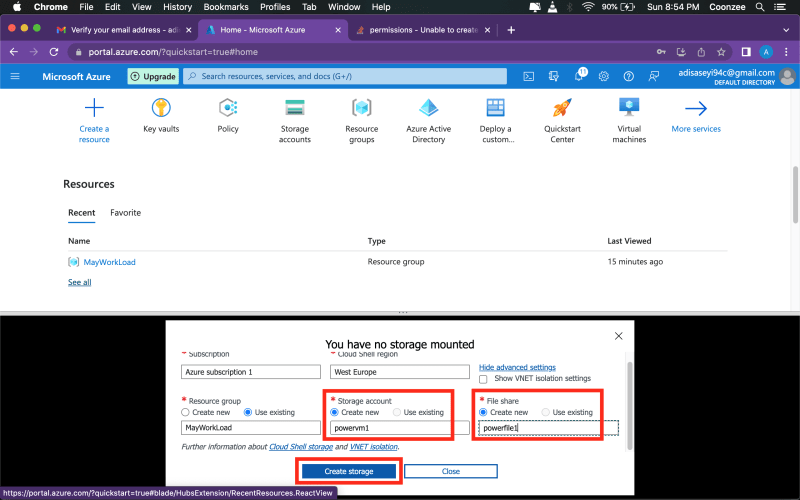
Click show advanced settings to create a storage account if you don't have one

Step 4:
On the storage account field enter a storage name of your choice, also enter a file share name of your choice, then click create storage
Step 5:
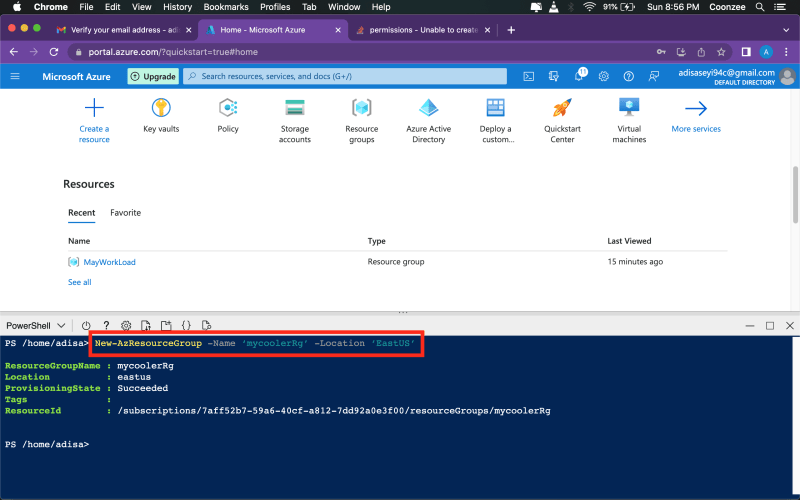
To create a resource group paste this codes into your powershell:
New-AzResourceGroup -Name ‘mycoolerRg’ -Location ‘EastUS’
for the resource group name i will be using "mycoolerRg" you can use any name of your choice
Step 6:
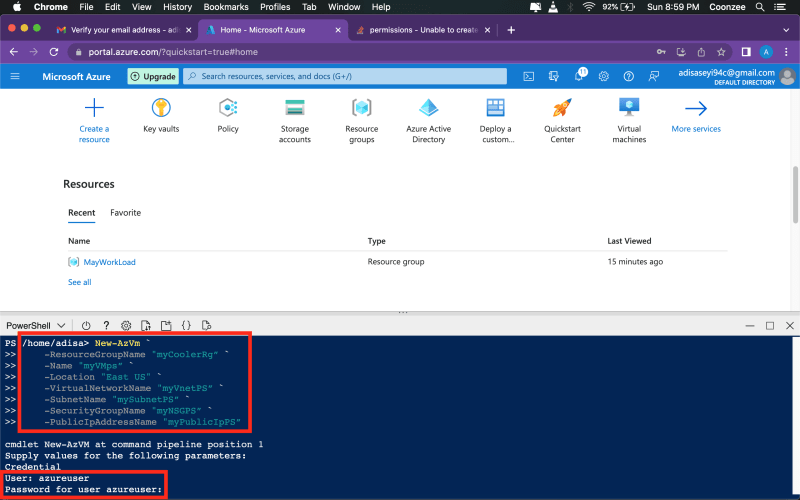
To create a Virtual Machine paste these codes into your powershell:
New-AzVm `
    -ResourceGroupName "myCoolerRg” `
    -Name "myVMps” `
    -Location "East US" `
    -VirtualNetworkName "myVnetPS” `
    -SubnetName "mySubnetPS” `
    -SecurityGroupName "myNSGPS” `
    -PublicIpAddressName "myPublicIpPS”
for user enter anyname of your choice, password also use any password of your choice
Confirming the Resource Group and Virtual Machine created
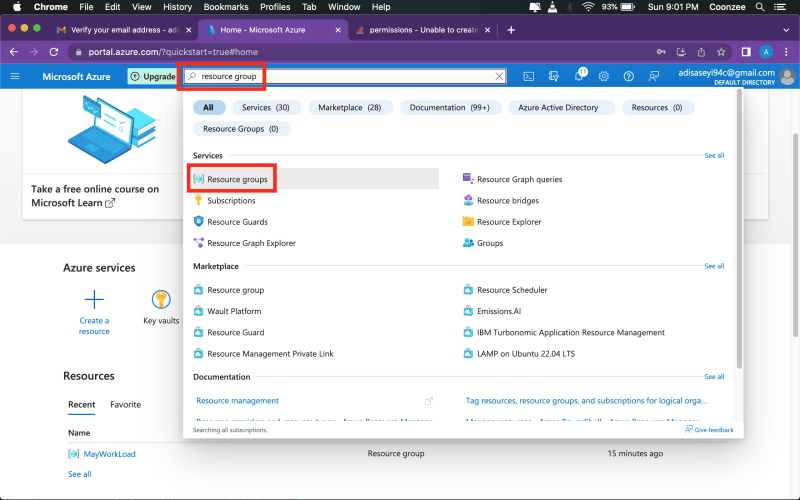
Step 1:
Go to Azure portal page search for resource group and click resource group
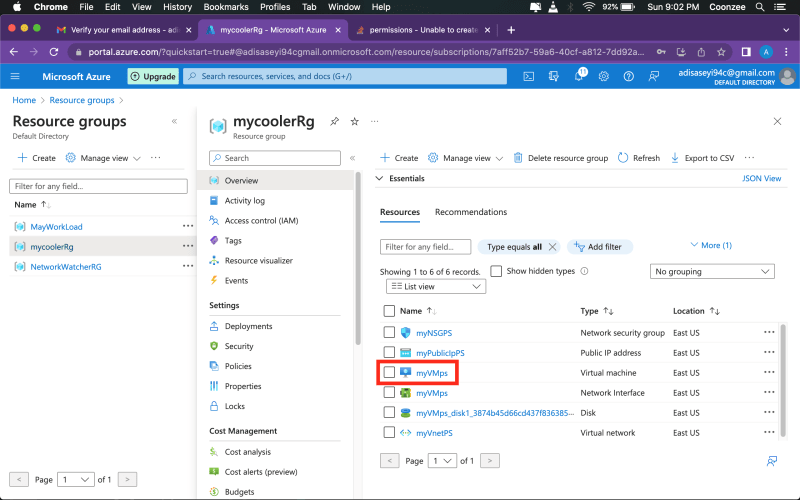
Step 2:
Here is the resource group created, click it

Step 3:
As you can see here is the Virtual Machine we created with Azure Powershell
Thank you for reading!!!

Oldest comments (0)