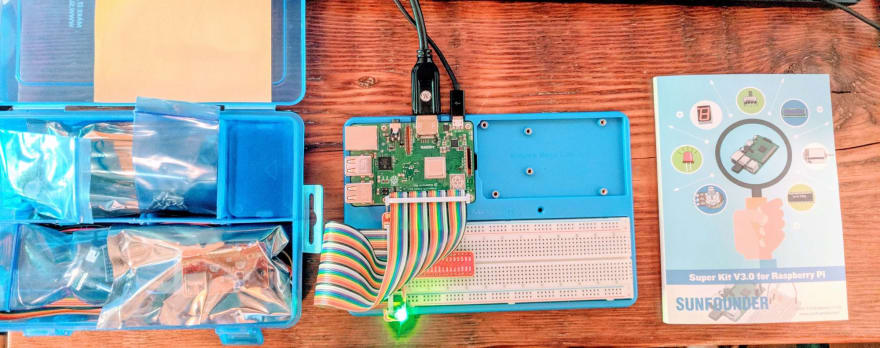
Updated 9/6/19: This is part 1 of my Sunfounder Superkit Series.
Ruby comes pre-installed on Raspbian, but unfortunately is not the latest version. After a bit of headache, here’s what I learned and how to make it right.
My dream is to make a split-flap display, but since I have near-zero experience working with microcontrollers I decided to pick up Sunfounder’s Superkit (v3). To be honest, it was cheap, but also comes with lots of different components to play with. Let’s see what kind of lit experiments we can build.
Flashing the SD card
I decided to use the Raspbian OS (with desktop client), just to make the learning curve easier. After downloading the latest image, I then installed Etcher (as recommended) and this was incredibly easy to burn the image onto the micro SD.
Booting Up & Configuration
Booting up the Raspberry Pi couldn’t have been easier. Jammed the micro SD card delicately in, plugged the power cable and the HDMI, and ~1minute later I was ready to go.
First thing’s first, change the system password (because security).
passwd
One nice thing about the B+ is that you can remotely control the GPIO (more on this later). Unfortunately, both this feature, and ssh, are turned off by default. So, let’s flip the table on those bad girls.
- Launch
Raspberry Pi Configurationfrom thePreferencesmenu - Navigate to the
Interfacestab - Select
Enablednext toSSH
Update : I’ve started a small repo for all my experiments that includes a handy script to automate the remaining setup.
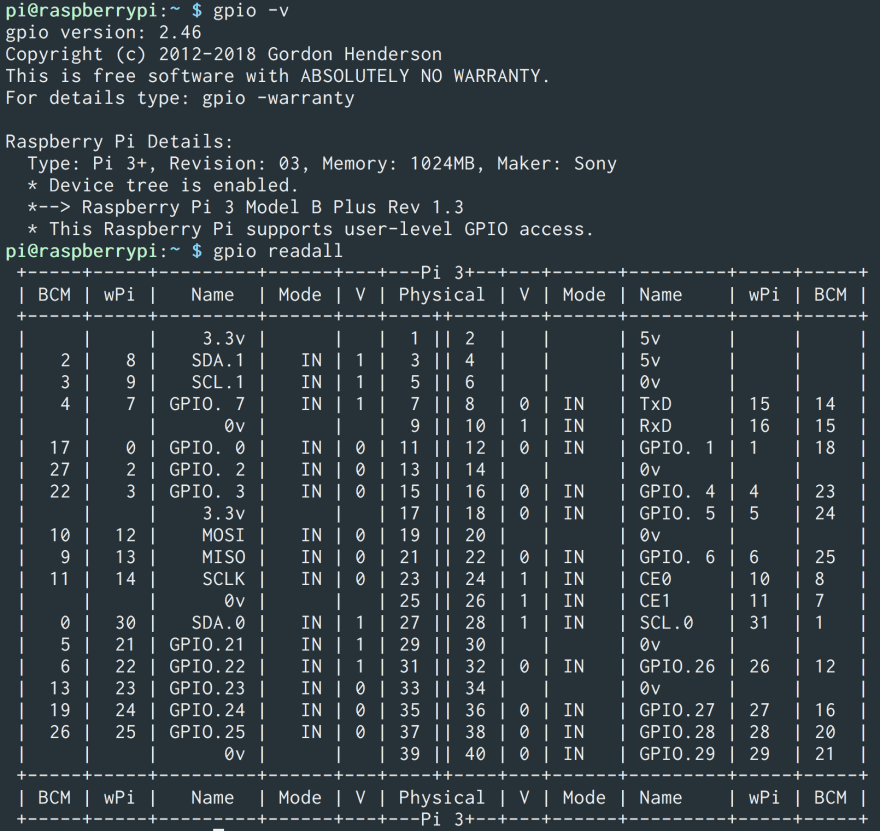
For me, the latest gpio software was out of date and was raising hell. Let’s start this puppy up fresh:
sudo apt-get update && sudo apt-get upgrade
Boom. System configured, dependencies updated, and GPIO configured properly. Check out all the wonderful pins we get access to in the GPIO on a B+!
Ok, now Ruby time!
Setting up Ruby
As of today (Jun 2018), Raspbian comes with Ruby pre-installed! In order to get some of the gems with native-extensions to build properly, I just had to get ruby-dev
sudo apt-get install ruby-dev
Finally Blinking a Damn LED
After all that, you should be ready to use that Pi that’s just been collecting dust all these years. Just for fun, let’s perform the staple of what to do with your shiny new micro-controller: blinking an LED.
With a couple jumpers, an LED, and a 220Ω resistor we can safely control the state of the LED:

Wrapping It Up
Alright, I get it, not too exciting. But hey, with this same setup I can see altering the code to, say, light up the LED when my tests fail.
Tune in for more of me documenting my dope ass crusade of micro-controlling justice.


Top comments (1)
RPi Zero 2 W: no gpio