
Developers use code editors to write code. Code editors format and highlight your code to make it easier to read and understand.
These programming tools are equipped with interesting features such as Language-specific syntax highlighting, automatic code indentation, color schemes to suit your preferences and improve code readability, Plugins for initiating a variety of activities and default packages during the development process, a tree view of your project's folders and files for ease of navigating and many more.
We'll walk you through the steps to install Nimble, one of the best MacOS code editors. By the end of this article, you'll be able to create and edit code written in different languages using Nimble. Not only that, but you'll also learn about some of its unique plugins, which make it extensible, as well as its theming settings, which help you make your code more beautiful.
Understanding the Concept of Nimble
Nimble is a lightweight open-source, extendable Code Editor and IDE exclusively written for MAC. It is a document-based Cocoa application written in the Swift language. Nimble is popularly known for its high performance and easy extensibility. Not only these, but it's also popular for its support of many programming languages.
Thanks to LSP (Language Server Protocol), Nimble also provides programming language-specific features such as auto(completion) and diagnostics for its users. Finally, and most crucially, Nimble makes it simple to maintain, add, and build dependencies/frameworks when working on SPM projects.
Installation
You must have installed macOS 10.15 Catalina or higher, Xcode 12.4 or higher, and Swift 5.3.2 or higher before running the Nimble app because this is the only development environment it supports.
You can download the latest version of Nimble from this GitHub Repo.

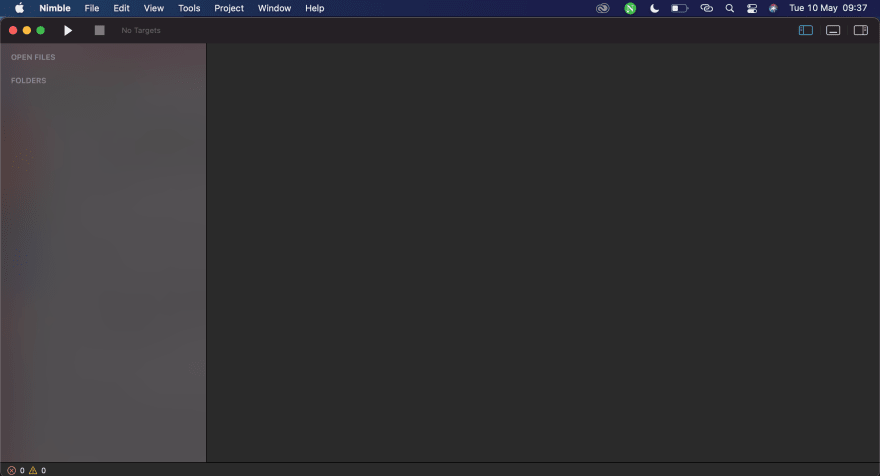
Once you have successfully downloaded the .dmg file of Nimble, open it and drag-and-drop in the Applications folder. Afterward, launch the application, and your editor will appear as shown below:
Creating Your First Project on Nimble
Select "New" from the File menu on Nimble menubar to create a new file or project. Alternatively, you can also use command + N and shift + command + N to create a new file and project, respectively.
Note: When you create a new project on Nimble, you can choose from a variety of project types. We will use Type Executable for this tutorial.

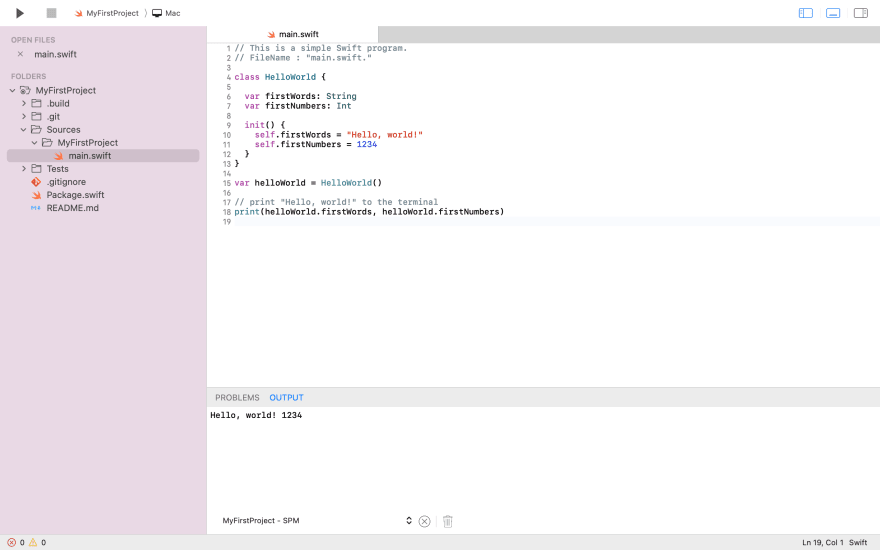
Once the new project is created, you can insert your code in the built-in main.swift file, similar to any other code editor, and save the project in your working repository.
The Nimble Code editor also offers a number of options depending on the file format. Aside from creating and running Swift files, the Nimble Code editor also lets you manage files in other languages. For instance, in the project folder created above, create a java file and save it with the .java file extension.
 |
|---|
| Default Light Theme |
Theming
Themes help Code editors seem better by adding colors and beautiful backgrounds. They influence the appearance of the editor's user interface by changing the colors of elements of the editors/IDE.
The Nimble Code editor comes with two default themes - the default light and dark themes. You can simply customize the appearance of your editor by switching between the two inbuilt themes.
 |
|---|
| Default Dark Theme |
However, Nimble's appearance is not limited to just these two themes; you can also add compatible custom themes (.yml files) to your list of options. How do you achieve this? Goto ~/Library/Application Support/Nimble and create a folder called Themes in it. Next, copy and paste your created custom themes files inside this folder - that's all.
Alternatively, you may add a custom theme to your Code editor by right-clicking on it to show its contents before navigating to CodeEditor.plugin->Contents->Resources->Themes folder to add a new theme to the two default themes already in the folder.
 |
|---|
| Dracula Theme |
Great Plugin Systems
Every editor has development plugins that initiate a series of operations and preset packages. The Nimble Code editor is integrated with a handful of plugins that improve the user experience and assist users to increase productivity. This chapter examines each of these built-in plugins and their functions:
-
Project Navigator
The project navigator plugin divides your project into two sections, labeled "Open Files" and "Folders" respectively. The "Open Files" section contains the files you just navigated to in your Code editor, while the "Folders" section has every file and sub-folder in your project folder. You can't navigate between files and directories on Nimble without this plugin.

-
BuildSystem
The Nimble-integrated BuildSystem plugin is to compile, build, and run swift codes and packages to the terminal. Not only that, but this plugin also allows you to clean up your code for better performance optimization. Finally, owing to the BuildSytem plugin's minification capability, you may include as many comments and white space as you like to your source code and split it into as many files as you need without worrying about app performance or load times.
The BuildSystem plugin can be located in the top-left corner of your Code editor's Tools menu bar.
The BuildSytem Items Shortcut
- Run - Command + R
- Build - Command + B
- Clean - Command + K
-
LSPClient
The BuildSystem plugin can be located in the top-left corner of your Code editor's Tools menu bar. The LSP Client plugin uses the Language Server Protocol to provide many language features, such as Auto-Completion, Format-Document, Show-Completion, Diagnostics, Code-Navigation, and finding references.
Some common LSPClient features that support Nimble include:
1. Format-Document: Format the current document or current selection. It may be applied manually by clicking on Format-Document under the Editor menu bar at the top-left corner of the Code editor or through a command invocation (Control + Command + I).
2. Diagnostics: It does the work of showing diagnostics highlights. Diagnostics is a general term for "things that are of interest in the file". It may be syntax errors, warnings from your compiler, or hints about unused variables in a function.
For instance, a comma (,) is purposely placed after the parenthesis on the last line of code in the main.swift file, as shown in the screenshot below, to test Nimble's diagnostic feature.

3. Show-Completion: Displays documentation for a selected completion item in the list. You can also manually trigger Nimble's Show-Completion feature anywhere in your code by pressing the Control + Space command.

4. Auto-Completion: It gives you word completions based on the current buffer. It shows the autocomplete widget synchronously. The LSP package enriches the auto-complete list with language server results.

-
Language Extensions
Language Extensions in Nimble give clever editing features for a variety of programming languages. Nimble doesn't come with built-in language support, but it gives a set of APIs that enable sophisticated language features. For instance, it comes with a Python extension that allows Nimble to highlight syntax in Python files. Similarly, when you type System. and out shows up in Intellisense, it is the Java Programming Language Features extension at work.
Without the Language Extensions, the code in the Nimble Code editor looks like this:

-
File-Icons
The file-icons plugin provides missing icons for commonly used file formats. It allocates file extension icons and colors for easier visual grepping. In other words, this plugin is tasked with the responsibility of showing file icons based on file extension.

-
ImageViewer
The ImageViewer plugin is used for displaying image files on Nimble. To put it another way, without this plugin, you won't be able to view images on Nimble. It supports images with formats such as jpeg, png, and SVG.

Conclusion
This lesson provides you with a thorough understanding of Nimble's fundamentals and prepares you to use it in your software development projects.

Top comments (0)