Introduction
AWS Lightsail can be the easiest entry to the AWS Cloud. It has fixed monthly pricing unlike most other services, so you don't have to worry about a huge monthly bill.
Lightsail is really great for small to medium apps. It has out-of-the-box support for WordPress, Magento, Joomla, Prestashop, Drupal, Ghost, and Django apps.
It provides pre-configured stacks like LAMP, NGINX, MEAN, and Node.js. You can also launch pre-configured Plesk, WHM & cPanel in just a few clicks.
But that's not all. You can launch any Linux-based and Windows OS instance. My personal favorites are Ubuntu and Amazon Linux 2.
Prerequisites
Need a valid AWS account to deploy the WP app. If you don't have one, just create one from here. Before starting to deploy your app read about Amazon Lightsail Pricing and Free-Tier. Don't worry, I will try to keep everything within the free tier. At this time of writing, you can run a Lightsail instance for free for 3 months.
Install WordPress App
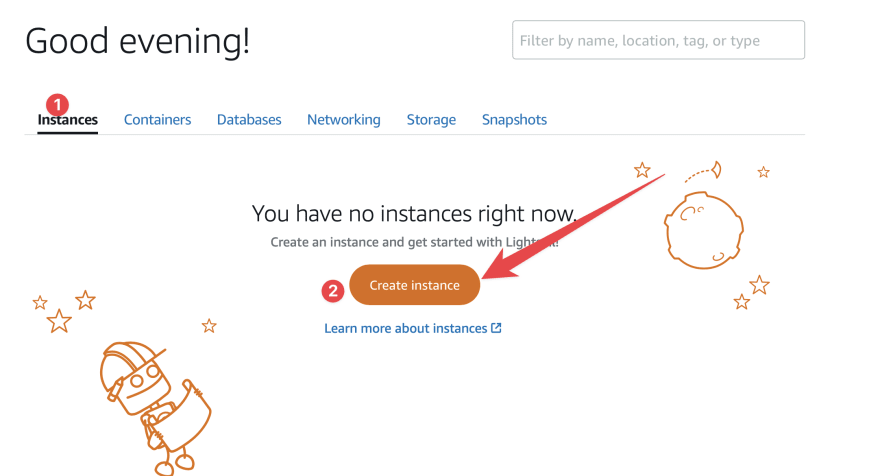
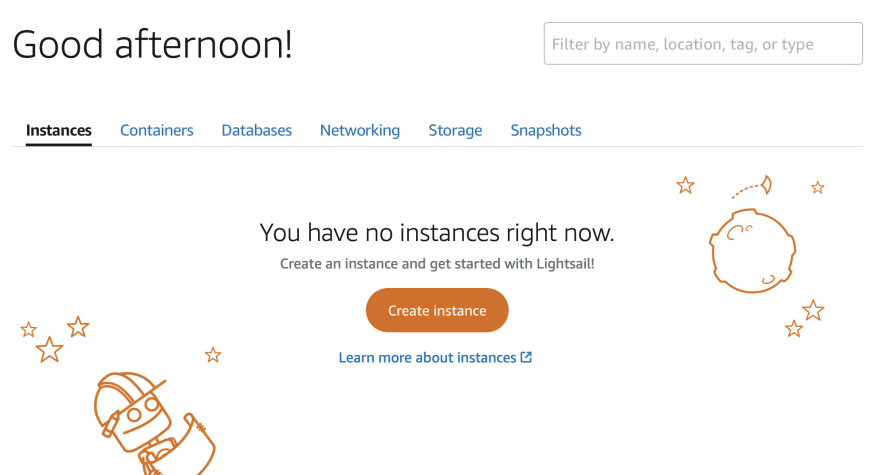
Login to your AWS account if not already. Go to Lightsail homepage. You should see a page like this:
Are you seeing this? Let's go 🏃♂️
Create Instance
Now click on the big Create Instance button. If you don't see one, follow this:

Let's choose Instance location, platform, and blueprint:

A. Click the link to change location and availability zone (AZ) if not what you want. I recommend selecting a location closer to your customers.
B. Choose the Linux/Unix platform.
C. Select the Apps + OS from the blueprint.
D. Now choose WordPress from the app list. Not the multisite one.Now scroll down to Choose your instance plan section. I chose a free-tier plan and only one instance. Here is my setup:

Finally scroll to the bottom of the page and click the Create instance button. Wait for the status to become Running. Congratulations, your instance has launched 🚀
Assign a Static IP (optional)
AWS Lightsail Instance comes with public (and private) IP. Which changes every time Stop and Start the instance. My Public IP was this when I launched the instance:

After Stop and Start the instance, it got a new Public IP address:

We have to fix that. So, let's create and assign a Static IP:
- Click on your application instance name to see the details of your instance.
- Click on + Create static IP from here:

- Add a meaningful name and click Create:
 > ⚠️ Warning: You are allowed to assign 5 static IPs for free. You will be charged for static IP that is not attached to a running instance.
Connect to the instance using SSH
You can connect to an instance in two ways:
Using browser
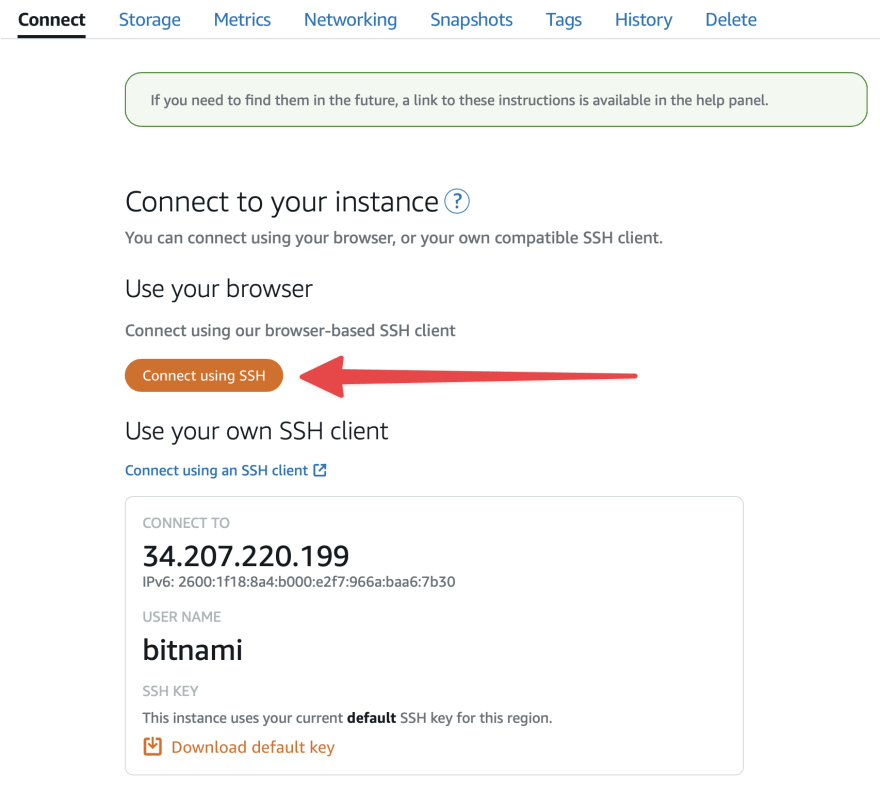
That's the easiest. Go to the Connect tab and click Connect using SSH:

Using SSH Client
- Download the SSH key from here:

- If you are using PuTTY you can follow this tutorial.
- If you are using a terminal in macOS or Linux, run this command on where you downloaded the SSH key.
# Run for the first time to fix the permission
chmod 400 <path/to/your-lightsail-ssh-key>.pem

# Connect to your Lightsail instance
# Username and Public IP can be found in "Connect" tab
ssh -i "<path/to/your-lightsail-key>.pem" <username>@<public_ip>
Get Admin Username and Password
- You can get the username from the Connect tab. The username is user for this stack.
- To get the password, log in to SSH and run this command
cat bitnami_application_password
- Now open a browser tab and go to
http://<public_ip>/wp-admin. Enter username and password above. You should see the WP Admin dashboard like me.
Add a Domain
- Go to the Home page. Click on the Networking tab and then hit Create DNS zone button

- Add your domain name. Scroll to the bottom and click the Create DNS zone button

- Add these name server records in your domain control panel (ex. Namecheap, GoDaddy). You might have different records than mine

- Now to the good part. Click + Add Record button. Add your instance and click on tick icon to save.
 > ⚠️ It may take few minutes to days to propagate DNS records.
 - Now update the domain name in
siteurlandhomerows ofwp_optionstable.
Import Existing App
Import Database
You may have an existing database. You can import your database to the Lightsail instance. You can use a Database client app like TablePlus, MySQL Workbench, or even just the terminal.
Your database credentials exist in wp-config.php file. Connect to your instance via SSH and run this command:
cat stack/wordpress/wp-config.php
Use DB credentials to connect to DB, and replace localhost with the instance's public IP. Connect to your DB via SSH (recommended) or add the 3306 port here:

ℹ️ Don't forget to change the domain name in
siteurlandhomerows ofwp_optionstable.
Import existing files
Application folder located in stack/wordpress. You can upload files in two ways:
- SFTP Client: You can use SFTP clients like FileZilla or Transmit to upload files. Use the same SSH credential to upload files.
- Git: Connect to your instance via SSH. Install git by using this command:
sudo apt-get install git
Now pull your files from git using the git clone/pull command.
Conclusion
This is just the first step toward deploying your WordPress app to Amazon Lightsail instance. There are lot more you can do. You are welcome to ask your questions, give me feedback, or any improvement request.


Top comments (3)
Vai I faced this issue when I going to AWS Lightsail homepage, I think I have credit card issue.
Image
I have also face this issue
Images
Do I need to wait?
Probably they need some more info, just click first link from the first image. If problem still persist, contact support. Hope they will help you.
Very interesting to know that in detail. Thank you very much bro.