If you haven't already, you can read the article on how to buy a custom domain here.
For those who have completed the previous step of purchasing your custom domain, let us see how to set up our git repository before moving on to the next step of configuring the GitHub pages to use our custom domain for hosting.
For starters
As Wikipedia says,
GitHub, Inc. is a provider of Internet hosting for software development and version control using Git. It offers the distributed version control and source code management (SCM) functionality of Git, plus its own features.
whereas,
Git is a software for tracking changes in any set of files, usually used for coordinating work among programmers collaboratively developing source code during software development.
Because this series is about hosting the website on your custom domain using GitHub pages, this article only refers to GitHub repositories.
Adding code to an empty GitHub repository and pushing it there
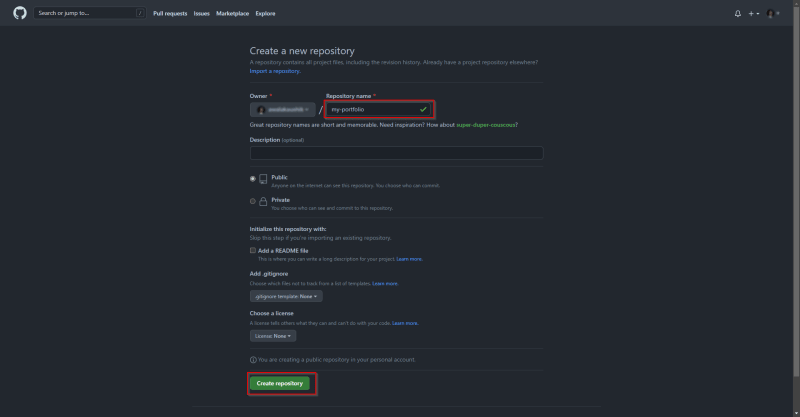
To host your website code on GitHub, follow the steps below.
After creating the empty repository, you should see the following instructions.

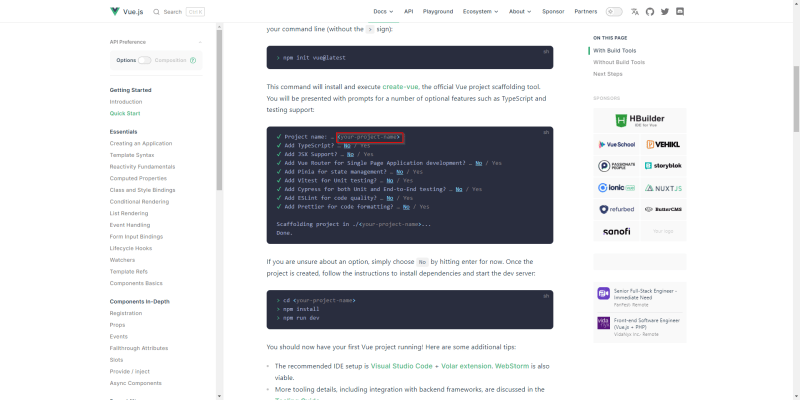
Then, using the instructions provided above, develop an app of your choice and push the code to the empty GitHub repository. I'm building my website with Vue JS. Vue JS will thus be used in the examples. The difference is simply in the deployment process, and you can use any framework/library to construct your website, such as Angular, React, Svelte, etc. Follow the steps here to get a project started with Vue JS.
Make sure the project name matches the repository name you created in Step 2.

Change to the newly established Vue project directory. You can now execute the git commands as directed in Step 2.
**Note: If a local git repo is not initialized as part of the project's initialization, use the following command to do so.
$ git init
Set git config with the following commands to commit and push your changes.
$ git config --global user.name "username"
$ git config --global user.email "user@email.com"
- After that, run the commands below to push your project code to the empty repository you created in Step 2.
$ git add .
$ git commit -m "<your-commit-message>"
$ git branch -M main
$ git remote add origin https://github.com/<github-username>/<repository-name>.git
$ git push -u origin main
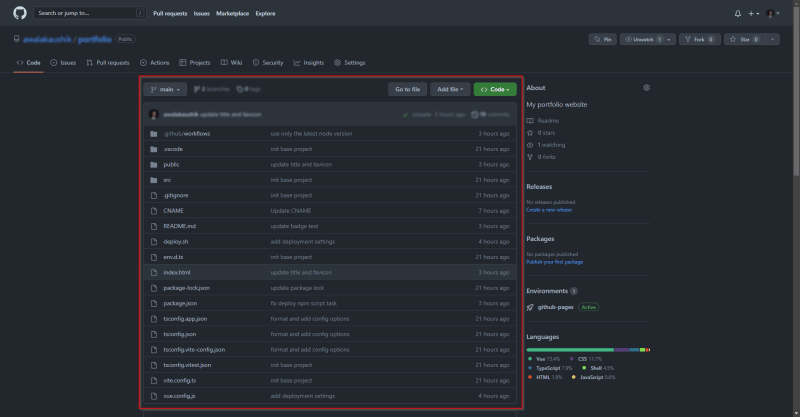
You should be able to see your website project code in your GitHub repository after completing the steps above.

Okay, that was a lot of information! This article has finally come to an end. Please read the next part of this series here.


Top comments (0)