Introduction
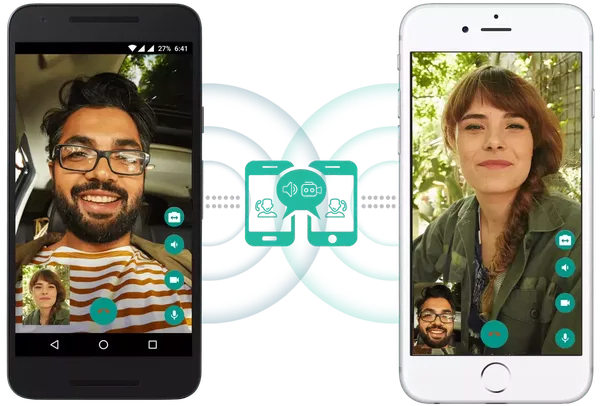
Applozic's iOS Audio and Video Call SDK provides you with all the necessary components to build a real time chat with voice and video capabilities within your application, and enables you as a developer to implement conversational chat, push notifications, group chat, picture in picture and many more such features!
One of the worldwide effects of Covid-19 and the resulting governmental lockdowns was the acute rise in the need for real time communication across multiple industries. A few major ones, like healthcare, education, and technology support witnessed the birth and rapid growth of first to market applications that catered to the varied needs of the customer. For example, the features offered in telemedicine caused much needed disruption in a field with vital importance on immediate communication.
In this tutorial, we will leverage the Applozic iOS Voice and Video SDK to create a real time chat application that can be used across industries like real time customer support, 1 on 1 telemedicine, personal therapy, etc. With HIPAA compliant security on all your conversations and programmable personalization capabilities to improve customer experiences, Applozic enables you to drive better engagement, increase interactions with your users, and improve your chances of retaining those customers through high-quality video and audio.
Creating your own real time communication app
Applozic Audio-Video Call SDK provides high-quality IP audio and video calls capabilities within your application. With this SDK, your application's users can take part in secure 1-to-1 calls and automate workflows by building reliable conversation systems through voice-calling and video-calling. You can create a standalone application for communication using this SDK, or integrate it with your existing application.
Note: The Voice and Video SDK is a beta product and new features will be added in the upcoming months.
If you face any difficulties while following this tutorial, you can contact us at support@applozic.com.
To check out our cocoapods sample app, click here.
Requirements
Here are some of the dependencies you will need:
- Xcode 12.0 or later
- CocoaPods 1.9.0 or later
- Your project must target iOS 11 or higher
We are assuming the following application is going to be written using Objective-C. For corresponding code in Swift, please check the documentation in our github repository.
Application Setup
To use the Applozic iOS Audio Video SDK and leverage pre-built components that you can easily customize, you can sign up for Applozic and get your APP_ID from the install section of the console.
Installation - Setup the building blocks for audio and video capabilities
Cocoapods
- ApplozicAudioVideo is available through CocoaPods.
- To install it, setup your Podfile located at /ios/Podfile and add below pod dependency:
source 'https://github.com/CocoaPods/Specs'
use_frameworks!  # Required to add
platform :ios, '11.0' # Required to add

target 'TARGET_NAME' do
    pod 'ApplozicAudioVideo'  # Required to add
end- Navigate to YourApp/ios directory from terminal and run the below command:
pod installNote: If you do not have pod dependency, check out how to get started here.
The Audio-Video Call SDK includes our iOS messaging SDK. If you have added the pod 'Applozic' in your Podfile please remove that and replace it with 'ApplozicAudioVideo'.
Add Permissions
Add permissions for Camera, Photo Library, Microphone, Contacts and Location usage.
Note: We won't be asking the users for these permissions unless they use the respective feature. Due to Apple's requirement, we have to add these permissions if we are using any of their APIs related to Camera, Microphone, etc.
Open Info.plist from /ios/YOUR_PROJECT_NAME/Info.plist file and paste these permissions anywhere inside the <dict> tag.
<key>NSCameraUsageDescription</key>
<string>Allow Camera</string>
<key>NSContactsUsageDescription</key>
<string>Allow Contacts</string>
<key>NSLocationWhenInUseUsageDescription</key>
<string>Allow location sharing!!</string>
<key>NSMicrophoneUsageDescription</key>
<string>Allow MicroPhone</string>
<key>NSPhotoLibraryUsageDescription</key>
<string>Allow Photos</string>
<key>NSPhotoLibraryAddUsageDescription</key>
<string>Allow write access</string>
Setup Application ID
At this step, you should already have signed up for Applozic and obtained your APP_ID.
Open the ALChatManager.h file and replace “applozic-sample-app” with your APP-ID.
#define APPLICATION_ID @"<YOUR_APPLOZIC_APP_ID>"
Once you are at this stage, follow the Applozic documentation to complete the authentication, set up of user profiles and other such basic building blocks of your application.
Continue this Tutorial on Applozic Blog!
We have the detailed tutorial with code snippets available on our blog for you to continue with your integration and configuration.
Click here to learn how to:
- Set up Authentication
- Add Audio/Video configuration
- Set up push notifications
- And many other features!
Please leave your feedback and doubts in the comments below!


Top comments (0)