
This tutorial is Part 4 of a multi-part series covering Applozic Android SDK integration into an Android app.
Our goal is to learn the following steps in this tutorial:
- Create FCM key for your app in Firebase
- Enable FCM notifications from Applozic dashboard
- Integrate Firebase handler in your app
- Process the received notifications
You can download the sample Android chat app from Applozic GitHub.
💡 If you already have FCM set up for your app, move directly to Step 2.
Firebase and FCM key
Firebase is a mobile application development platform from Google with powerful features for developing, handling, and enhancing highly functional and versatile web, Android, and iOS platform applications.
💡 FCM (Firebase Cloud Messaging) was previously called GCM (Google Cloud Messaging).
To learn more about Firebase's features and use cases, check out my dev.to post:

Generate FCM key in Firebase
Login to the Firebase Developer Console and click on "Create a project".

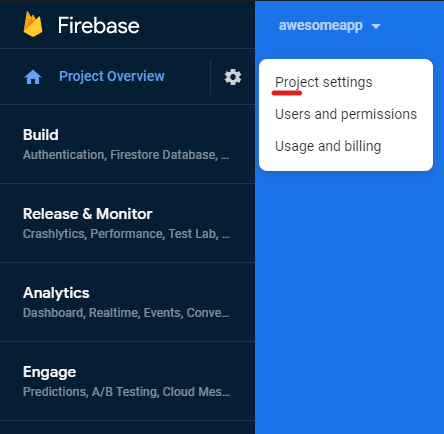
In your project dashboard, click on the "Settings" icon > "Project settings".
Go to the "Cloud Messaging" tab.

The "Server key" and the "Sender ID" are your private credentials.
Leave this tab open and proceed to the next step.

Set up FCM Notifications
The Server key is an API key that is a unique string used to route requests to your Firebase project when interacting with Firebase and Google services.
Your FCM credentials are unique to the project you have created, so keep them secure and do not share them with anyone.
Update FCM Server key in Applozic Dashboard.
Go to your Applozic Dashboard. Click on "Settings".

Click on "Chat" > "Notifications".

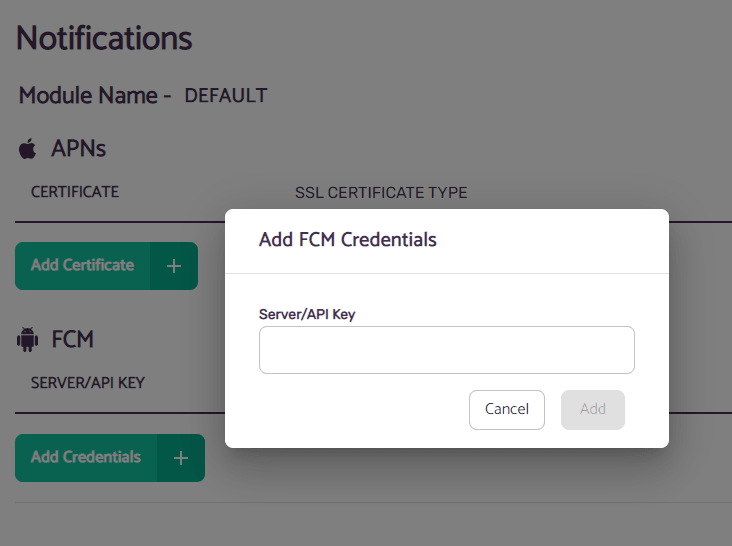
Click "Add Credentials" under FCM and paste the "Server Key" from Firebase credentials.
Voila! Your app is set up for use with FCM.
Continue this Tutorial on Applozic Blog!
We have the detailed tutorial with code snippets available on our blog for you to continue with your integration!
Click here to learn how to:
- Integrate FCM in your application
- Process the received notifications

Top comments (0)