
In the previous part of the series “Display images from cloneable fields”, we introduced you to do it with Meta Box and Gutenberg. As promised, we are going to show you another method that uses Meta Box and another page builder, Oxygen.
Similar to part one, I also do it with a simple case study, brand logos.

Before Getting Started
To do it, we need the Meta Box core plugin to have the framework to create custom fields. It’s free, so you can download it directly from wordpress.org. For further advanced features, we also need some extensions of Meta Box as the following:
- MB Settings Page: it helps you to create settings pages, we’ll need a settings page to place the custom fields into.
- Meta Box Builder: it provides a UI to create custom fields easily.
- Meta Box Group: this extension helps to organize custom fields into cloneable groups, where we input images today.
You can install these extensions individually or use Meta Box AIO for having them in one place.
And, the last one is Oxygen. You should use the 3.9 version or upper, which has the native integration with Meta Box.
Video Version
Step 1: Create a Settings Page
Likewise the 1st part of this series, I’m creating a settings page to save all the brands’ data instead of creating a custom post type. With custom post type, information of each brand will be saved in a separate post. But with a settings page, all of them will be on this page only.
Go to Meta Box > Settings Page > Add New. The creating settings page is used to save brands’ logos and names so there is no advanced configuration for it. I just changed the option name.
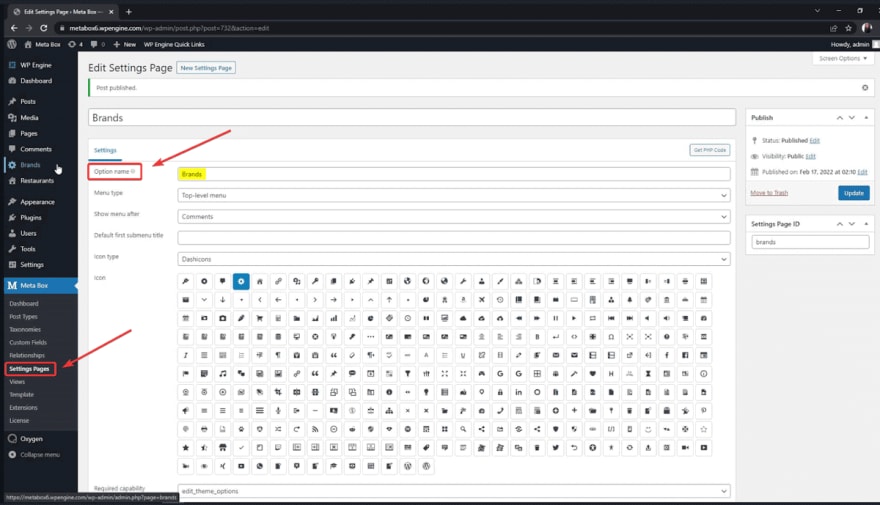
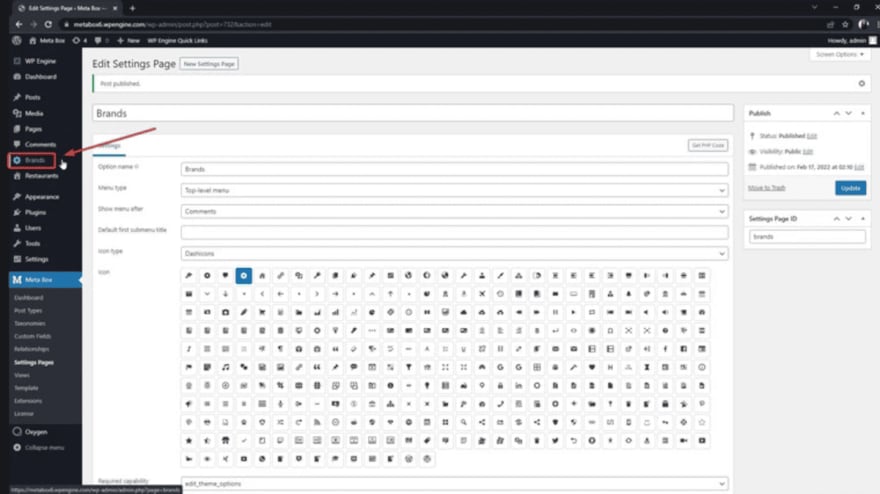
After publishing, a new menu named Brands appears. It’s my new settings page.
Step 2: Create Custom Fields for the Settings Page
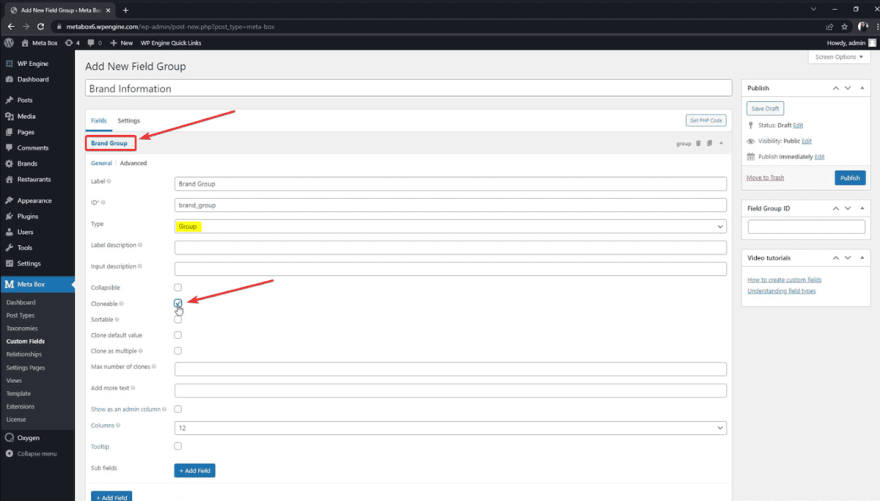
In the admin dashboard, go to Meta Box > Custom Fields > Add New. The following table illustrates the fields’ structure that I’m using.
|
Field |
Types of Field |
ID |
|---|---|---|
| Brand Group | Group | brand_group |
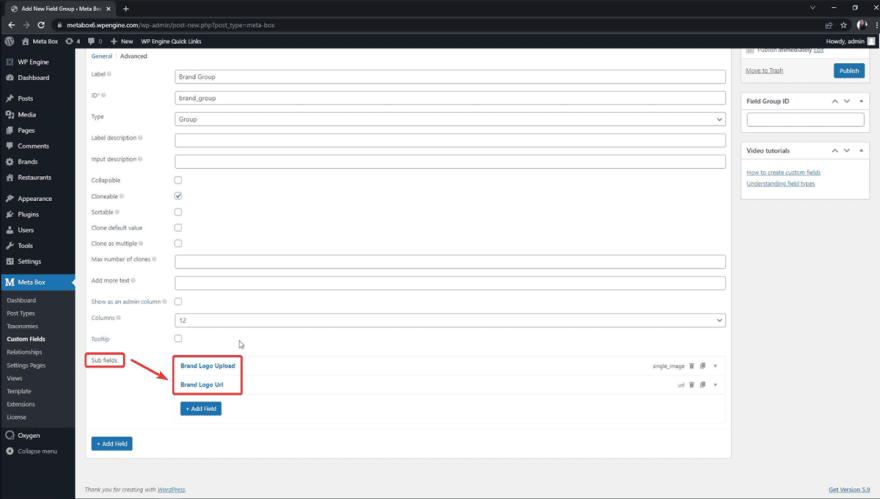
| Brand Logo Upload | Single Image | brand_logo_upload |
| Brand Logo Url | Url | brand_logo_url |
| Brand Name | Text | brand_name |
This is a group with three subfields inside. This group is also set to be cloneable to have more spaces to add different brands' information.
As you can see in the structure, I added 2 fields which are Single Image and URL. One allows you to upload images and save them in the library, and one allows you to input a link of an image from anywhere.
After having all the needed fields, go to the Settings tab and choose the Location as the settings page that we’ve just created to apply the custom fields to it.
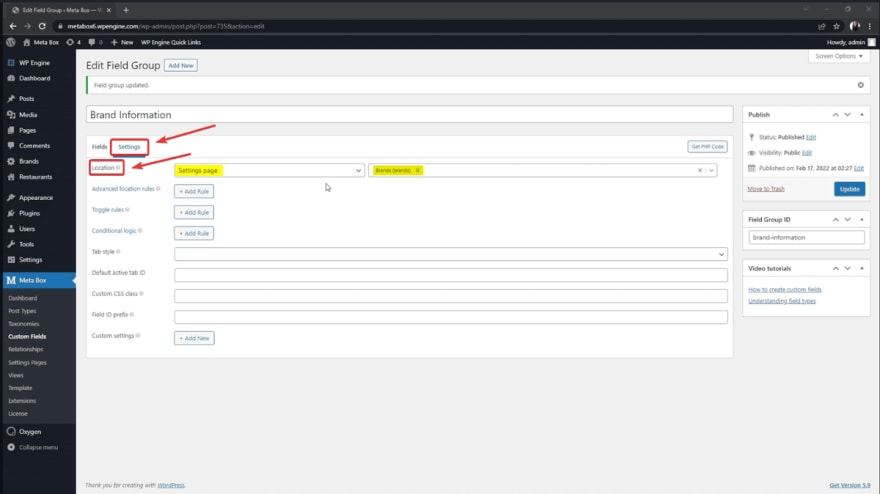
Back to the settings page, you’ll see all of the created custom fields. There is an Add more button to add another brand’s information.
Now, let’s fill the information into the fields and move to the next step.
Step 3: Display Images from the Fields
To add a section for displaying brands’ information, go to the Edit with Oxygen section of the page you want.
First, add a Div component.

Next, add a Code Block inside the Div. Then, add code to the PHP&HTML section.

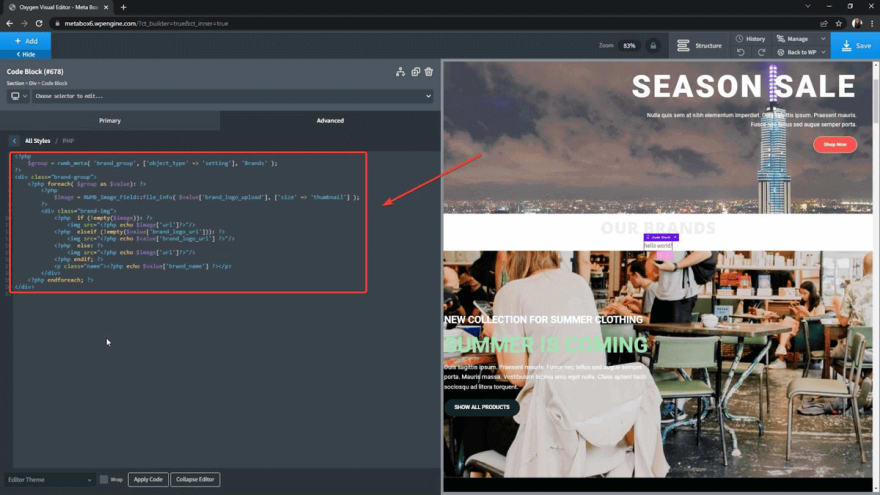
I’m using this code, you can refer to it.
<?
$group = rwmb_meta( 'brand_group', ['object_type' => 'setting'], 'brand' );
?>
<div class="brand-group">
    <?php foreach( $group as $value): ?>
        <?php
            $image = RWMB_Image_Field::file_info( $value['brand_logo_upload'], ['size' => 'thumbnail'] );
        ?>
        <div class="brand-img">
            <?php  if (!empty($image)): ?>
                <img src="<?php echo $image['url']?>"/>
            <?php  elseif (!empty($value['brand_logo_url'])): ?>
                <img src="<?php echo $value['logo_url'] ?>"/>
            <?php  else: ?>
                <img src="<?php echo $image['url']?>"/>
            <?php endif; ?>
            <p class="name"><?php echo $value['brand_name'] ?></p>
        </div>
    <?php endforeach; ?>
</div>
            <p class="name"><?php echo $value['brand_name'] ?></p>
        </div>
    <?php endforeach; ?>
</div>
Explanation:
-
$group = rwmb_meta( 'brand_group', ['object_type' => 'setting'], 'brand' );: create the$groupvariable to get the value of the field which has the ID asbrand_group, from the object which has type as settings page and name as Brands. You can change the name of this variable as you want, but please make sure you input exactly the field ID and object name as yours. -
<?php foreach( $group as $value): ?>: since thebrand_groupthe field is cloneable, I create a loop to get value from the$groupvariable. -
<?php echo $value['brand_name'] ?>: get and display the value from the fieldbrand_name.
<?php  if (!empty($image)): ?>
    <img src="<?php echo $image['url']?>"/>
This means that if the $image variable there is no value, means that there is an uploaded image in the Single Image field, we’ll display the image from its returned value.
<?php  elseif (!empty($value['brand_logo_url'])): ?>
    <img src="<?php echo $value['logo_url'] ?>"/>
On the other hand, if there is any value in the URL field, which has ID as brand_logo_url, we will display the image from that link.
<?php  else: ?>
    <img src="<?php echo $image['url']?>"/>
In the event that both of these fields have value, we set priority here to display the image from the Single Image only.
After adding code, click Apply Code.
Now, you can see all of the brand logos along with their names displayed in the live preview already.
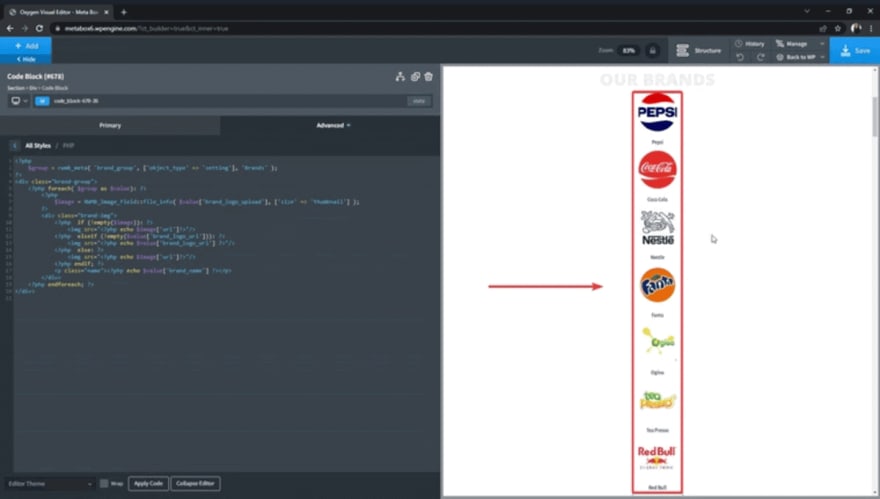
But it hasn’t looked good yet. Thus, we’ll need some JS and CSS to make it look good with a better layout.
Step 4: Create Slider for the Brand Logos
As you can see at the beginning of this post, the logos are in a slider, and brand names are displayed correspondingly. To do this, I’ll use some JS and CSS.
However, instead of adding them directly to the theme, I'm using the My Custom Functionality plugin. Therefore, when I change the theme, the slider won't be affected. You can download this plugin from Github.
Download the JS and CSS Library
For the JS and CSS, I use the Slick library which also can be found on Github. It contains several files, but we need only three of them.
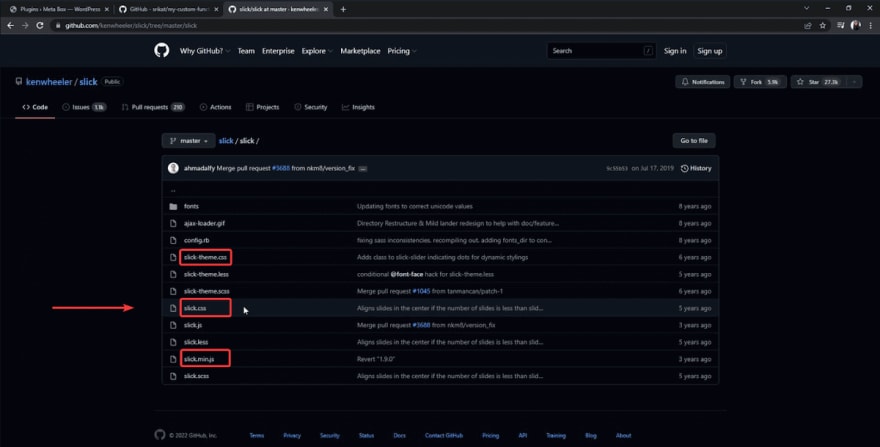
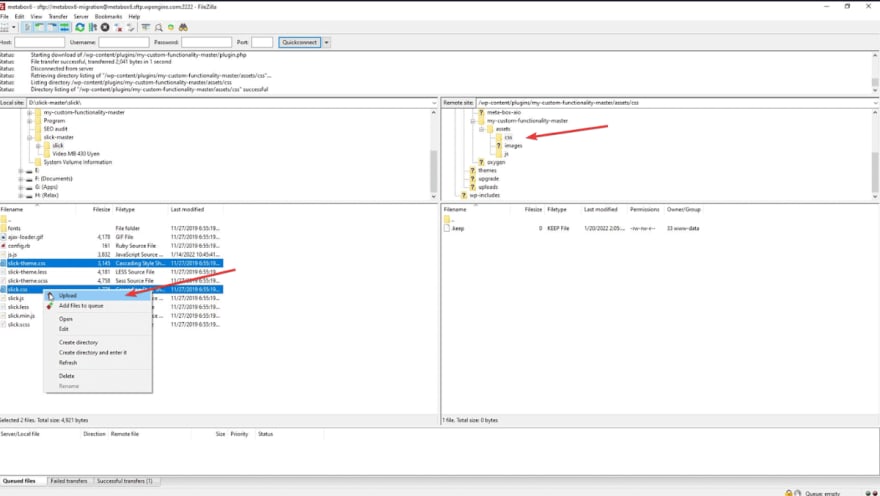
Then, go to the folder of the My Custom Functionality plugin, and upload them into the corresponding JS and CSS folders.
Create Custom JS for Slider and Rules
To set up the slider effect of Slick Slider, I’ll create a custom.js file in the JS folder, and add the following code there.
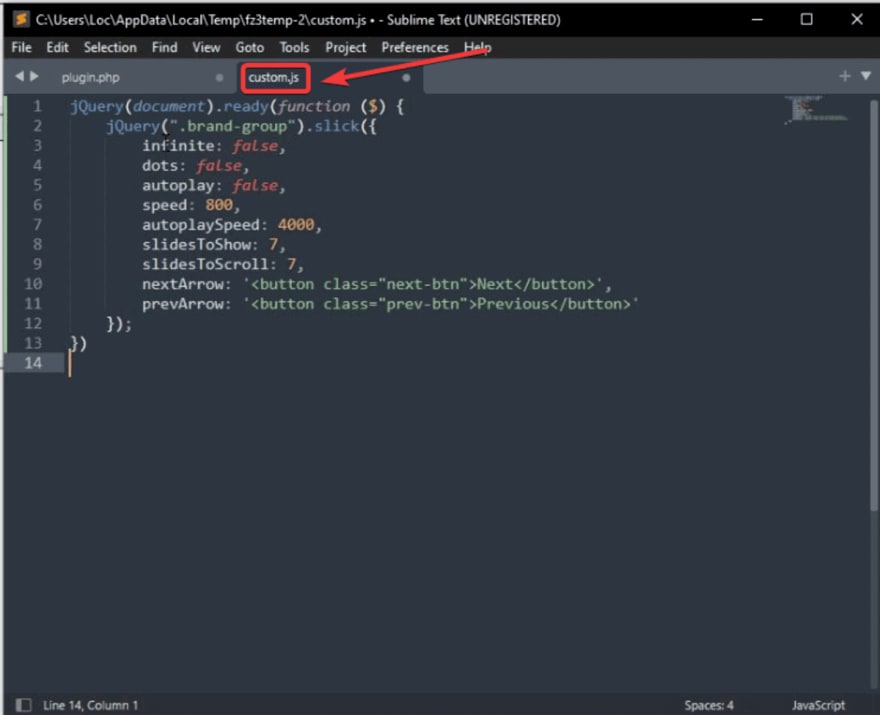
jQuery(document).ready(function ($) {
    jQuery(".brand-group").slick({
        infinite: false,
        dots: false,
        autoplay: false,
        speed: 800,
        autoplaySpeed: 4000,
        slidesToShow: 7,
        slidesToScroll: 7,
        nextArrow: '<button class="next-btn">Next</button>',
        prevArrow: '<button class="prev-btn">Previous</button>'
    });
})
In there, .brand-group is the class of the elements which are brands’ logos and names.
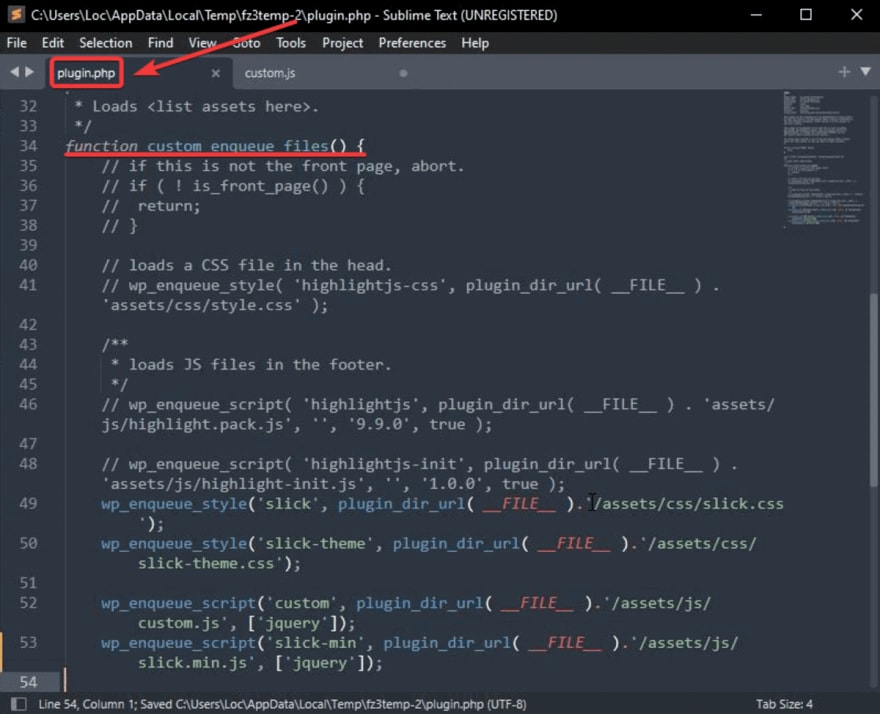
Declare the JS and CSS Files
We need to declare all the JS and CSS files that have just been uploaded by adding this code inside the custom_enqueue_files() function in the plugin.php file.
wp_enqueue_style('slick', plugin_dir_url( __FILE__ ).'/assets/css/slick.css');
wp_enqueue_style('slick-theme', plugin_dir_url( __FILE__ ).'/assets/css/slick-theme.css');

wp_enqueue_script('custom', plugin_dir_url( __FILE__ ).'/assets/js/custom.js', ['jquery']);
wp_enqueue_script('slick-min', plugin_dir_url( __FILE__ ).'/assets/js/slick.min.js', ['jquery']);
Now, the brand logos have already turned into a slider.
However, it still hasn’t looked good yet. So, it’s time to add some additional CSS.
Step 5: Style the Slider using CSS
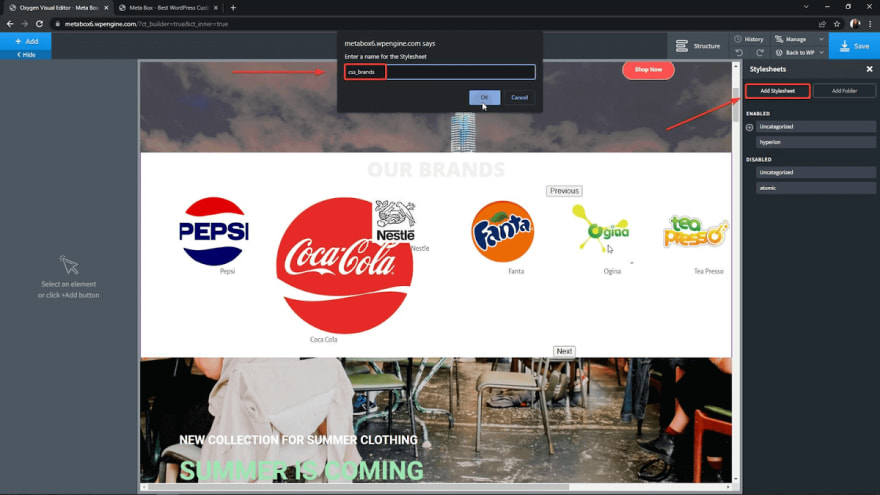
Move to the page editor by Oxygen. In the Manage section, choose Stylesheets > Add Stylesheet.

Add code to the created stylesheet.
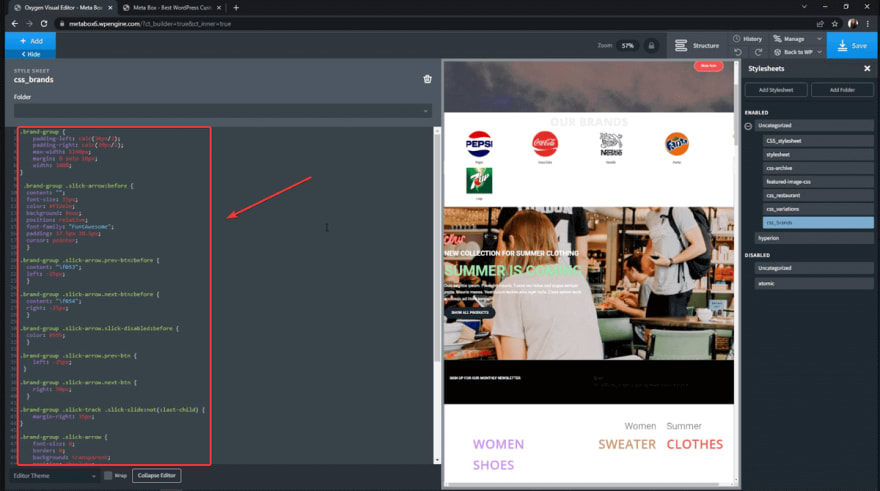
All the CSS code that I’m using is uploaded to Github, you can refer to it.
Now, the slider displays much more beautifully.

Last Words
In this practice, I created two fields for the logos so I need a rule to choose which will be displayed. But in the real case, you can have only one field then the execution will be easier by having no condition anymore. Just choose the way you want.
By the way, if you have any idea about any other tutorials, feel free to leave a comment. Thank you for reading. Good luck!

Top comments (0)