Simple animations in Flutter are boring and obsolete, so let’s spice up the game and learn about a new tool that will change the whole landscape of your animations in any project.
Yes, I am talking about Rive. So, let’s get started!
What is Rive?
Rive, formally known as Flare, is a real-time interactive design and animation tool by 2 Dimensions that enables us to integrate awe-inspiring animations like a pro. Rive animations are platform-independent which means build once and utilize on multiple platforms. You can use this collaborative editor to construct motion graphics that react to different states and user intakes. Then upload your animations into Flutter apps, games, & websites with their weightless open-source runtimes.
Creating Animations In Rive
Rive offers an online editor/studio for designing animations. You can gain access to the Rive editor by visiting the official website. The Rive community has great potential and they always create something new. Plenty of pre-built animations is available for us to start diving into the captivating and interesting animated Rive world. You can use these straight or can modify them as per your needs.
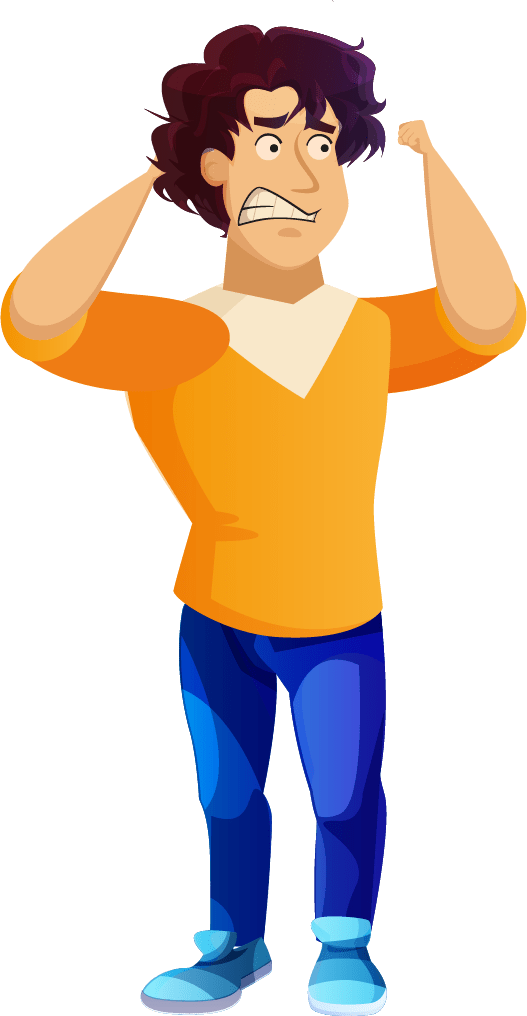
We’ve experienced Rive in one of our flutter projects “The Werewolves Escape” a sliding puzzle game in which we have a character named Andrew. According to the plot Andrew got stuck in a deadly forest surrounded by werewolves and we have to play the game to make an escape for him. In this project, we have shown different emotions and physical movements of Andrew through Rive. His facial expressions are angry, sad, depressed, fearful, and weary, but as soon as he reaches the end, the expressions turn into a happy and excited person. With Rive, we also make his hands movement possible.
Getting Started With Rive
Getting started with Rive is straightforward. If you want to start from the base, just use the Rive console which is made for creating things from scratch. So, firstly let’s have a look at the primary controls of the Rive console.
Bones
Bone components are used for moving your character which is much similar to a skeleton. Just build Bones and then attach them to the path and watch the wondrous magic.
Nodes
Nodes are also one of the simple components of the console which enables transformations for instance rotation, scaling, and translation. You just need to select the Node and click on the specific place of your artboard to connect the node with any element.
Solo
If you need frame-by-frame animation, the solo will be your must-have. They are pretty much similar to the Node but they add the feature to fast toggle its child visibility. Just like Node, click on the Solo element and put it anywhere in your artboard. Then select all elements which you want to place in Solo and then from the animate window, select which child to show in which frame, that’s all.
It’s ascertained that Rive animations are effortless, robust, and maintainable. The integration is so easy and makes it truly possible to create a variety of intricate animations while sitting on a couch, can’t we?.


Top comments (0)