
This article is based on an older version of the library and out-of-date.
See this new tutorial ✌️
Streamlit is a great framework for data scientists, machine learning researchers and developers, and streamlit-webrtc extends it to be able to deal with real-time video (and audio) streams.
It means you can implement your computer vision algorithms only in Python on server-side and users can use them as web apps with real-time video inputs from their webcams or smartphones.

This article is a short tutorial explaining how to use this library to develop such kinds of apps.
Prerequisites
Install streamlit.
$ pip install streamlit
If you are not familiar with Streamlit, I recommend you to see its tutorial. It takes just a few minutes.
Using streamlit-webrtc
Install necessary packages
Install streamlit-webrtc. This tutorial is based on the version 0.6.3. The API might be changed in future releases.
$ pip install streamlit-webrtc
$ # pip install streamlit-webrtc==0.6.3 # Specify the exact version if necessary
Install opencv-python as well.
$ pip install opencv-python
First example
First of all, let's simply put the streamlit_webrtc's custom component on the page as an example below.
# simple_loopback.py

import streamlit as st
from streamlit_webrtc import webrtc_streamer

webrtc_streamer(key="example")
Note that key argument is not optional unlike other Streamlit components. An arbitrary unique string must be set to it.
Then run the app with streamlit run command as below.
$ streamlit run simple_loopback.py
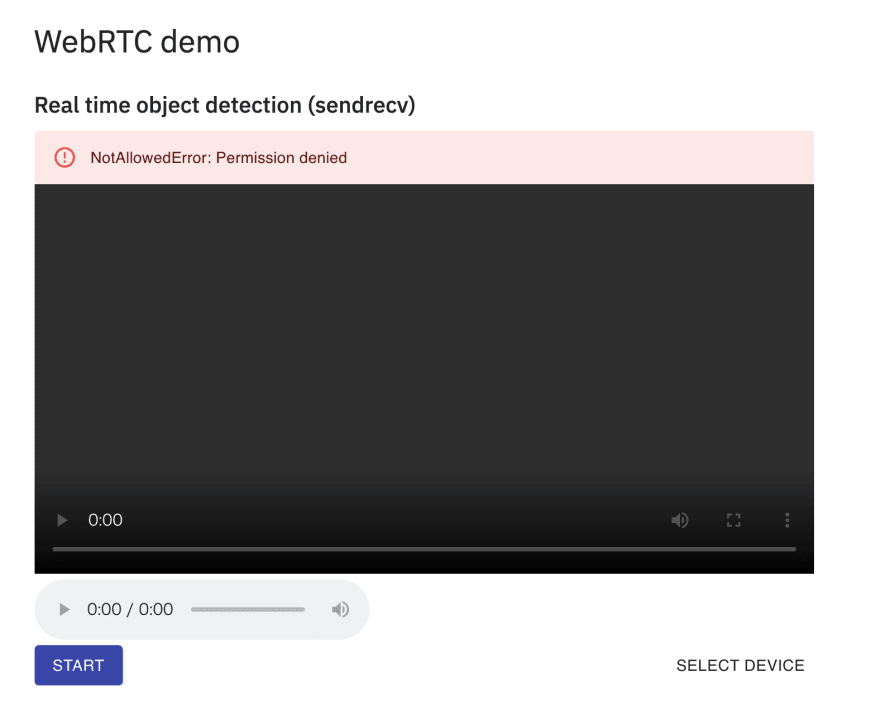
After opening the app on the browser, click the "Start" button.
Then a video sourced from your webcam is displayed.
(You may be asked for permission to access the webcam and microphone. If so, allow it.)
This is the simplest example of streamlit-webrtc - capturing video from a local webcam, sending it to the Python process, and sending it back to the frontend to display the preview.

Simple frame filter
Next, we will see how to inject computer vision code into the process.
Here is the next example, the Canny filter with OpenCV.
# canny_filter.py

import cv2
from streamlit_webrtc import VideoTransformerBase, webrtc_streamer


class VideoTransformer(VideoTransformerBase):
    def transform(self, frame):
        img = frame.to_ndarray(format="bgr24")

        img = cv2.cvtColor(cv2.Canny(img, 100, 200), cv2.COLOR_GRAY2BGR)

        return img


webrtc_streamer(key="example", video_transformer_factory=VideoTransformer)
Run this code and see the result.
$ streamlit run canny_filter.py
You can see the Canny filter is applied to the video stream in real time.

webrtc_streamer can take video_transformer_factory argument, which is a Callable that returns an instance of a class which has transform(self, frame) method.
If you like type annotation, you can use an ABC (abstract base class), VideoTransformerBase, which defines this interface, like the example above.
Anyway, as the example above shows, you can implement arbitrary frame filters inside the transform() method, which transforms each frame coming from the video stream.
transform() takes an argument frame and returns a numpy array img.
The argument frame is an instance of av.VideoFrame from av package and the returned value img is a numpy array representing the output frame picture.
Note that the video stream is processed in a forked thread independent of the Streamlit's script execution flow in the main thread, and transform() is called from the forked thread.
Interactive controls
One of the biggest benefits of using Streamlit is interactive controls such as sliders and radio buttons.
streamlit-webrtc works well in combination with them.
See the next example.
# interactive.py

import cv2
import streamlit as st
from streamlit_webrtc import VideoTransformerBase, webrtc_streamer


class VideoTransformer(VideoTransformerBase):
    def __init__(self):
        self.threshold1 = 100
        self.threshold2 = 200

    def transform(self, frame):
        img = frame.to_ndarray(format="bgr24")

        img = cv2.cvtColor(
            cv2.Canny(img, self.threshold1, self.threshold2), cv2.COLOR_GRAY2BGR
        )

        return img


ctx = webrtc_streamer(key="example", video_transformer_factory=VideoTransformer)

if ctx.video_transformer:
    ctx.video_transformer.threshold1 = st.slider("Threshold1", 0, 1000, 100)
    ctx.video_transformer.threshold2 = st.slider("Threshold2", 0, 1000, 200)
and run this code.
$ streamlit run interactive.py

This example is based on the previous one and extended to use sliders to control the Canny filter parameters.
The ctx object returned from webrtc_streamer() is used here to refer to the .video_transformer attribute. This attribute is an instance of VideoTransformer instantiated by video_transformer_factory.
Then the values from sliders are passed to be used in transform() via the instance attributes, ctx.video_transformer.threshold1 and ctx.video_transformer.threshold2.
This is because transform() is called and running in another thread in async way as stated above.
Make sure that this value passing is thread-safe, and be careful especially when you pass complex objects.
More examples and information
While only a simple example with the Canny filter has been shown in this article,
you can develop more interesting, any kinds of computer vision apps.
For example, I'm hosting a sample Object Detection app with MobileNet SSD at
https://share.streamlit.io/whitphx/streamlit-webrtc-example/main/app.py (Streamlit Sharing)
and
https://streamlit-webrtc-example.herokuapp.com/ (Heroku free plan).

https://github.com/whitphx/streamlit-webrtc-example is a repository of this app.
You can also try this app on your local environment with the commands below:
$ pip install streamlit-webrtc opencv-python
$ streamlit run https://raw.githubusercontent.com/whitphx/streamlit-webrtc-example/main/app.py
as explained streamlit-webrtc's README.
This forum topic may be useful to know more about this library.
Hosting on remote servers
We have been working on localhost, and deploying apps on remote hosts might be a next step.
It is a nice usage of streamlit and streamlit-webrtc as it allows users to easily try the app remotely, with their local webcams or smartphones.
There are some things you need to be aware of to do it, especially with streamlit-webrtc.
Network connectivity
Video streaming does not work in some network environments.
For example, in some office networks, there are firewalls which drop the WebRTC packets.
HTTPS
streamlit-webrtc uses getUserMedia() API to access local webcams, and this method does not work in an insecure context.
This document says
A secure context is, in short, a page loaded using HTTPS or the file:/// URL scheme, or a page loaded from localhost.
So, when hosting your app on a remote server, it must be served via HTTPS.
One of the easiest way to do it is to use some hosting services like Heroku, which provides HTTPS serving by default. Especially for apps using streamlit, Streamlit Sharing can be a choice.
The Object Detection sample app shown above is actually using both Heroku and Streamlit Sharing. You can see the deployment settings of this app for those services in the repository.
If you have to serve the app on hosts inside local networks, you can use some reverse proxy software like nginx.
In prototyping phase, https://github.com/suyashkumar/ssl-proxy might be a simple but useful option.

Top comments (6)
Hello! First, thanks for you incredible work!
I am trying to run a Machine Learning classification model, to classify Sign Language words. This is how it should look:
But when I deploy it in local using Streamlit, these anotations don't show up:
Im not getting major errors on the logs, just a TensorFlow warning because im not using GPU:
This is part of my ML model detection and cv2.puttext function to show the test:
Could you please tell me if you have any hint about why is this happening?
Thanks again!
Okey, I have tried to hardcode a string into the putText function and it works:
So I am thinking that there might be some problem with the Machine Learning part...
This is the code for my app, could you please look at it and reply if there is something wrong?
About the utils module, just some functions and the model definition, but they seem to work as it shows in the result that my face is landmarked.
I'm not sure this is what you want... but found one problem:
You initialize the MediaPipe model (
with mp_holistic.Holistic) and load the TF model (model = load_model()) inrecv(), but this is not a good design,because
recv()is called on every frames so model loadings happen everytime a new frame arrives. It is not efficient.You should do such computationally expensive but cachable processing only once, practically at
__init__()method.For example, this object detection demo does so as this
This app can be another example which uses MediaPipe for pose estimation.
It also initializes the model at
__init__()like this.Note that this version is using
multiprocessingbecause MediaPipe running in a single process had a problem with Streamlit in a multi-user situation. If your case is not so, you can refer to this previous version.Hi, when I try to run the example app at share.streamlit.io/whitphx/streaml... my camera doesn't work - it says "error - resource blocked by client" - referring to analytics.js in the console.
Is it due to the permissions involving the getUserMedia() API to access local webcams
I've tried on Mozilla, Chrome, and Opera on a Mac, and they all don't work.
Any advice?
Hello, thank you for trying the app.
Recently a similar question has been raised here: github.com/whitphx/streamlit-webrt...
Can you please refer to this, and let me know again if it does not help?
I'm not sure, but there can be more reasons, as stated in the issue above, such as network connectivity issue.
If there is a problems on
getUserMedia()API, an error may appear on the page, not in the console as below.Regarding to analytics.js, I think it may not be related to this issue.
It seems to be for Google Analytics and embedded into the page by Streamlit Sharing platform,
as neither Streamlit nor streamlit-webrtc are using it.