
In this tutorial, we will learn how to review code changes in GitHub Desktop, commit these changes and then create a pull request on GitHub. Git is a distributed version control system that allows developers to keep track of all changes to files within their projects. GitHub is a remote hosting platform that enables developers to store their projects externally. GitHub Desktop is a native application for both Windows and macOS to allow developers to manage their repositories.
If you don’t know what Git is, please check out the Introduction to Git tutorial.
Install GitHub Desktop
GitHub Desktop is available on Windows and macOS. To download the version for your operating system, click one of the previous links and follow the instructions.
Review Your Branch and Files
Firstly, carry out the following:
- authorize the application to access your GitHub account and repositories
- clone your repository to your local machine
- create a new branch
- make changes to your new branch
You’re now ready to review your changes in GitHub Desktop. If you have the repository and branch chosen in your GitHub repository, you should see a screen similar to what’s shown below. Below is an example I have when I created some changes to the README.md file of the Vonage PHP SDK. At the time of writing this tutorial, Vonage is going through a rebrand, changing the Nexmo and OpenTok branding to Vonage branding. In this README.md file, there were still references to Nexmo, so I suggested the changes shown in the image below:

Creating a Pull Request
You can see the new changes on the GitHub Desktop application. On the left-hand side, it will show the files that have been added, removed, or altered. Tick the files you wish committed to the repository.
At the bottom left of the screen, you’ll see two text boxes and a button labelled “Commit to ” Where <branch_name> is your branch name.
Add a commit message into the first text box. This commit message should be a very brief description of what the commit as a whole was. The second text box will allow you to be a little more descriptive on what your changes are doing. Add a description to the second text box.
An example of this is below with my suggested changes during the rebrand to Vonage:
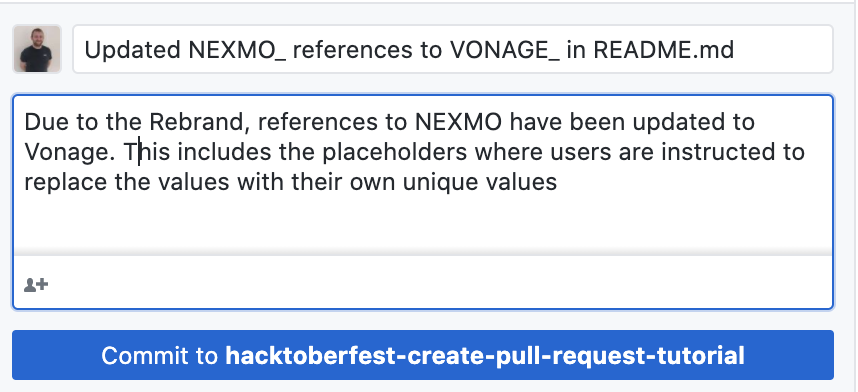
Once you’ve typed your message and description, click the “Commit to ” button.
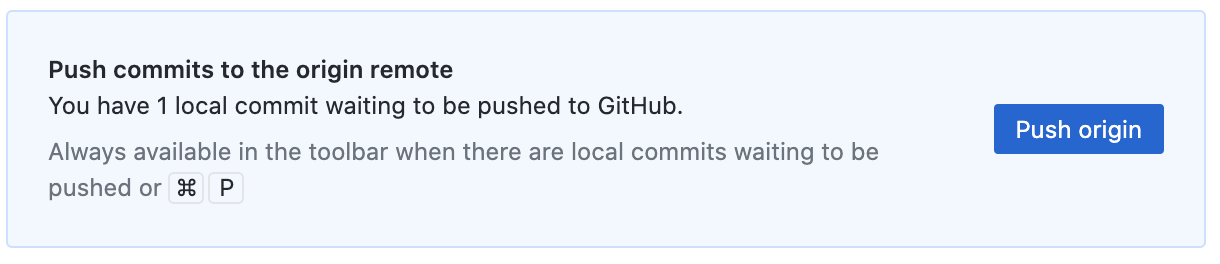
You’ll then see an option appear similar to the image below where it’s asking if you wish to push your commits to the origin remote. This request is where your changes are to the remote server, which will be visible by anyone with access to that repository.
Now, it’s time to create a pull request for your changes! Once you’ve pushed your changes, you’ll have another option to “Create a Pull Request from your current branch” as shown in the image below. If you’re ready to do this, click the “Create Pull Request” button.
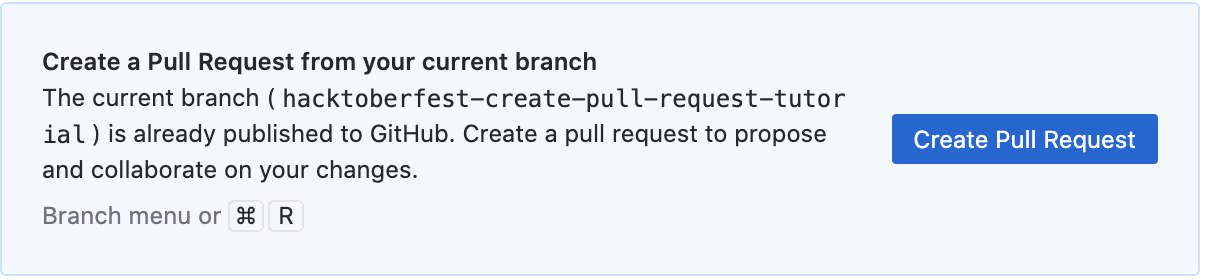
You’re then taken to a web browser to proceed with creating this pull request.
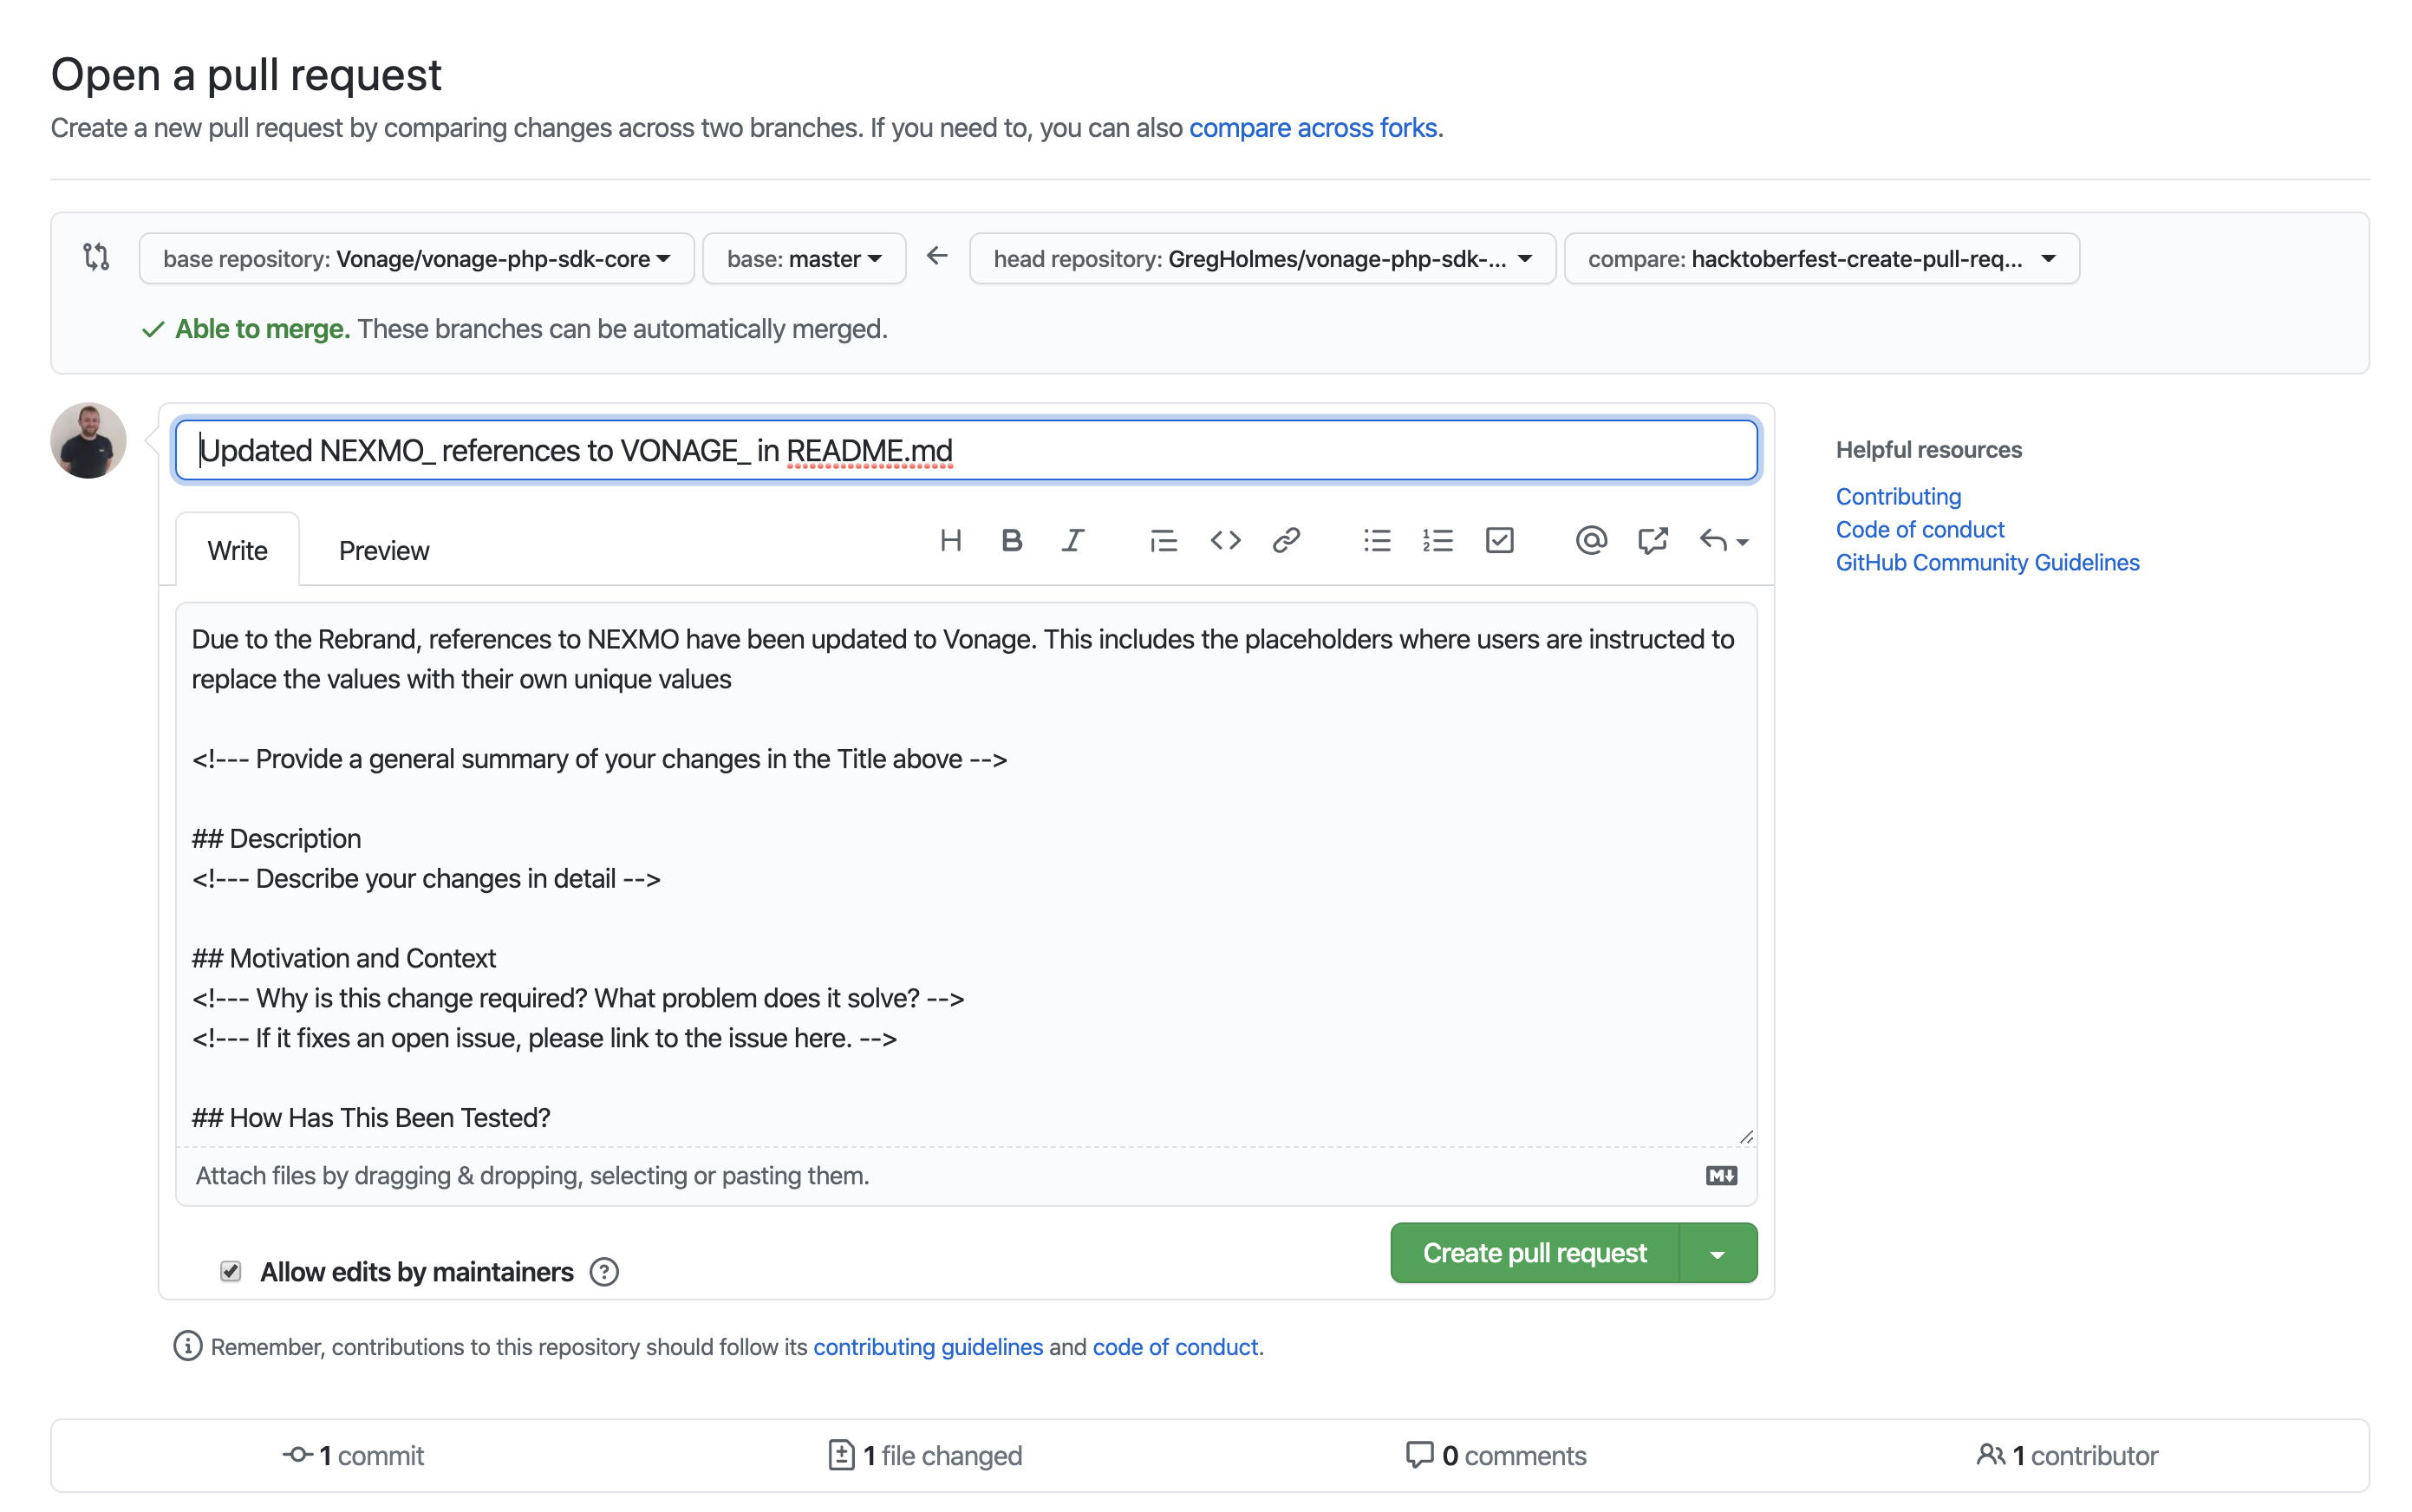
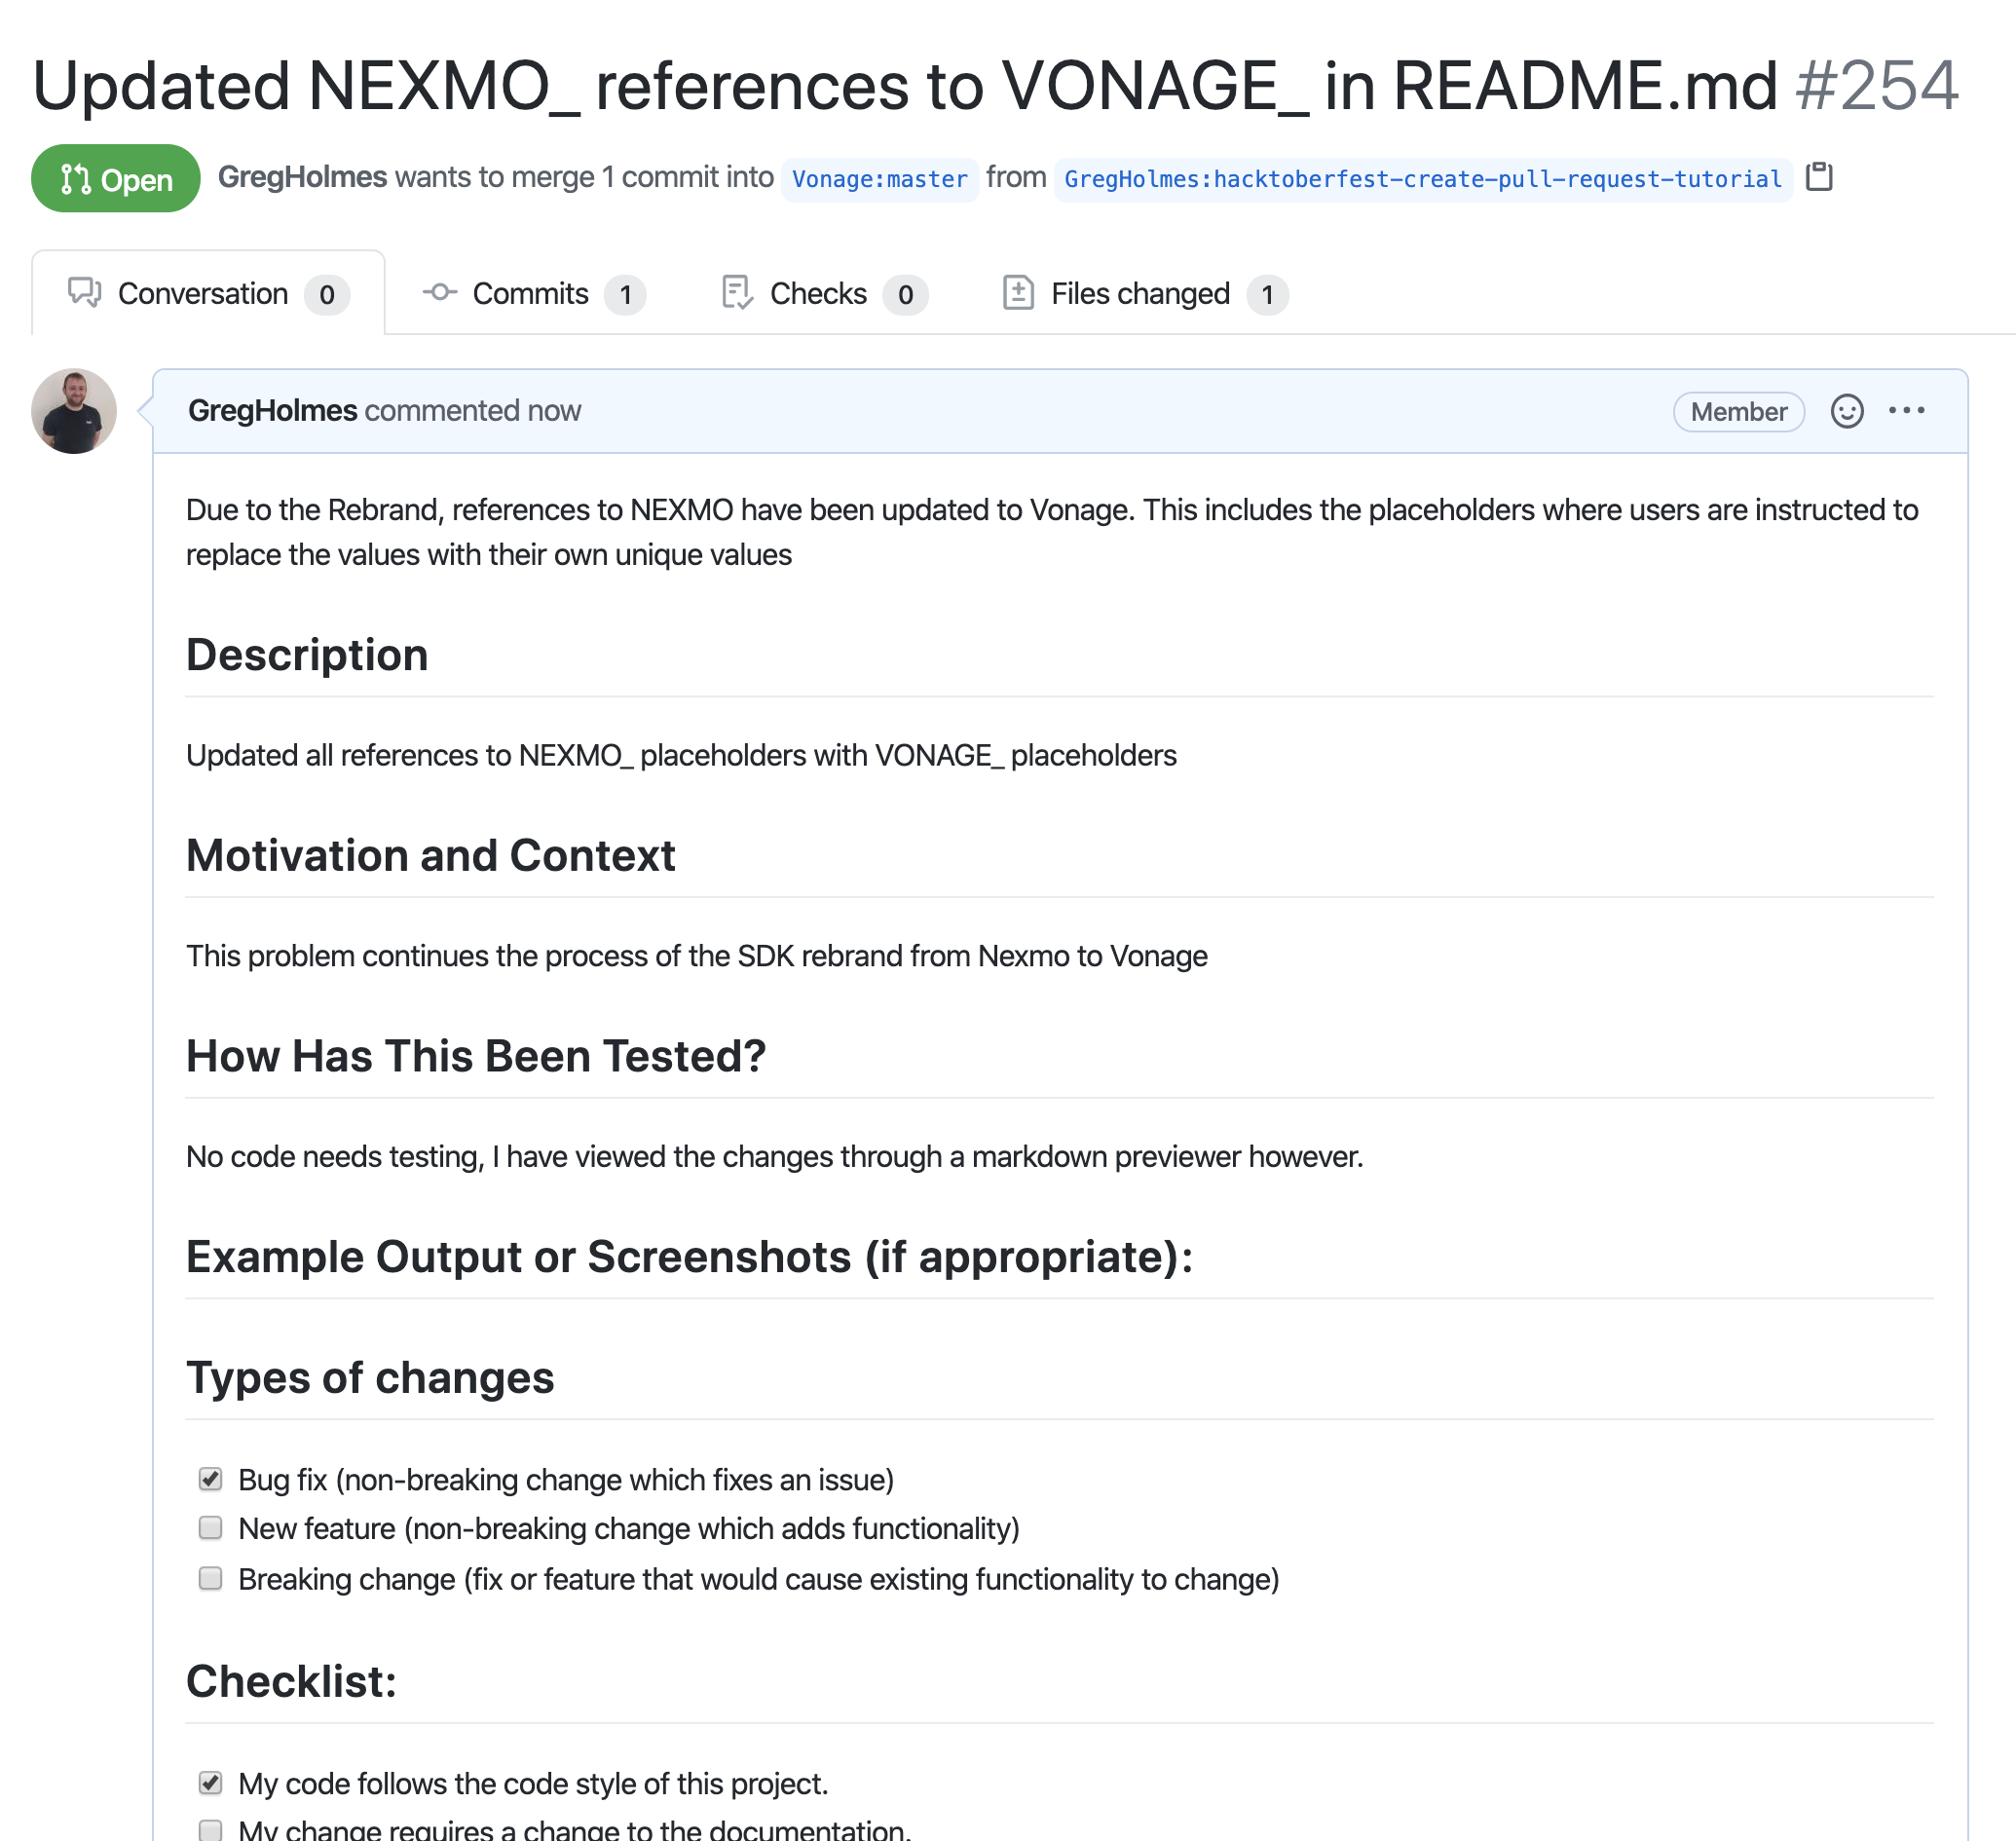
The image below shows an example of what you may expect to see in the browser. What you see may slightly differ for you depending on where you’re creating the pull request. Here at Vonage, we have a specific process you’re required to fill certain information out or acknowledge that you’ve done a particular process for the pull request to be accepted.
These requirements include:
- providing a general summary of the changes,
- describing these changes,
- why are the changes required?
- Have you added any new tests
- and have your changes broken the existing tests?
Make sure you’ve followed the required input/processes for that repository. Otherwise, you may risk a delay in getting your changes approved. It’s better to have as much information as possible for the reviewer, than none at all.
Once you’ve submitted your pull request, you will see a page that shows you the message, description and, if you scroll down, the files changed.
Some repositories have processes that run automatically as soon as a pull request is created. Make sure you check that these all pass as well (you may need to wait a few minutes after creation for the checks to finish). If these checks don’t pass, make sure you revisit your changes and rectify the issue to ensure a quick release of your changes.

Conclusion
If you have followed this tutorial from start to finish, you have now:
- installed GitHub Desktop on your machine,
- connected it to your GitHub account,
- cloned a repository to your local machine,
- created a new branch,
- made changes to files within this branch,
- committed these changes,
- and finally created a pull request on the remote repository.
Where Next?
Now that Hacktoberfest has started, there’s no better time to put your Git learnings into practice! We are excited to be a Hacktoberfest partner this year, so you might want to check out some of the Vonage projects while you work towards your PR goal. Happy hacking!
Don’t forget, if you have any questions, advice or ideas you’d like to share with the community, then please feel free to jump on our Community Slack workspace, or pop a reply below  . I’d love to hear back from anyone that has implemented this tutorial and how your project works.
The post How To Create a Pull Request With GitHub Desktop appeared first on Vonage Developer Blog.

Top comments (0)