My new package -> https://www.npmjs.com/package/mat-phone-code-validator
Yes, its exciting. Sometimes you need to extend the Angular functionality by creating Angular libraries. Like having multiple apps using same functionality. Exposing a functionality to third party and so on... In these cases its best to create NPM library with just the functionality to be shared.
Angular site has details steps here. What I would like to demonstrate here is to follow the steps to create a NPM library. I have already created a library phone code validator. I have seen a component like this is needed across different projects. Thus have decided to create a perfect one and deploy it in NPM and can use it in other projects if necessary.
Ok, lets get to it. the full code is present at this repo https://github.com/vishesh1king/mat-phone-code-validator
Create a library skeleton
First we will have to create the skeleton of the library code structure. Use following Angular CLI commands,
ng new my-workspace --create-application=false
cd my-workspace
ng generate library mat-phone-code-validator
After executing the commands this is how my folder structure was,
Now the library mat-phone-code-validator is created. Under the lib folder you will have the module.ts, component.ts. We need to write the functionality here. The repo has the full code, you can clone it and check.
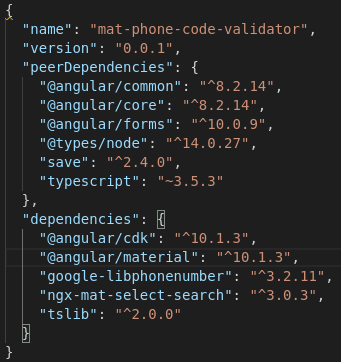
In-case we have dependencies then navigate to lib folder and install it one by one. Below is the package.json file.
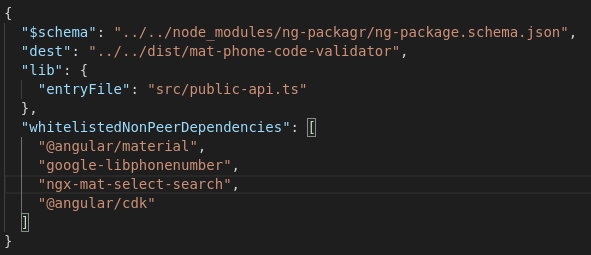
Since we have third party dependency, we must include them under whitelistedNonPeerDependencies in ng-package.json. Else the library build will fail and suggest us to add as peer dependency. If added as peer dependency then NPM will not install during library installation and you cannot use it.
A special case, i was installing angular material and i faced below error. The solution is to install angular schematics npm install @schematics/angular. Check the angular version and install that version appropriately. I used angular 8 thus i used npm install @schematics/angular@9.1.0.
If in-case we have more code and functionalities that we want to expose in the library than the default main component file then export it in the public-api.ts file.
Build the library
Once we have written what we need to run. Below is few points to note before we build the library.
- Add
enableIvy: falseunder the tsconfig.lib.json. This will enable using angular View Engine to compile the library rather than Ivy. Only if Angular View Engine is used the library will be compatible with older angular versions.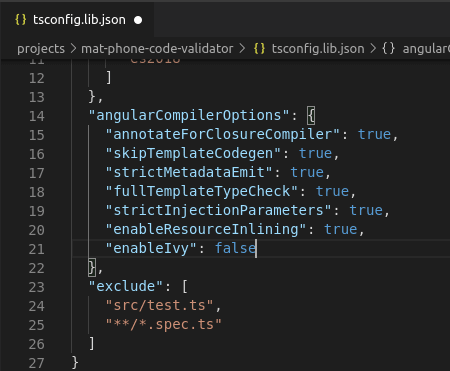
Use below commands to build your app,
// go to the projects folder
cd lib-workspace/projects/mat-phone-code-validator
// build the library
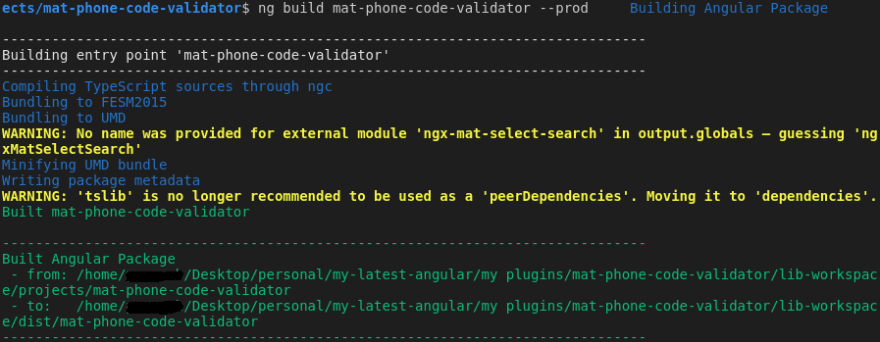
ng build mat-phone-code-validator --prod
If all success then the build will be present under the lib-workspace->dist folder.
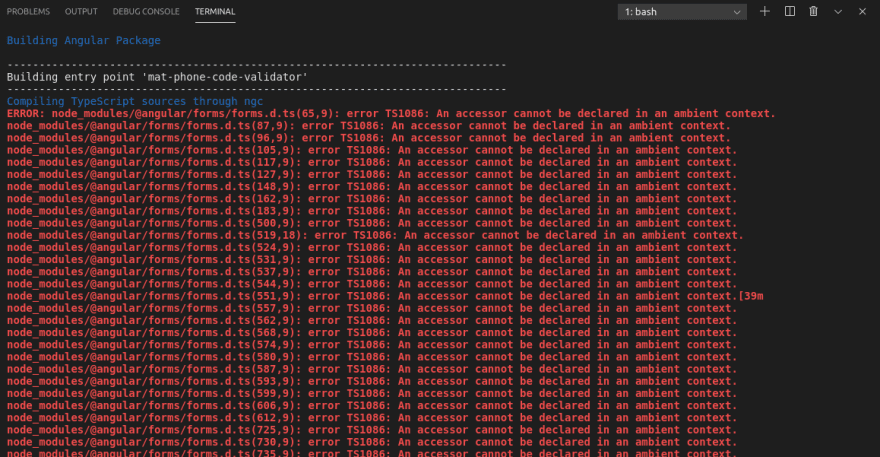
Nope, Saw a huge list of errors that blew your mind? Don't worry i got you covered. Below is the error i faced when i ran the application,
- Here is the problem, the 'ng new my-workspace' command actually created a older angular version workspace. You can Check the angular and cdk versions in package.json. Its older ones thus, the solution is simple We just have to update them. Use below commands to do so,
// go to the projects folder
cd lib-workspace/projects/mat-phone-code-validator
// Update angular core
ng update @angular/core @angular/cli
// Update material if you use it else need not execute below command.
ng update @angular/material
- Then in
tsconfig.lib.jsonaddexperimentalDecorators: truevalue under angularCompilerOptions to avoid module errors.
Test locally
Since its a library we cannot run it as such. There is a way to use the library build locally. You need to pack it and use in a demo app. In the Repo you can see there is a demo angular project where i have implemented it. You can check full code there.
- First we need to take build which is already done in previous step
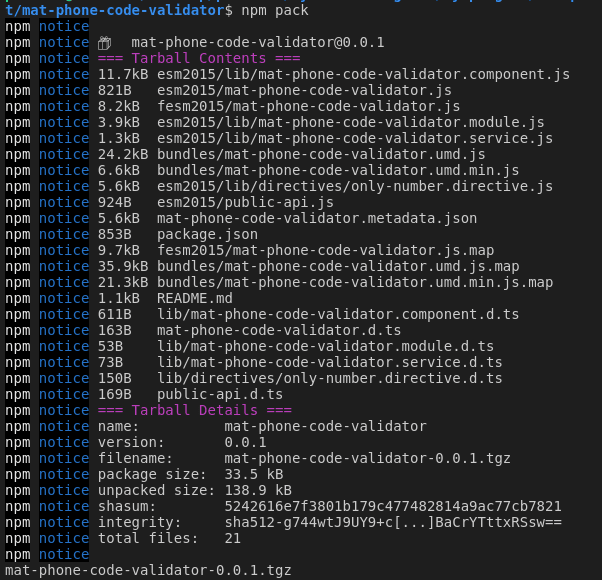
- Now need to pack it using below command > // Go to dist folder cd dist/mat-phone-code-validator/ // Pack it as a zip npm pack
- This will create a package tgz file which you can install direct in the demo app using by referring this compressed file. Example below,
npm install ../lib-workspace/dist/mat-phone-code-validator/mat-phone-code-validator-0.0.1.tgz
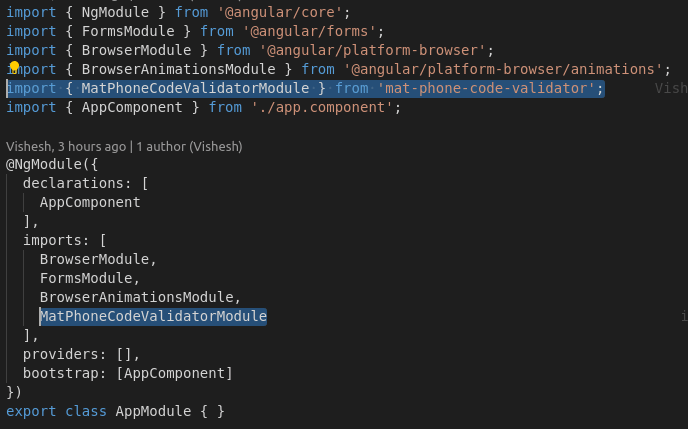
- Now you can include this in the sample angular project's module file like below.
- You can call it in the component HTML like below.
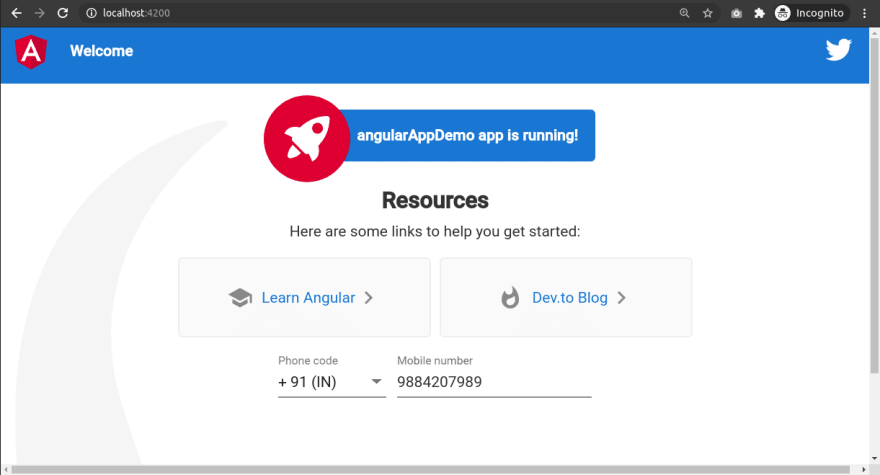
- Run the demo app to see the output.
NPM publish
Finally our library is working. Kudos to that !!! Now we need to publish to NPM. Its pretty simple. Before that we need to create a NPM account and initialise it in the library.
- Setup your NPM account at https://www.npmjs.com/signup and verify you email. Else, you cannot publish any package.
- Now need to login to npm in the library.
> // Navigate to library dist
cd lib-workspace/dist/mat-phone-code-validatornpm login - Test: Type
npm whoamifrom a terminal to see if you are already logged in. - If all good then run
npm publish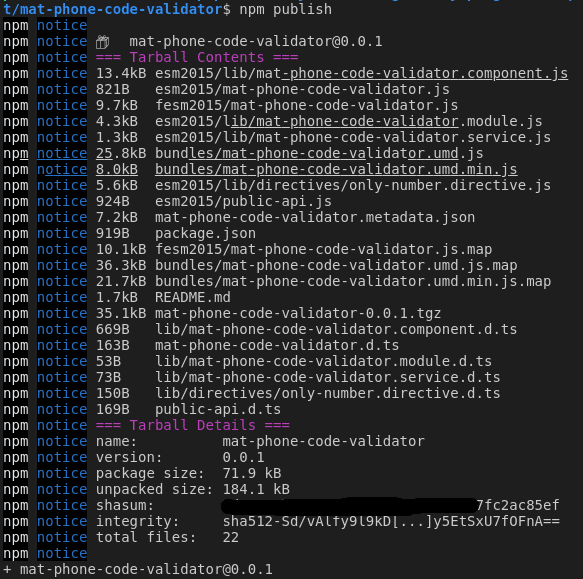
Go and check you package in npm. It would have been published.
More notes
- Before publishing your package. Always update your read me. Because that the first page.
- Update you package json with license, homepage, repository, author, etc... This will add more details to the NPM. Check the repo for mine.
Conclusion
Phew !! Since is have lot of dependencies it took me awful long around 16hrs. To complete first version. Let me know how long it takes for you. Also, let me know in comments if you face any errors ect... May be i got it too, i might help out.






Top comments (0)