
Have you had this situation? You are ready to create your digital profile, you thought a lot about what name to use for your email account but when you try to create it somebody has already taken it. You try again on another email platform and again it was taken.
One of the best solutions for this problem is to create a business email and associate it with your regular email, so everytime someone writes an email to your business email, it reaches your regular email inbox section.
So how can you do that? In this article I’m going to teach you step by step how you can do that with Amazon WorkMail.
Amazon WorkMail is a service that helps you manage all your incoming messages to a specific business email, also it helps you organize the emails of all your coworkers that use email with the same domain and define a storage space for each one. Following I leave some features of this service:
Amazon WorkMail’s Features
- Free trial for 30 days
- Integration with others Amazon Web Services
- Email flow rules with spam and virus protection
- 50 GB Storage per user
- Monthly cost per user: 4,00 USD
Requirements to complete the guide
- AWS Account
- Domain Name
- Gmail Account
Route 53 Association
- To begin we are going to login in our AWS root account or an IAM account with permission for the services Route 53 and Amazon WorkMail
- Go to Route 53 and click Created hosted zone
- In this section we put our domain, in my case I’m going to use ulzahk.com. Then we click create hosted zone
- The system is going to create two records an NS type and SOA type:

- Now we go to our domain provider platform and search for the Nameserver section
- Write all the record values that were created in the NS type record

Amazon WorkMail Group Creation
1.Now that we have our DNS configured, lets go to Amazon WorkMail service
- Here you are going to create an organization. Choose existing Route 53 domain > your domain and a Alias for your organization:

- Wait until your organization is all setup, then enter by clicking the card’s name
- Create a user and choose the email that you wanted. In my case I’m going to use francisco@ulzahk.com

- Now we can receive emails in this direction, to check the email we need to enter the Amazon WorkMail Space of our organization.
- We go to organization settings and click the link web application:
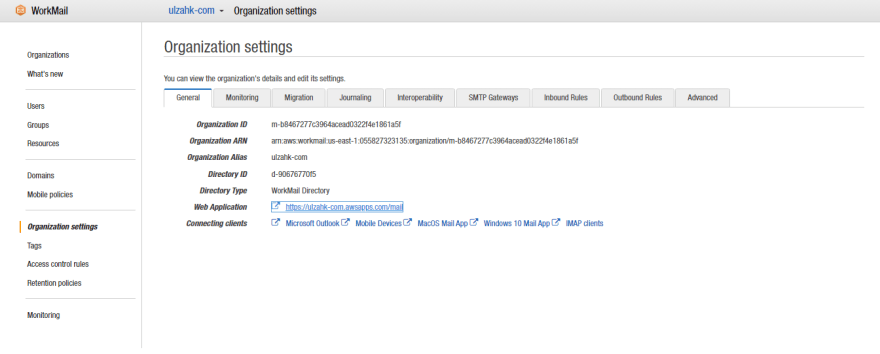
- It takes you to a login form where you use your username and password to enter to your Amazon WorkMail Space
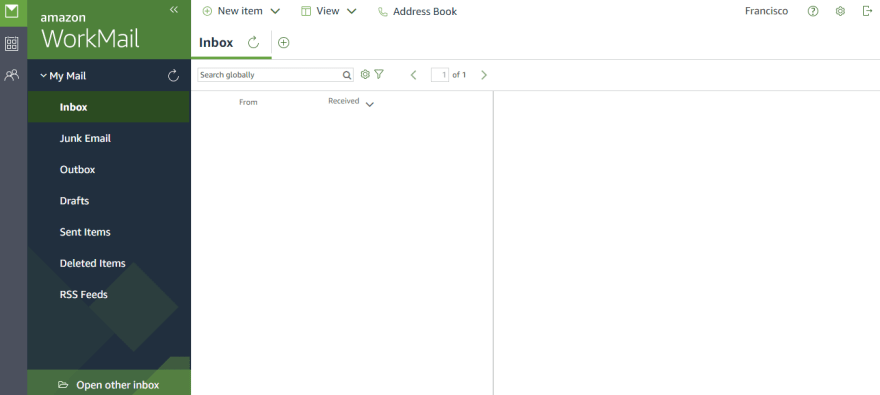
Email Forwarding
- Now we are going to integrate this email with our gmail account to manage everything in the last one.
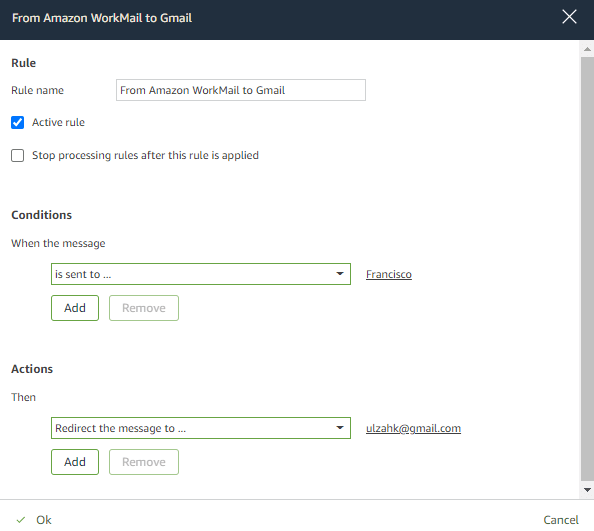
- We go to the settings section in the top right corner with a gear icon. Then select email rules and new.
- Create a rule with this information
- When the message is sent to
- Then Redirect the message to …
- Click Ok and Click Save Changes Button
- With this you can now receive emails from your Amazon WorkMail in your Gmail Account
- For the final part we are going to our google account, then go to settings > all settings > Tab Account and Imports and click Add another email address in Send email as section
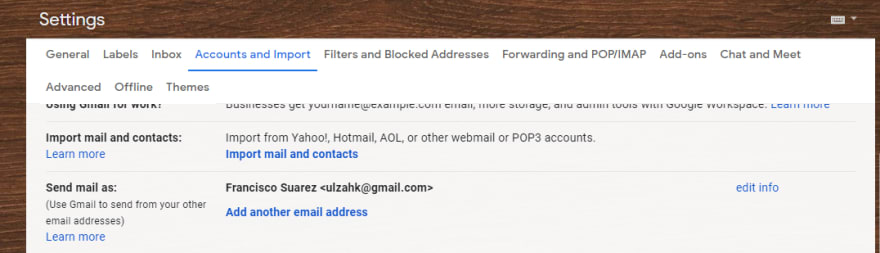
- Put your Amazon Work Mail Email and click next
- Now use this guidelines:
- SMTP Server: smtp.mail..awsapps.com
- Username:
- Password:
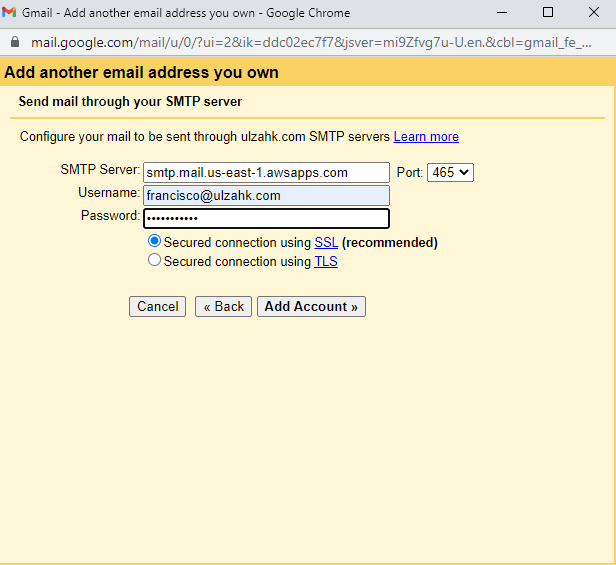
- Click add account and for the email to arrive.
- Refresh the tab and now you can send emails with your business email

If you liked the teaching process I use in this article, I recommend you to checkout the way I work in these articles:
References
- Amazon WorkMail Documentation: https://docs.aws.amazon.com/workmail/index.html
- Gmail for Developers IMAP: https://developers.google.com/gmail/imap/imap-smtp
- Domain platform used: https://www.namecheap.com/


Top comments (0)