
Introduction
In SwiftUI, you can use ImageRenderer1 to take screenshots or images as an UIImage object for any SwiftUI view.
Let’s consider a simple Text view in SwiftUI. The goal is to take a snapshot of it using ImageRenderer object.
import SwiftUI

struct ContentView: View {
    var body: some View {
            VStack {
                 Text("Hello, world!")
            }
    }
}
This is how this renders in the Xcode iOS device simulator

How to use ImageRenderer?
Now, let’s try to create a snapshot of this view using ImageRenderer feature.
import SwiftUI

struct ContentView: View {
    var body: some View {
        VStack {
            Spacer()
            VStack {
                Text("Hello, world!")
            }
            Spacer()
            snapshot().resizable().aspectRatio(contentMode: .fit)
                .frame(maxWidth: 100, maxHeight: 100).border(.red)
            Spacer()
        }
    }

    @MainActor func snapshot() -> Image {
        let imagerenderer = ImageRenderer(
            content: VStack {
                Text("Hello, world!")
            }.frame(maxWidth: 100, maxHeight: 100)
        )
        return Image(uiImage: imagerenderer.uiImage!)
    }
}
💡 If the view gets complex, which it inevitably does, it’s better to define it in a function or variable so that it can be reused in
snapshotfunction without too much duplication.
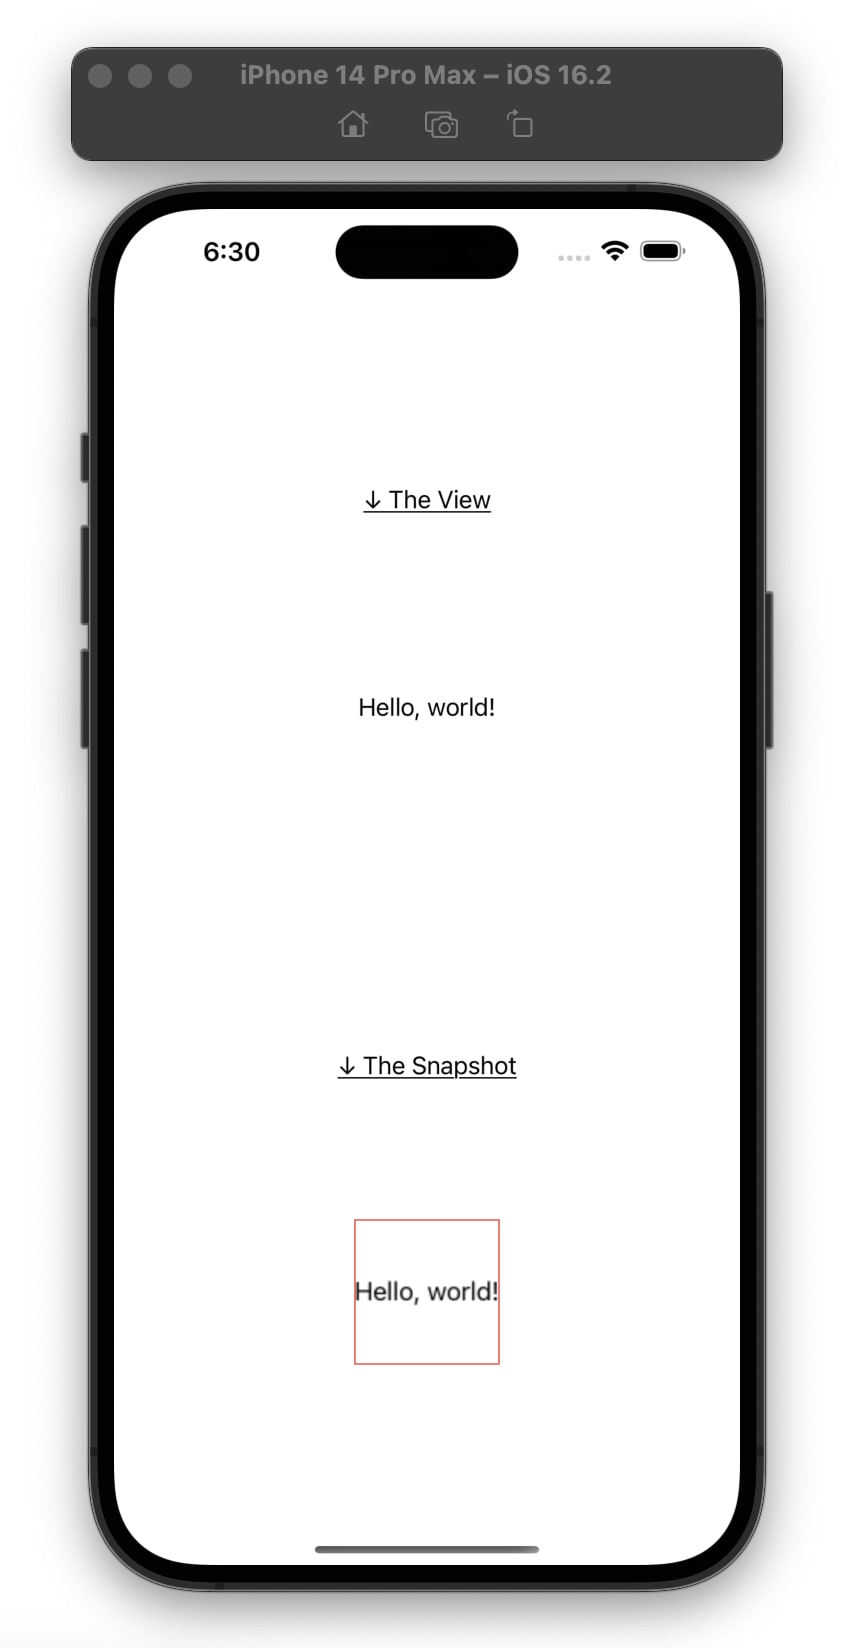
I’ve abstracted the view to be captured, in it’s own variable to clean up duplicate code,
import SwiftUI

struct ContentView: View {

    var viewToBeSnapshotted: some View {
        VStack {
            Text("Hello, world!")
        }
    }

    var body: some View {
        VStack {
            Spacer()
            VStack {
                Spacer()
                Text("↓ The View").underline()
                Spacer()
                viewToBeSnapshotted
                Spacer()
            }
            Spacer()
            VStack {
                Spacer()
                Text("↓ The Snapshot").underline()
                Spacer()
                snapshot().resizable().aspectRatio(contentMode: .fit)
                    .frame(maxWidth: 100, maxHeight: 100).border(.red)
                Spacer()
            }

            Spacer()
        }
    }

    @MainActor func snapshot() -> Image {
        let imagerenderer = ImageRenderer(
            content: viewToBeSnapshotted.frame(maxWidth: 100, maxHeight: 100)
        )
        return Image(uiImage: imagerenderer.uiImage!)
    }
}
The modifiers and annotations around the snapshot image is so that the view and the related ‘snapshot’ are presented cleanly in the demonstration
This is the simplest implementation of ImageRenderer in action.
To understand how awesome this is, I would like to demonstrate a cool experiment below.
Code Snippet
Let’s say the view contains a variable that changes in real-time. We want the corresponding snapshot function to also capture the changes in real-time.
Say the the text contains a number variable that can increase/decrease on some trigger
Here’s the code:
import SwiftUI

struct ContentView: View {

    @State var number: CGFloat = 0

    var viewToBeSnapshotted: some View {
        VStack {
            Text("The number is \(number)")
        }
    }

    var body: some View {
        VStack {
            Spacer()
            VStack {
                Spacer()
                Text("↓ The View").underline()
                Spacer()
                viewToBeSnapshotted
                Spacer()
            }
            Spacer()
            VStack {
                Spacer()
                Text("↓ The Snapshot").underline()
                Spacer()
                snapshot().resizable().aspectRatio(contentMode: .fit)
                    .frame(height: 100).border(.red)
                Spacer()
            }
            Spacer()
            HStack {
                Spacer()
                Text("Slide to update number →")
                Slider(
                    value: $number,
                    in: 0...100,
                    step: 1,
                    label: {
                        Text("Number")
                    }
                )
                Spacer()
            }
        }
    }
I’ve added a simple slider2 that updates a @State variable called number from 0 to 100. This number is added part of the Text view.
When the slider updates the number, the view and the corresponding snapshot update in real-time.
Demonstration

In this tutorial, you've learnt how to generate a snapshot of SwiftUI view in only a few lines of swift code.

Top comments (1)
I agree with that taking screenshots of views in SwiftUI is an essential skill for developers to have. Capturing screenshots is a helpful way to document app behavior or to showcase UI designs to colleagues or clients. The article provides clear and concise instructions on how to take screenshots of views in SwiftUI, making it easy for even beginners to follow along.
Additionally, it's worth noting that taking screenshots is not only useful for documentation or design purposes but can also be used for testing and debugging. When encountering bugs or unexpected behavior in an app, taking a screenshot of the issue can provide valuable insights to developers and help them quickly identify and resolve the problem.
Overall, this article is a great resource for developers looking to learn how to take screenshots of views in SwiftUI, and I would recommend it to anyone looking to improve their app development skills.