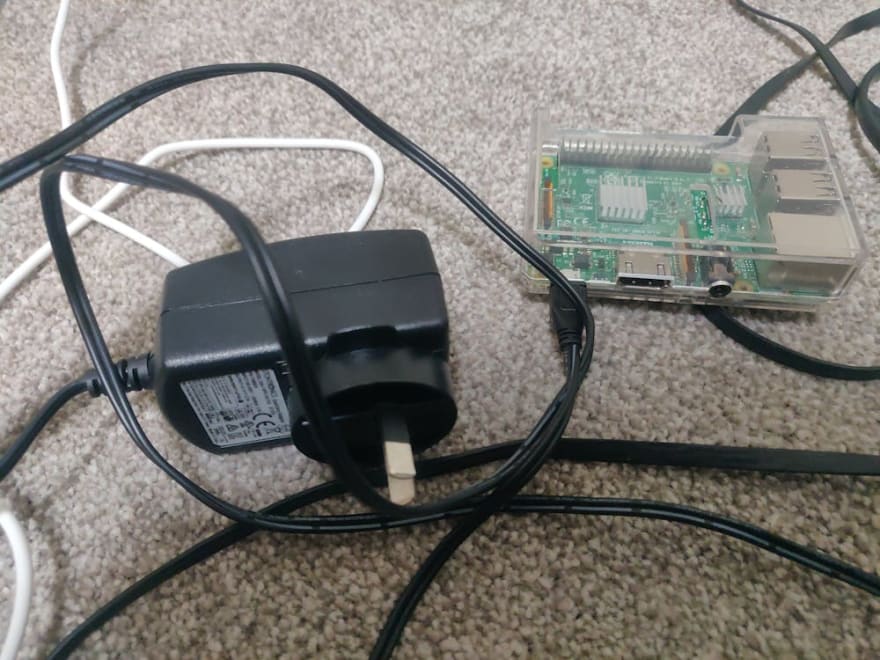
I recently found my Raspberry Pi 3B in one of my storage box. As a small, affordable and versatile computer that can be used for a wide range of projects, from media centers to home automation systems.
If you’re new to Raspberry Pi, setting up your device can be a little daunting, but don’t worry — it’s easier than you might think. In this guide, we’ll walk you through the steps required to get your Raspberry Pi up and running.
Connect Monitor and Set up Keyboard
The first step is to connect a monitor and a keyboard to your Raspberry Pi. You’ll need a monitor with an HDMI input, and a USB keyboard. Plug the HDMI cable into the HDMI port on the Raspberry Pi, and the other end into the monitor. Then connect the USB keyboard to one of the USB ports on the Raspberry Pi.
When you first boot up your Raspberry Pi, you’ll be asked to choose a keyboard layout. This is important, as it will affect the way your keyboard behaves. Make sure to choose the correct layout for your keyboard. If you’re unsure which layout to choose, try the default layout for your region.
How to Change your Keyboard Layout on Raspberry Pi? (RPI OS) | RaspberryTips
_If, like me, you don't use a QWERTY keyboard, the first thing you are probably looking for on your Raspberry Pi is how…_raspberrytips.com
Set up WIFI/LAN in CLI
Next, you’ll need to connect your Raspberry Pi to the internet. You can do this either via GUI, by clicking the WIFI icon at right corner. (If GUI Desktop Environment was installed)
Or update it in CLI.
Raspberry Pi store the network config in /etc/wpa_supplicant/wpa_supplicant.conf
This could be manually updated, or through the config CLI _raspi-config_ , a restart may be required after netwoek changed.
Anytime after the first booting, if you want to change keyboard layout, region, WIFI etc, run
sudo raspi-configin your terminal
More about _raspi-config_:
Raspberry Pi Documentation - Configuration
_raspi-config is the Raspberry Pi configuration tool originally written by Alex Bradbury. To open the configuration…_www.raspberrypi.com
Install docker and docker compose
Finally, you’ll want to install Docker and Docker Compose on your Raspberry Pi. Docker is a tool for building, deploying, and managing containers, while Docker Compose is a tool for defining and running multi-container Docker applications. To install Docker and Docker Compose, follow the steps outlined in the following tutorial:
How To Install Docker and Docker-Compose On Raspberry Pi
_Raspberry Pi with a running Raspbian OS SSH connection enabled To do this you can check Raspberry Pi Setup. First of…_dev.to
Note that you may not need to install pip3 or Python 3 for the latest version of Docker on the ARM architecture, and Docker Compose may be installed by default. You also may not need to set up a user group.
That’s it! You should now have a fully functional Raspberry Pi with Docker and Docker Compose installed. From here, you can start building your own projects and exploring the full potential of this amazing little computer. These are some cool home projects could be run in docker on Pi.
- pi-hole, DNS level Ads Blocker
- home assistant, home automation tool for IoT devices


Top comments (0)