Apple Certificates are a necessary evil, we know that. Although Apple has simplified the process of dealing with them over the years, it's still a bit of a pain. And, since it's something we do from year to year when they expire and not on a daily basis, it's something really easy to forget.
I've written this guide for myself and The Agile Monkeys 🐒 but I'm sure you will benefit from it, too!
You will probably need a .p12 file to configure your Push Notification Server or third-party service. Let's see how to do it:
- Go to https://developer.apple.com/, under Certificates, add a new one selecting a new service certificate of type Apple Push Notification service SSL (Sandbox & Production):

- Continue and select the Bundle Identifier of your app or the identifier of the Push Extension of your app in case you have it:

Next, you need a Certificate Signing Request. You can get it from your Keychain Access app following these steps.
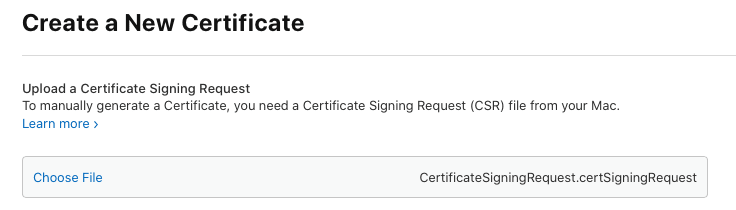
Upload the Certificate Signing Request you just saved to your disk:
Continue and download the Apple Certificate.
Double click on it to install it in your Keychain Access. You will see it with a little arrow at the left side (this will contain the private key):

Select it in your Keychain Access app, right-click on it and Export. A prompt will appear. Select .p12 as the format if that wasn't selected by default already.
Et voilá! Upload that file to your server or third-party service.


Top comments (0)