
Hello Devs! 🙂
In this blog, we will see how to make our installation and development environment. ☝️
Don't worry! I will guide you and together, we will learn, ok!
1:
Open: We need to open our terminal and there open our folder.
In this case, create a folder with:
- mkdir "named for you"
We can see the documents that we need to see:
- ls
To enter with:
- cd "name folder"
👇
In terminal

tailwind_test % mkdir tailwind_test
tailwind_test % ls
 tailwind_test
tailwind_test % cd tailwind_test
2:
Initialize project: we can initialize the project with npm.
👇
In terminal

tailwind_test % npm init -y
Wrote to /Users/Tere/Documents/project/package.json:

{
  "name": "project",
  "version": "1.0.0",
  "description": "",
  "main": "index.js",
  "scripts": {
    "test": "echo \"Error: no test specified\" && exit 1"
  },
  "keywords": [],
  "author": "",
  "license": "ISC"
}
3:
Install Tailwind via npm: In this case we make by npm. Also, in this case, We will install another way.
If you want to see, You'll be able to see it below in the second example in the terminal.
First example:
👇🛑 Remember in this case we make the second example, but also you can do it this way ; D
In terminal

# Using npm
% npm install tailwindcss

# Using Yarn
% yarn add tailwindcss
Second example:
In this case, add autoprefixer library.
Where the library will take care of prefixing all CSS classes so that all browsers understand.
- autoprefixer
Also add CSS preprocessors are in charge of transforming the language rules used by Tailwind CSS into CSS code that is understandable by the browser, in this case PostCSS.
- postcss-cli
👇
In terminal

tailwind_test % npm install tailwindcss autoprefixer postcss-cli

npm notice created a lock file as package-lock.json. You should commit this file.
npm WARN project@1.0.0 No description
npm WARN project@1.0.0 No repository field.

 +autoprefixer@9.8.6
 +postcss-cli@7.1.1
 +tailwindcss@1.7.3
added 172 packages from 142 contributors and audited 172 packages in 20.567s

10 packages are looking for funding
  run `npm fund` for details

found 0 vulnerabilities

tailwind_test %
4:
NPX TAILWINDCSS: We can run the next command that we will see next.
-npx tailwindcss init
That this command will create the folder config empty
tailwind.config.js
👇
In terminal

tailwind_test % npx tailwindcss init

   tailwindcss 1.7.3

   ✅ Created Tailwind config file: tailwind.config.js

tailwind_test %
In our visual studio code it looks like this below

LATER:
Create a file: We need to create a file named postcss.config.js. We can create it in your terminal or in your code editor.
Create file
- touch postcss.config.js
See all files
- ls
👇
In terminal

tailwind_test % touch postcss.config.js
tailwind_test % ls
node_modules        package-lock.json   package.json        postcss.config.js   tailwind.config.js
Ttailwind_test %
In our visual studio code it looks like this below

5:
Config file postcss.config.js in VS code.
👇📄
In file postcss.config.js

module.exports = {
    plugins: [
        require('tailwindcss'),
        require('autoprefixer')
    ]
}
6:
Config File CSS: In documentation tailwind. Add Tailwind to your CSS.
https://tailwindcss.com/docs/installation
Use the @tailwind directive to inject Tailwind's base, components, and utility styles into your CSS:
👇📄
In file example.css

@tailwind base;

@tailwind components;

@tailwind utilities;
7:
Config File tailwind.config.js: In documentation tailwind. Add Tailwind to your CSS.
https://tailwindcss.com/docs/installation you can search the working config in the documentation.
Is for change config for example in this case font family and extend
👇📄
In file tailwind.config.js

module.exports = {
  purge: [],
  theme: {
    fontFamily: {
      display: ['Gilroy', 'sans-serif'],
      body: ['Graphik', 'sans-serif'],
    },
    extend: {
      colors: {
        cyan: '#9cdbff',
      },
    }
  },
  variants: {},
  plugins: [],
}
8:
Create HTML for file CSS and modify script package.json.
👇📄
In file index.html

<html lang="en">

<head>
    <meta charset="UTF-8">
    <meta name="viewport" content="width=device-width, initial-scale=1.0">
    <title>Tailwind CSS</title>
    <link rel="stylesheet" href="css/style.css">
</head>

<body>

    <h1>Hello world</h1>

</body>

</html>
The script will create the file style.css
👇📄
In file package.json

"scripts": {
    "build": "postcss css/tailwind.css -o public/css/style.css"
  },
👇
In terminal

tailwind_test % npm run build

>project@1.0.0 build /tailwind_test

>postcss css/tailwind.css -o public/css/style.css

risk - There are upcoming breaking changes: removeDeprecatedGapUtilities

risk - We highly recommend opting-in to these changes now to simplify upgrading Tailwind in the future.

risk - https://tailwindcss.com/docs/upcoming-changes

tailwind_test %
In our visual studio code it look like this below where file style was created

Additionally to all this as advice and more.
You can add other npm facilities: This command will create a file where you will see all css properties for tailwind.
👇
In terminal

tailwind_test % npx tailwindcss init tailwind.cong.full.js --full

tailwindcss 1.7.3

✅ Created Tailwind config file: tailwind.cong.full.js

tailwind_test %
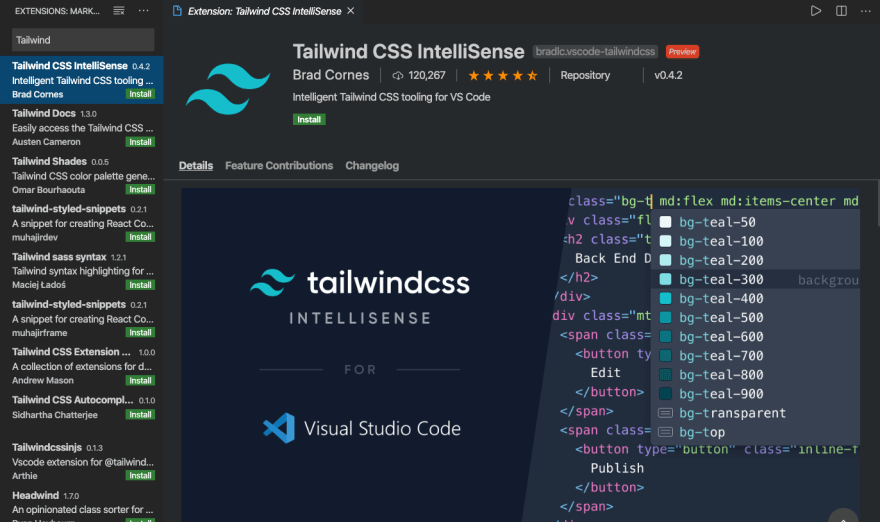
recommended plug-in for VS code: Tailwind CSS IntelliSense
- This extension helps you autocomplete classes and styles that are using.
Another tip, if you have any problem with your extensions, It probably that you need close and open the code editor.
I share some sources with you of this blog
Tailwind css course at Platzi https://platzi.com
Tailwind documentation https://tailwindcss.com/docs/installation
Now we have done it! 👏
But If you have a question or feedback, please write to me!🙂


Top comments (0)