Introduction
ArgoCD is one the most popular open source, GitOps tool out there. GitOps is the process of automation infrastructure deployment using infrastructure as code files.
Since I'm completely new to the world of GitOps, I thought to get started with it. And every time I start to learn something new I have a habit to documenting it. You can check out my Raspberry Pi NAS blog post as well.
So this is my version of getting started with ArgoCD.
Installation
The installation of ArgoCD is quite simple, we first create a namespace and run the command to get the required resources.
kubectl create namespace argocd
kubectl apply -n argocd -f https://raw.githubusercontent.com/argoproj/argo-cd/stable/manifests/install.yaml
```
We then install the ArgoCD CLI tool. There are multiple ways to install it, I've used the following code to do it.
```
sudo curl -sSL -o /usr/local/bin/argocd https://github.com/argoproj/argo-cd/releases/latest/download/argocd-linux-amd64
sudo chmod +x /usr/local/bin/argocd
```
To check if the installation was successful, you can use the `version` command
```
argocd version
argocd: v2.2.5+8f981cc
BuildDate: 2022-02-05T01:33:25Z
GitCommit: 8f981ccfcf942a9eb00bc466649f8499ba0455f5
GitTreeState: clean
GoVersion: go1.16.11
Compiler: gc
Platform: linux/amd64
FATA[0000] Argo CD server address unspecified
```
## Accessing API server
ArgoCD provides multiple ways to configure the access to the API server, I've used the _easier & quicker_ one of **port forwarding**
In a new terminal window run the following command to port forward the kubectl service
```
kubectl port-forward svc/argocd-server -n argocd 8080:443
```
Open your web browser and navigate to `https://127.0.0.1:8080` to access the ArgoCD UI
_*ArgoCD generates a random password as a secret and can be access using the following_
```
kubectl -n argocd get secret argocd-initial-admin-secret -o jsonpath="{.data.password}" | base64 -d; echo
```
Login to the UI dashboard using the default credentials:
- username: `admin`
- password: _obtained in the above step_

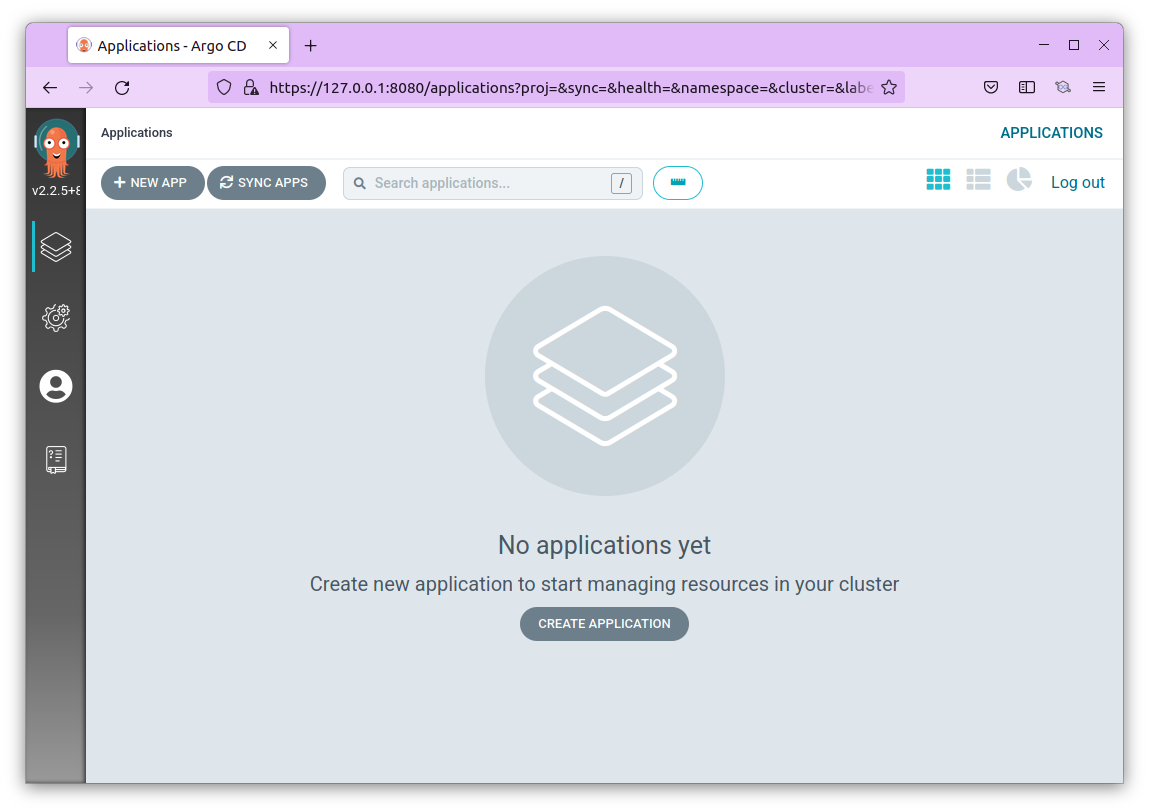
By default it will start in the **Applications** page which will be empty _obviously_. In the next section, we will deploy a simple application.
## Deploying the app
ArgoCD provides a simple application to get started with. You can refer to the [Guestbook Application](https://github.com/argoproj/argocd-example-apps.git) repo for more.
The application can be deployed using two ways:
- Via CLI
- Via Dashboard
To keep this tutorial under 5 mins, I'm going to use the CLI method to install the application, however you can refer to [this document](https://argo-cd.readthedocs.io/en/stable/getting_started/#creating-apps-via-ui) to see how you can install it via the dashboard.
### Via CLI
Run the following command to install the app
```
argocd app create guestbook --repo https://github.com/argoproj/argocd-example-apps.git --path guestbook --dest-server https://kubernetes.default.svc --dest-namespace default
application 'guestbook' created
```
Once the application is installed, you can check the status by running the `get` command
```
argocd app get guestbook
Name: guestbook
Project: default
Server: https://kubernetes.default.svc
Namespace: default
URL: https://127.0.0.1:8080/applications/guestbook
Repo: https://github.com/argoproj/argocd-example-apps.git
Target:
Path: guestbook
SyncWindow: Sync Allowed
Sync Policy: <none>
Sync Status: OutOfSync from (53e28ff)
Health Status: Missing
GROUP KIND NAMESPACE NAME STATUS HEALTH HOOK MESSAGE
Service default guestbook-ui OutOfSync Missing
apps Deployment default guestbook-ui OutOfSync Missing
```
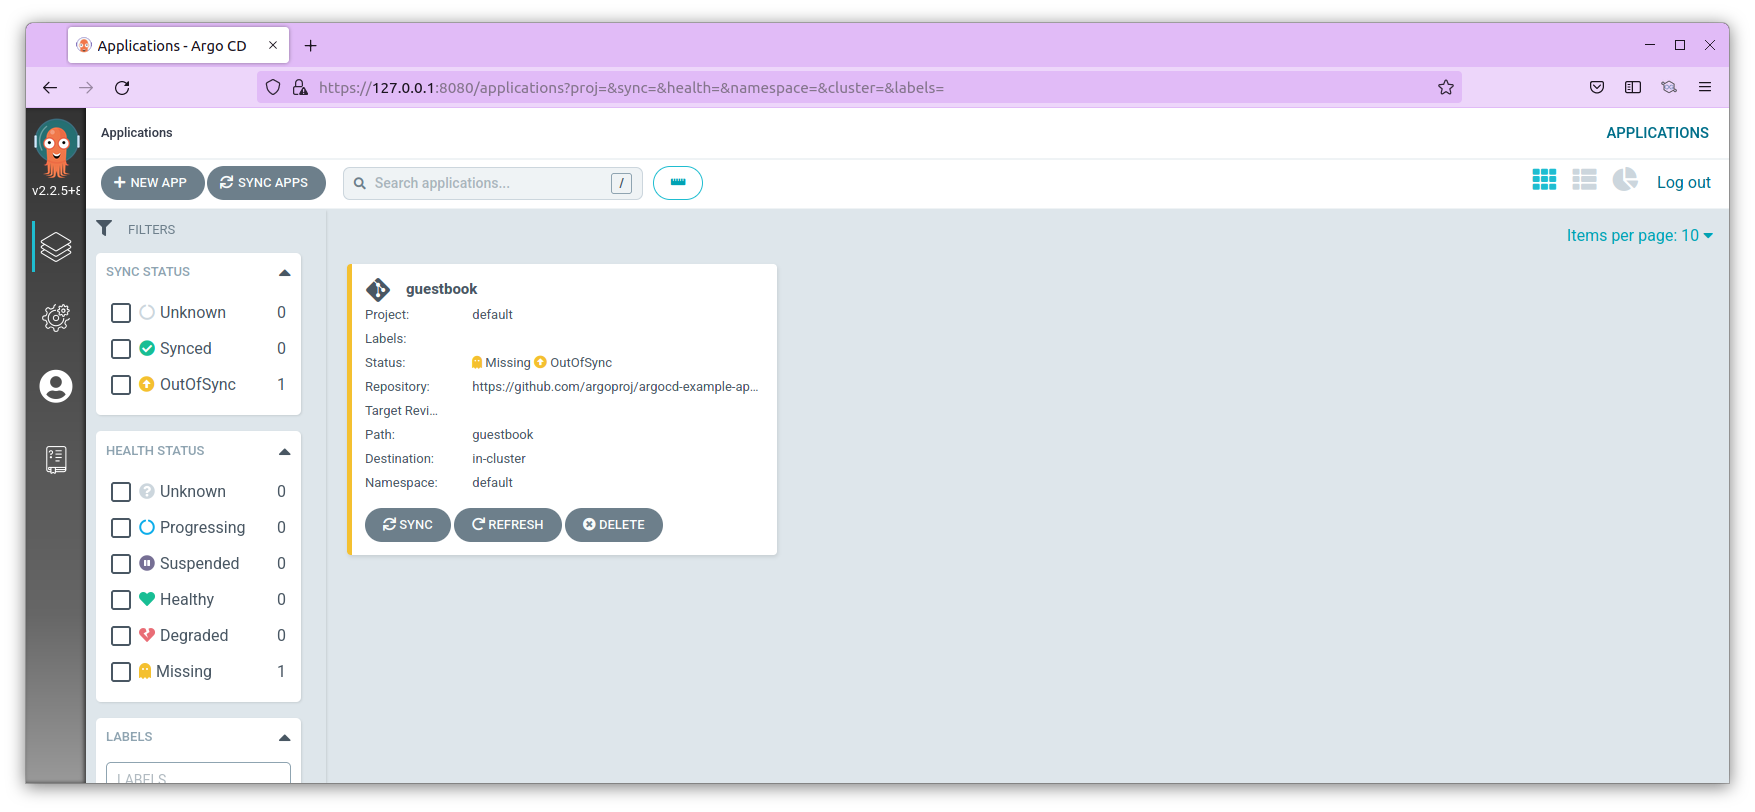
You can also verify the status of the application on the ArgoCD UI

If you observe closely, the `Sync Status` is `OutOfSync`. This is because the application is just created, but not deployed (_no Kubernetes resources have been created_)
To `sync` the app, run the following command
```
argocd app sync guestbook
```
If everything is successful, you'll see an output like the following one
```
TIMESTAMP GROUP KIND NAMESPACE NAME STATUS HEALTH HOOK MESSAGE
2022-03-04T10:54:48+05:30 Service default guestbook-ui OutOfSync Missing
2022-03-04T10:54:48+05:30 apps Deployment default guestbook-ui OutOfSync Missing
2022-03-04T10:54:48+05:30 Service default guestbook-ui OutOfSync Missing service/guestbook-ui created
2022-03-04T10:54:48+05:30 apps Deployment default guestbook-ui OutOfSync Missing deployment.apps/guestbook-ui created
Name: guestbook
Project: default
Server: https://kubernetes.default.svc
Namespace: default
URL: https://127.0.0.1:8080/applications/guestbook
Repo: https://github.com/argoproj/argocd-example-apps.git
Target:
Path: guestbook
SyncWindow: Sync Allowed
Sync Policy: <none>
Sync Status: Synced to (53e28ff)
Health Status: Progressing
Operation: Sync
Sync Revision: 53e28ff20cc530b9ada2173fbbd64d48338583ba
Phase: Succeeded
Start: 2022-03-04 10:54:48 +0530 IST
Finished: 2022-03-04 10:54:48 +0530 IST
Duration: 0s
Message: successfully synced (all tasks run)
GROUP KIND NAMESPACE NAME STATUS HEALTH HOOK MESSAGE
Service default guestbook-ui Synced Healthy service/guestbook-ui created
apps Deployment default guestbook-ui Synced Progressing deployment.apps/guestbook-ui created
```
The above command internally runs the `kubectl apply` commands using the manifests from the repo.
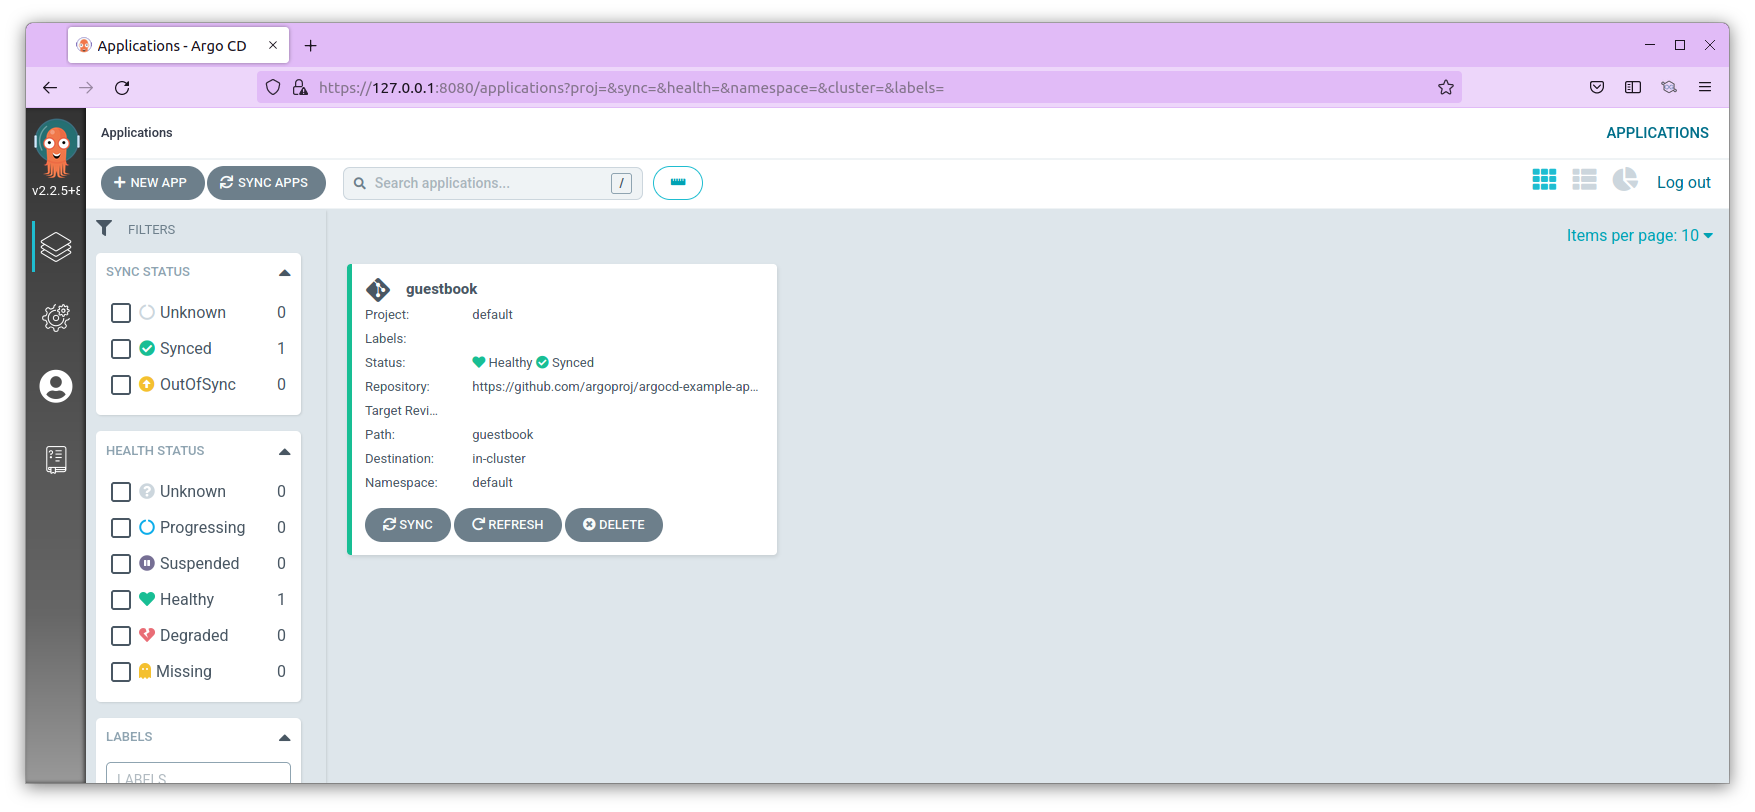
On the UI you will be able to see the same status

Congratulations! We've successfully deployed our first application successfully using ArgoCD. _I'm pretty sure, that took less than 5 minutes_!
The goal of an application like ArgoCD is to ensure that the `current state` and `desired state` remain the same. To see that in action, delete the guestbook-ui service from the UI. Immediately you'll see the `syncstatus` as `OutOfSync`, you can then click the Synchronize button and soon you will see the service will be recreated.
So that was my short and quick getting started guide for ArgoCD. Stay tuned as I learn more and add more posts that you'll find helpful :)
---
If you are on Twitter, let's connect there: [@TheTechMaharaj](https://twitter.com/TheTechmaharaj)
I'm fairly new here, but having been blogging for over a decade on my blog [Socialmaharaj.com](https://socialmaharaj.com) you could drop by there as well.


Top comments (0)