Wow! Finally I reached this final step which is so cool to do for the #cloudResumeChallenge!
So here, i'll explain how I setup CI/CD using GitHub Actions.
1. Introduction
Github Actions are a relatively new feature to Github that has opened up a new facet of product management in addition to version control. One of these features is Continuous Deployment (CI/CD), which was introduced last year into an already crowded market. However, the main advantage I can see to this feature is a single service taking care of all your deployment needs.
In this post, I will outline the steps to setup a basic continuous deployment pipeline with Github Actions to deploy an app to AWS S3.
2. Steps
- Setup workflow files for staging and production
- Add AWS secrets to Github
- Install a Github Action.
- Deploy an app to an S3 Bucket.
- Repeat above steps for cloud resume backend for deploying AWS SAM.
3. Setup workflow
Create a workflow with this "Simple workflow" template under "Actions" tab in Github.

3. Add AWS Secrets
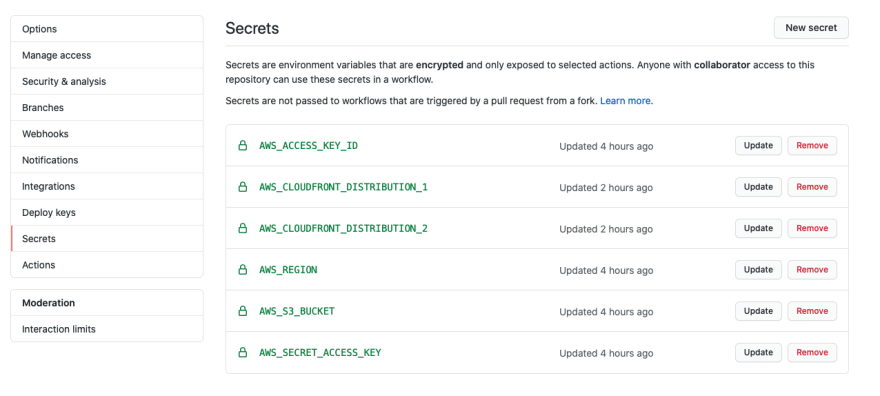
We need two main secrets for uploading files to S3 and for SAM. Which is AWS_ACCESS_KEY_ID and AWS_SECRET_ACCESS_KEY. These 2 required for accessing AWS with AWS CLI.
And i have created these for accessing S3 bucket and invalidating CloudFront cache.
4. Install a Github Action
There are plenty of AWS actions already defined in GitHub Marketplace. You can choose any of them.
I have used this: Configure AWS Credentials
5. Deploy an app to an S3 Bucket.
On adding following workflow with above code for uploading files to S3, a job will be triggered on any push to master branch.
on:

  pull_request:

  push:

    branches:

      - master
6. A Successful Job run.
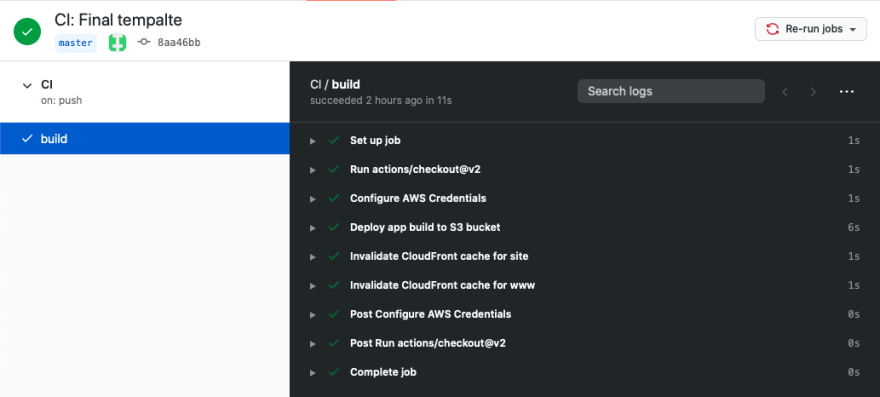
After a job is successful, your build action will look like below:

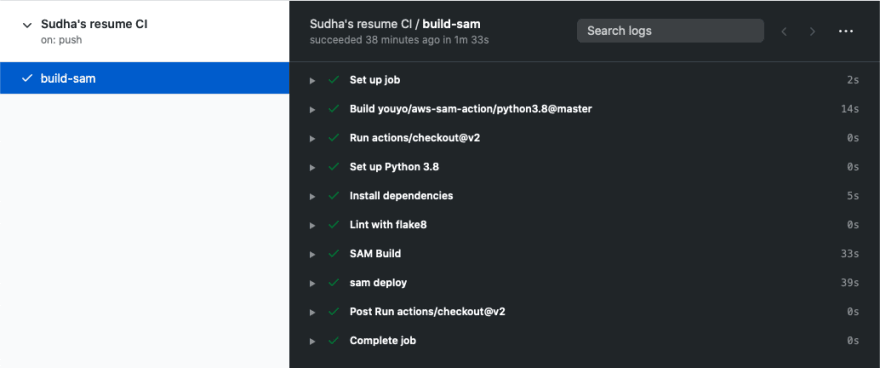
Also, a successful AWS SAM Deploy CI/CD job will look like below:

Next Step.
Pending: With this all the steps of Cloud Resume Challenge is done.
And I'm gonna write a final blog of my journey experience.
Thank you for reading! 😊


Top comments (0)