
Last time, I decided to use MongoDB for building my blog. As I have never worked with MongoDB before, I still have to figure out how to get everything to work. So, the only thing left to do now is getting started with MongoDB. How do we set it up, add users, and create our database.
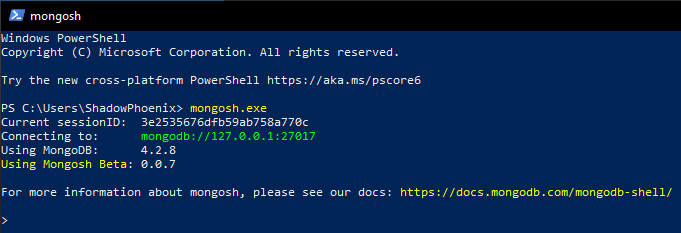
First, lets download the community server which is free and open source. I will be using the Windows version for my desktop and this article. After installing the software, I also installed mongosh since I am an avid command line user. After adding mongosh to my PATH variables, I run powershell to see this:
Creating a User
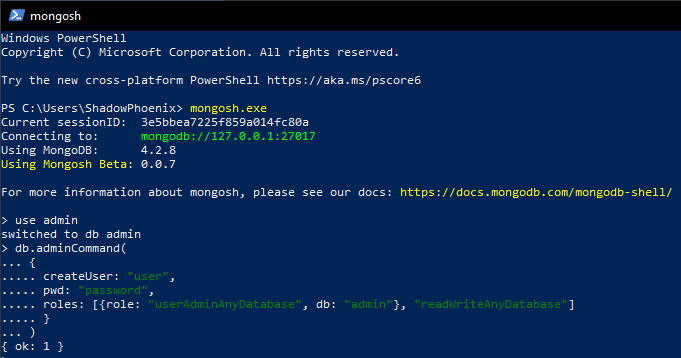
Awesome! Time to figure out how to add a user. After all, I do not want everyone to simply log into my database. In order to do that, I first have to create an admin user and then enable access control. Figuring out how to do that was quite the task, since mongosh is still in beta an does not contain all functionality yet. So, to create a database with mongosh, we will have to use the following command:
Now, we should have a new user with admin rights. That allows us to shutdown the MongoDB server and enable access control. We can shutdown the server by using db.adminCommand({shutdown:1}). After the server is down, we can take a look at the MongoDB config file to enable access control. You can find the file at <installation directory>/bin/mongod.cfg. Here, we need to add the following lines:
Security:
  authorization: enabled
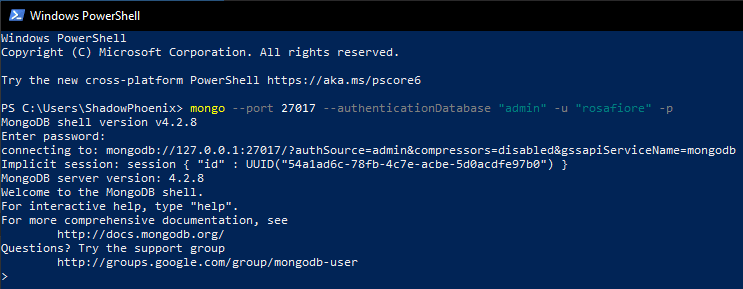
It is halfway when trying to boot the server again, that I figured that using mongosh might not have been the brightest of ideas. MongoDB is already new to me and using beta software that does not support all commands yet is not making things any easier. So, I switched to the legacy mongo shell, since the documentation is up to date for that. I managed to boot the server again and logging into my database!
Creating a Database
I got my authentication ready, the final step now is to create a database. You can easily create a new database in MongoDB with the use <database> command. If the database doesn't exist yet, it creates it. Keep in mind though that MongoDB will save the database only when you put data in it. Until then, it is not saved and does not show up when using the show dbs command.
With MongoDB running on my desktop, I can finally start with a little proof of concept. I will use that proof of concept to figure out how to connect to MongoDB and add my first set of data using Spring Boot. That should allow me to get a better grip on the technologies to start implementing it for the actual project. You know... less hacky and a bit more clean. However, that is for another post!

Top comments (0)