
I've decided to document how to set-up and use DaisyUI, with Vue and Tailwind, having used it recently in a client project. I added DaisyUI to ensure there was some consistency in the application I was building. It was initially being developed by myself but then it quickly grew to being developed by developers in multiple teams. Features and components were built without any wire-frames or base styleguides to follow. Some groundwork had to be introduced before the UI became too fragmented.
Prerequisites
Initial setup
We'll be using Vite as our development server. It's now the standard, over Webpack, for developing JS applications. I highly recommend moving your existing web app builds over to Vite. The speed increase is worth the migration process.
Pop open your terminal of choice and run the following commands:
- Run
npm init vite projectName, whereprojectNamewill be the name of a new folder for your application- select
vueusing the arrow keys and press enter to select - select
vueagain
- select
- Once that has completed, you should see a prompt to
cdinto your new project directory- run
npm installto install the base dependencies - run
npm run devif you want to see the base Vue app. You can also experience how fast Vite is at getting your dev server running - If you've ran the last command, exit out of it so we can install the remaining dependencies
- run
- Run
npm install -D tailwindcss postcss autoprefixerto get tailwind, postcss and autoprefixer installed as Dev dependencies- run
npx tailwindcss init -pto generate config files for Tailwind and PostCss
- run
-
Open your new project directory in your IDE
- In
tailwind.config.jswe need to updatecontent: []withcontent: ["./index.html", "./src/**/*.{vue,js,ts,jsx,tsx}",]to tell Tailwind to look at ourindex.htmland ourVue.jsfiles where we'll be using Tailwind classes - In
./src/we need to create a new CSS file. It can be called anything you like. I call itindex.css. Within this file we need to add the following to import Tailwind's directives for each of its layers:
@tailwind base; @tailwind components; @tailwind utilities;- In your
./src/main.jsadd the following lineimport './index.css', underimport App from './App.vue'to import the new stylesheet. You should have:
import { createApp } from 'vue' import App from './App.vue' import './index.css' createApp(App).mount('#app')- Empty the contents of
./src/App.vueand add the below with Tailwind's classes:
<template> <h1 class="text-3xl font-bold underline mb-10">Hello Vue!</h1> </template>- Back in your terminal, run
npm run devand go to the URL Vite has provided, e.g:http://localhost:3000 - You should see a plain white page with
Hello vue!in large bold text with an underline: 
- You can now exit this as we need to add DaisyUI to the application
- In your terminal, run the following to install DaisyUI:
npm i daisyui - In the
tailwind.config.jsfile we need to addrequire("daisyui")within thepluginsarray. You should have the following in yourtailwind.config.jsfile:
/** @type {import('tailwindcss').Config} */ module.exports = { content: [ "./index.html", "./src/**/*.{vue,js,ts,jsx,tsx}", ], theme: { extend: {}, }, plugins: [require("daisyui")], }- Back in your
./src/App.vuefile we can start adding some DaisyUI classes, e.g:
<template> <h1 class="text-3xl font-bold underline mb-10">Hello Vue!</h1> <button class="btn btn-primary">Hello Daisy button</button> </template>- In your terminal, run the following to see the changes
npm run dev. You should now see an updated page with a theme and styled button: 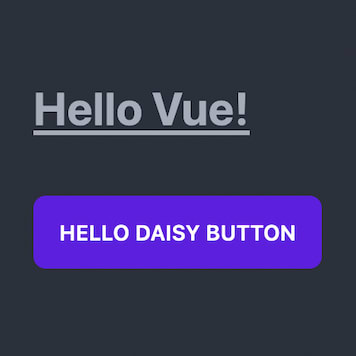
- In
That's it! We've now got access to all of DaisyUI's components throughout our application
Taking it a step further for future applications
I feel like the following steps are important to create a template for any new applications you feel like building:
- Delete the contents of the following directories:
./src/components/./src/assets/
That's it, You can now commit this to a repo and use it when you're starting new projects. I've created my version here for you to clone if you'd like.


Oldest comments (0)