We all know that communication with app users is essential for app publishers. And push notifications are probably the most effective way to speak directly to your audience. They don't get caught in spam filters, or forgotten in an inbox — furthermore, they usually provide a quite high number of click-through rates. Another strong benefit of Push notifications is that they can be a delicate reminder to use an app, regardless if it is open or not.
Exactly these great advantages are the reason for every developer to want to have a quick and easy way of Sending Millions of Push Notifications per Minute.
In this tutorial, we will walk through all mandatory steps for setting Android Push Notifications using Firebase Cloud Messaging and SashiDo Dashboard, as follows:
- Connect your Android App to your SashiDo Parse Server
- Create a Firebase Project and connect it to your Android App
- Add the Firebase Credentials to SashiDo
- Include the mandatory FCM Parse services to the Android.Manifest file
- Create Installation and send your first Push Notification
Let’s go together through each step one by one :)
1. Connect your Android App to your SashiDo Parse Server
1.1 Add the Parse Android SDK to your Android project
First, include the JitPack repository to the build.gradle(Project:ProjectName) file of your project. Keep in mind there is one more build.gradle file and pay attention to make this change to the one that is in charge of the Project, not the Modules.
// File: build.gradle(Project:ProjectName)

allprojects {
   repositories {
       ....
       maven { url "https://jitpack.io" }
}
Then add the library to the dependencies, this will be in the different build.gradle(Module:app) folder.
// File: build.gradle(Module:app)

dependencies {
…
implementation "com.github.parse-community.Parse-SDK-Android:parse:latest_Jitpack_Version_Here"

implementation "com.github.parse-community.Parse-SDK-Android:fcm:latest_Jitpack_Version_Here"

}
Wondering how would you know which is the latest version? Simply check at https://jitpack.io/. :)
1.2 Connect to your SashiDo App
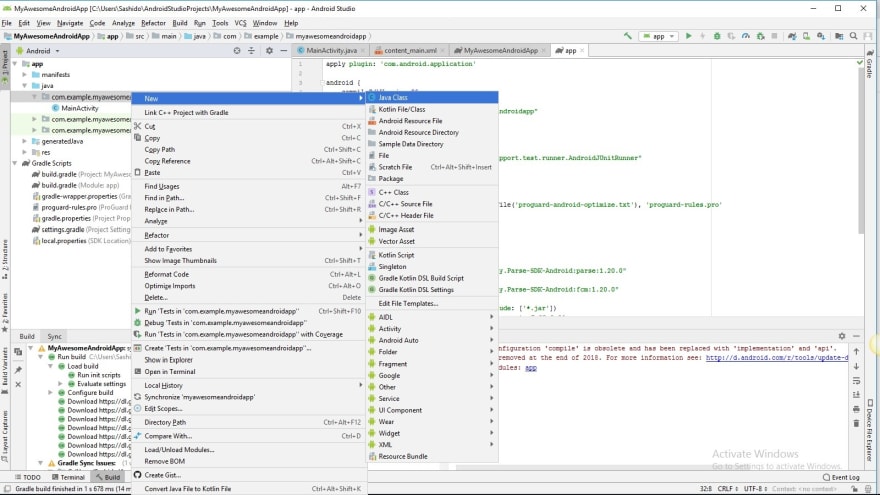
Create a new Java Class, named App.
Make sure to import Parse and Initialize your SashiDo Parse Server Application like this:
//File: App.java

import com.parse.Parse;

//   Initialize your SashiDo Parse Server:public class App extends Application

public class App extends Application {
   @Override
   public void onCreate() {
     super.onCreate();

Parse.initialize(new Parse.Configuration.Builder(context: this)
.applicationId("YOUR_SASHIDO_APPLICATIONID_HERE")
             .clientKey("YOUR_SASHIDO_CLIENTKEY_HERE")
             .server("YOUR_SASHIDO_API_URL_ADDRESS_HERE")
             .build()
       );
   }
}
All credentials for your SashiDo app can be found at the app’s Dashboard -> App Settings -> Security & Keys section.
Continue with defining the App.java class to the AndroidManifest.xml like that:
// File: AndroidManifest.xml

<application
   android:name=".App"
    ...
</application>
2. Create a Firebase Project and connect it to your Android App
2.1 Create a Project In Firebase
Go to the Firebase Console and click on +Add Project. Then choose an appropriate name for your project in Firebase:
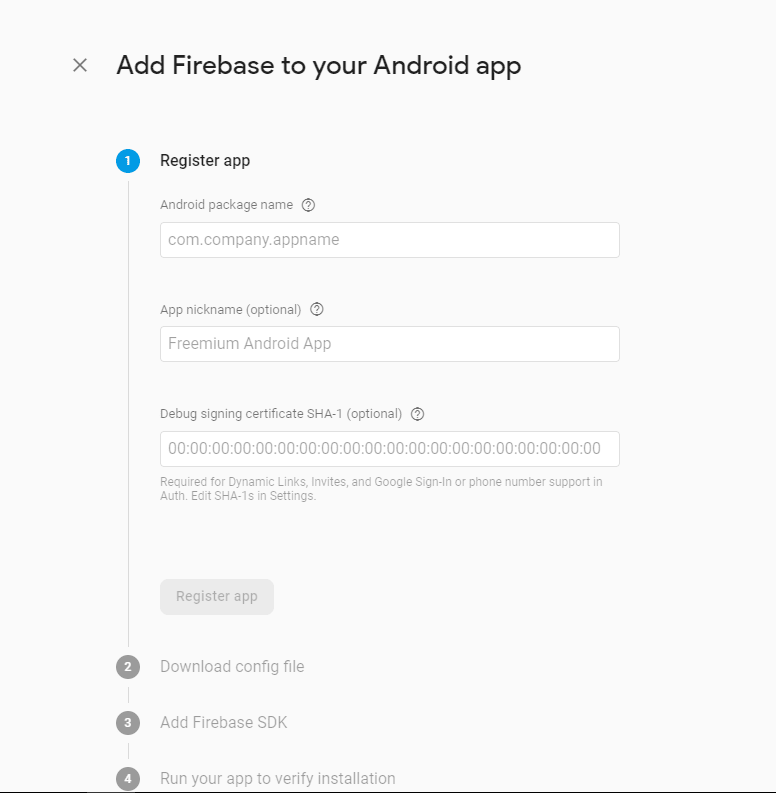
Once the project is ready click on the Android logo in the Get started section by adding Firebase to your app field that is displayed. Once you select it this screen will appear:
Get the project package name from your Android App’s AndroidManifest.xml:
2.2 Add the google.json file to your Android Project
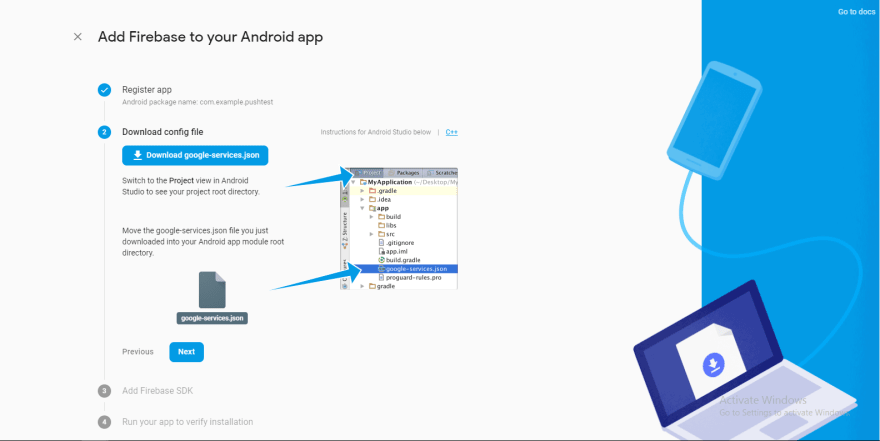
The second step requires you to download the config file. Once you download the google-services.json, make sure to include it to the app folder of your Android Studio project.
2.3 Add the Firebase SDK
Basically, you need to modify the build.gradle files, so they can use the google-services.json.
Proceed by following the steps in the Firebase Console and include the respective line to the dependencies in your build.gradle(Project:ProjectName).
File: build.gradle(Project:ProjectName)

buildscript {
  dependencies {
    ....
    classpath 'com.google.gms:google-services:latest_Version_Here'
  }
}
Then move to the build.gradle(Module:app) and include the following:
// File: build.gradle(Module:app)

dependencies {
       ...
implementation 'com.google.firebase:firebase-core:latest_Version_Here'
}

// This line goes to the bottom of the build.gradle(Module:app)file

apply plugin: 'com.google.gms.google-services'
The latest versions will be embedded in the Firebase console guidance code. Still, it’s always good to know from where you can check them. Here you may find the info for the Google Services Gradle Plugin. And in the Firebase Android Release Notes you can review the latest version of Firebase Core Service.
If you stumble upon some bumps while creating the Firebase project, check out the official Firebase docs for some hints. ;)
3. Add the Firebase Credentials to SashiDo
Maybe the easiest part from the setup ;)
Go to your Firebase Project Settings…
… Cloud Messaging tab
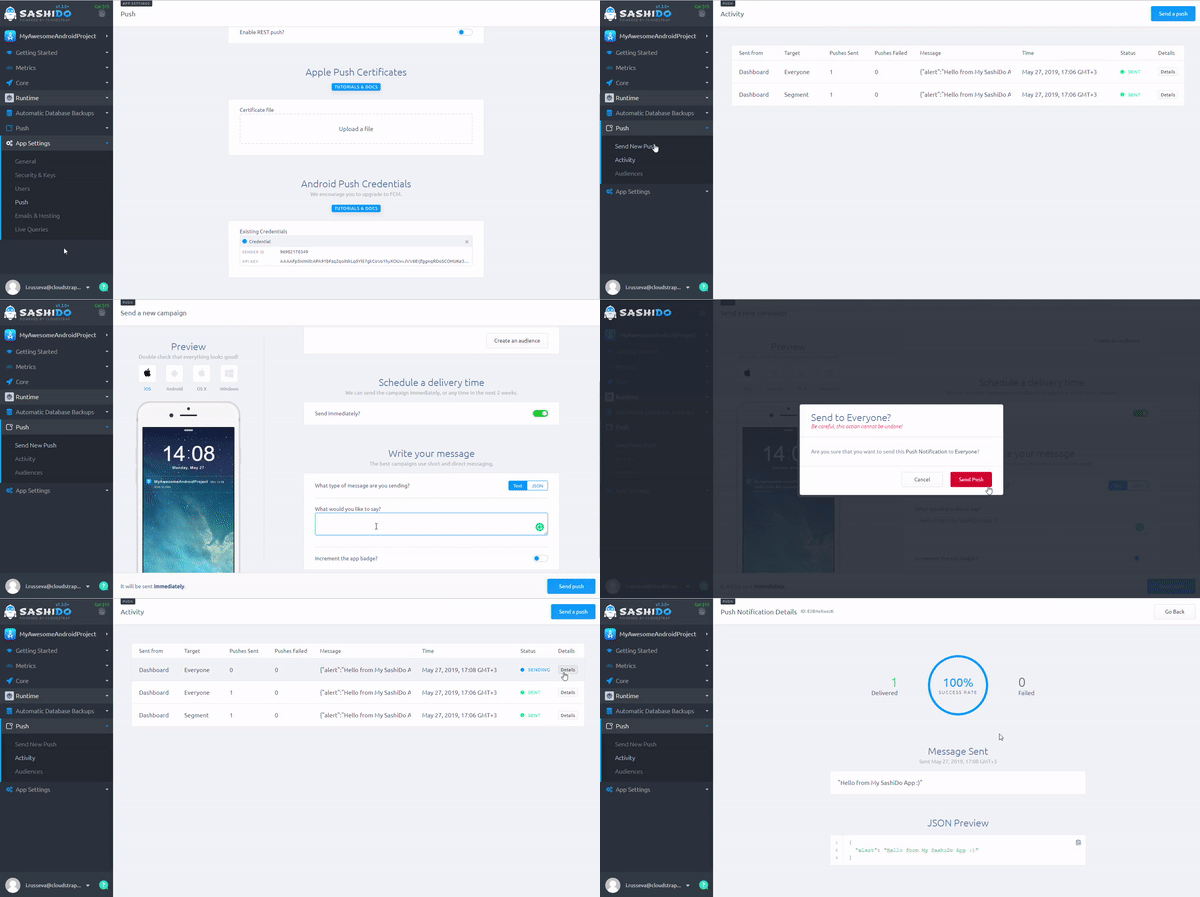
Copy the Sender Id and the Server Key credentials and add them to your SashiDo App from App Settings -> Push
Simple as that ;)
Hit the Save Changes button and continue with setting up the Android.Manifest file.
4. Set up the Android Manifest
Next, you will need to add the following services to the manifest:
4.1. The FCM ParseFirebaseMessagingService:
// File: Android.Manifest

<service
    android:name="com.parse.fcm.ParseFirebaseMessagingService">
    <intent-filter>
        <action android:name="com.google.firebase.MESSAGING_EVENT"/>
    </intent-filter>
</service>
4.2. ParsePushBroadcastReceiver:
// File: Android.Manifest

<receiver
    android:name="com.parse.ParsePushBroadcastReceiver"
    android:exported="false">
    <intent-filter>
        <action android:name="com.parse.push.intent.RECEIVE" />
        <action android:name="com.parse.push.intent.DELETE" />
        <action android:name="com.parse.push.intent.OPEN" />
    </intent-filter>
</receiver>
After finishing with the Android.Manifest, you are almost ready to start sending Push Notifications to your users. Just one last step left and you are good to go!
To be able to send Push Notifications, you need to have installations, right?! Let’s see how that would work!
5. Create your first Installation
Move on to the final step - create and save the device Installation.
//File: App.java

 ParseInstallation.getCurrentInstallation().save();
The installation object that you save in the database contains the token of the device, which is actually used by SashiDo's Push Notification Service to send notifications.
Voilà! Now just go to your awesome project’s Dashboard and send your first Android Push Notification.
Happy Coding!
Useful docs related to this tutorial:
Oficial Parse docs on how to Configure your Clients to Receive Push Notifications
Oficial Firebase docs on how to Add Firebase to your Android Project


Top comments (2)
I've done a bit of Android development in Java and I'm thinking of switching to Flutter. Is it a good decision?
Last month an official Flutter SDK was released for Parse, so you can check it out here: github.com/parse-community/Parse-S... We do have quite a few customers using Flutter on our platform for building their apps.