In this series we will look at a few tools to get from zero to published in as painless a way possible.
Here we start with my recently launched tool (plug alert!) kwik
also available on dockerhub ukjp/kwik
If you are using docker to create your environment which I recommend, you will see why later - we need to start with the command:
$ docker run -it -p 9091:9091 --name MyProject ukjp/kwik
# Replace MyProject with the name of your project
# add [-P if you want to access any ports specific to your project]
This will download and run the kwik docker image and create the container with the name MyProject. You will then be dropped into a shell where you can run
$ kwik -o linux -p https://gitlab.com/my/repo -d my-repo-dev
# Note - You can prefix a repo with _/ if its from github, for example
# _/sam-aldis/kwik will become https://github.com/sam-aldis/kwik
This command will clone your repo into the directory my-repo-dev
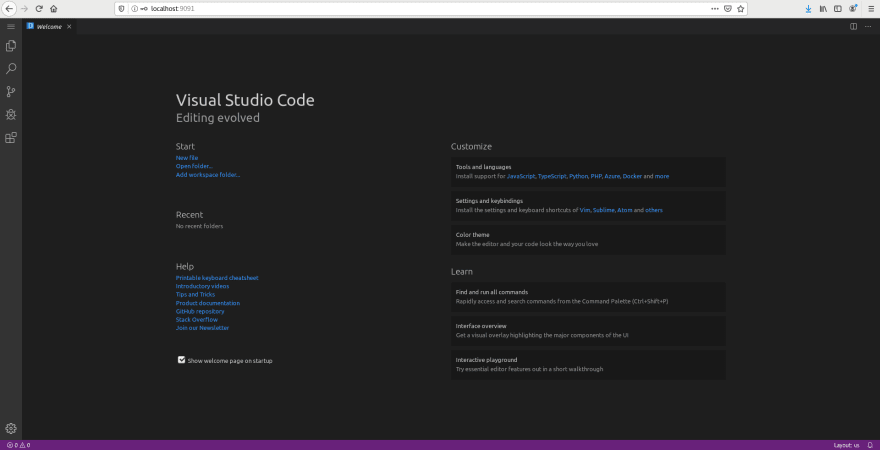
and then grab a copy of code-server (vscode in your browser), extract it and start it running on port 9091 with the password displayed to you.
Now you can open a browser at http://localhost:9091 and start downloading the extensions you require.

start setting up your environment with all the tools you need using apt etc.
then on the host computer run
$ docker commit MyProject dockerhub/repo
# Replacing MyProject with the name you gave to your docker image
# and dockerhub/repo with your dockerhub username/imagename you want to
# upload as.
$ docker push dockerhub/repo
Now you can run your project anytime from any machine and have all your ide and environment ready to use with your preferred tooling!
just run the code-server from within your project directory (under code-server2-[release]-[os]/code-server with option --port 9091)


Top comments (0)