This article is the continuation of WordPress with Docker, AWS (ECS, Code Pipeline, Load Balancer, RDS, EFS) Complete Series. For better understating, please start from the beginning of the series.
In the previous article, We have created the ECS Task Definition which has our Docker Image container along with environment variables and we also have mounted EFS volumes for plugins and cache.
In this article, our website will go live with Load Balancer and Autoscalling groups (having multiple WordPress instances on demand). This means that AWS can increase the number of WordPress instances on demand and it can scale it down too.
We will do the following in this article:
- Create ECS Cluster
- Create Service for WordPress Task Definition
- Configure Autoscalling
Create ECS Cluster
Go to ECS from your AWS console service tab and select Clusters, Click on Create Cluster

Step 1: Select Cluster template
Select EC2 Linux + Networking

Step 2: Configure cluster

I have used m5a.large instance size. You can choose whatever instance size is suitable for you.

Please select the instance Security Group we created earlier. This cluster will create an EC2 instance for us. We will place our WordPress Docker image on this instance.

Hit Create button and it will create the Cluster for you.

You should be able to see your cluster in the list.

Add Service to your Cluster
Click on the cluster your have created and click on Create


Adding Load Balancer

Select your wordpress Load Balancer created earlier.

Click on Add to load balancer button

Select the target group created for the Load Balancer.
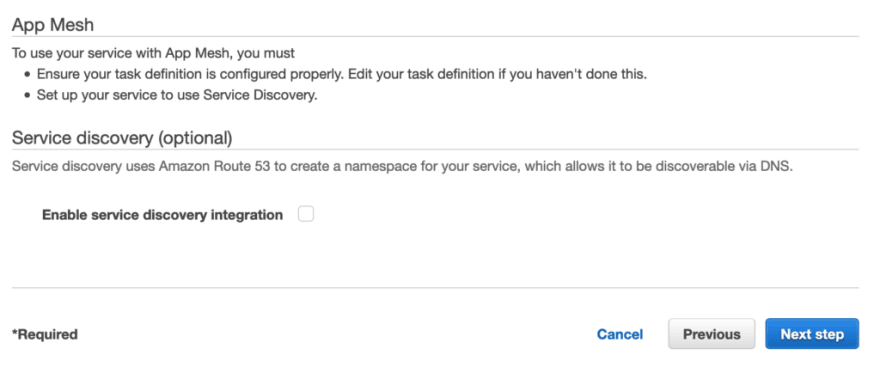
Un-select the Enable service discovery integration
Configure Autoscaling Group


You can change these variables as per your requirements. In our case, it will create two EC2 instances for us and place our WordPress website on each of them.
Creating Scale UP and Scale Down policies.
Something has to trigger an alarm so AWS EC2 can add or reduce number of instances for us. I am using CPU Utilization in our example. There are many more options.
To keep it simple, we are saying that if the CPU Utilization is above 60% for 5 minutes, add another instance. If the CPU Utilization is below 50% for 5 minutes, reduce instances to just 1.


Service and Task Tabs
Now if you go back to your Cluster, You should be able to see that the new service and task has been added.


Sucess !!!!
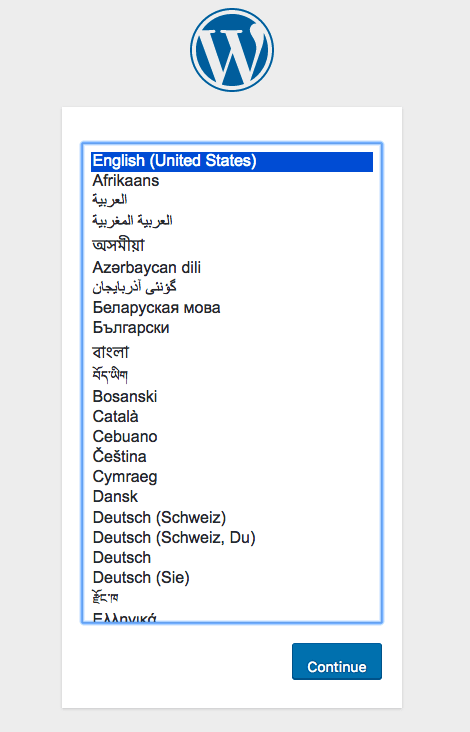
if everything goes well which I hope it will, Copy and past your Load Balancer DNS URL in the browser and you should see your WordPress website setup screen.
If, for some reason, things don’t go well and you don’t see this page. Please check how to Trouble shoot the problem below.
Troubleshooting
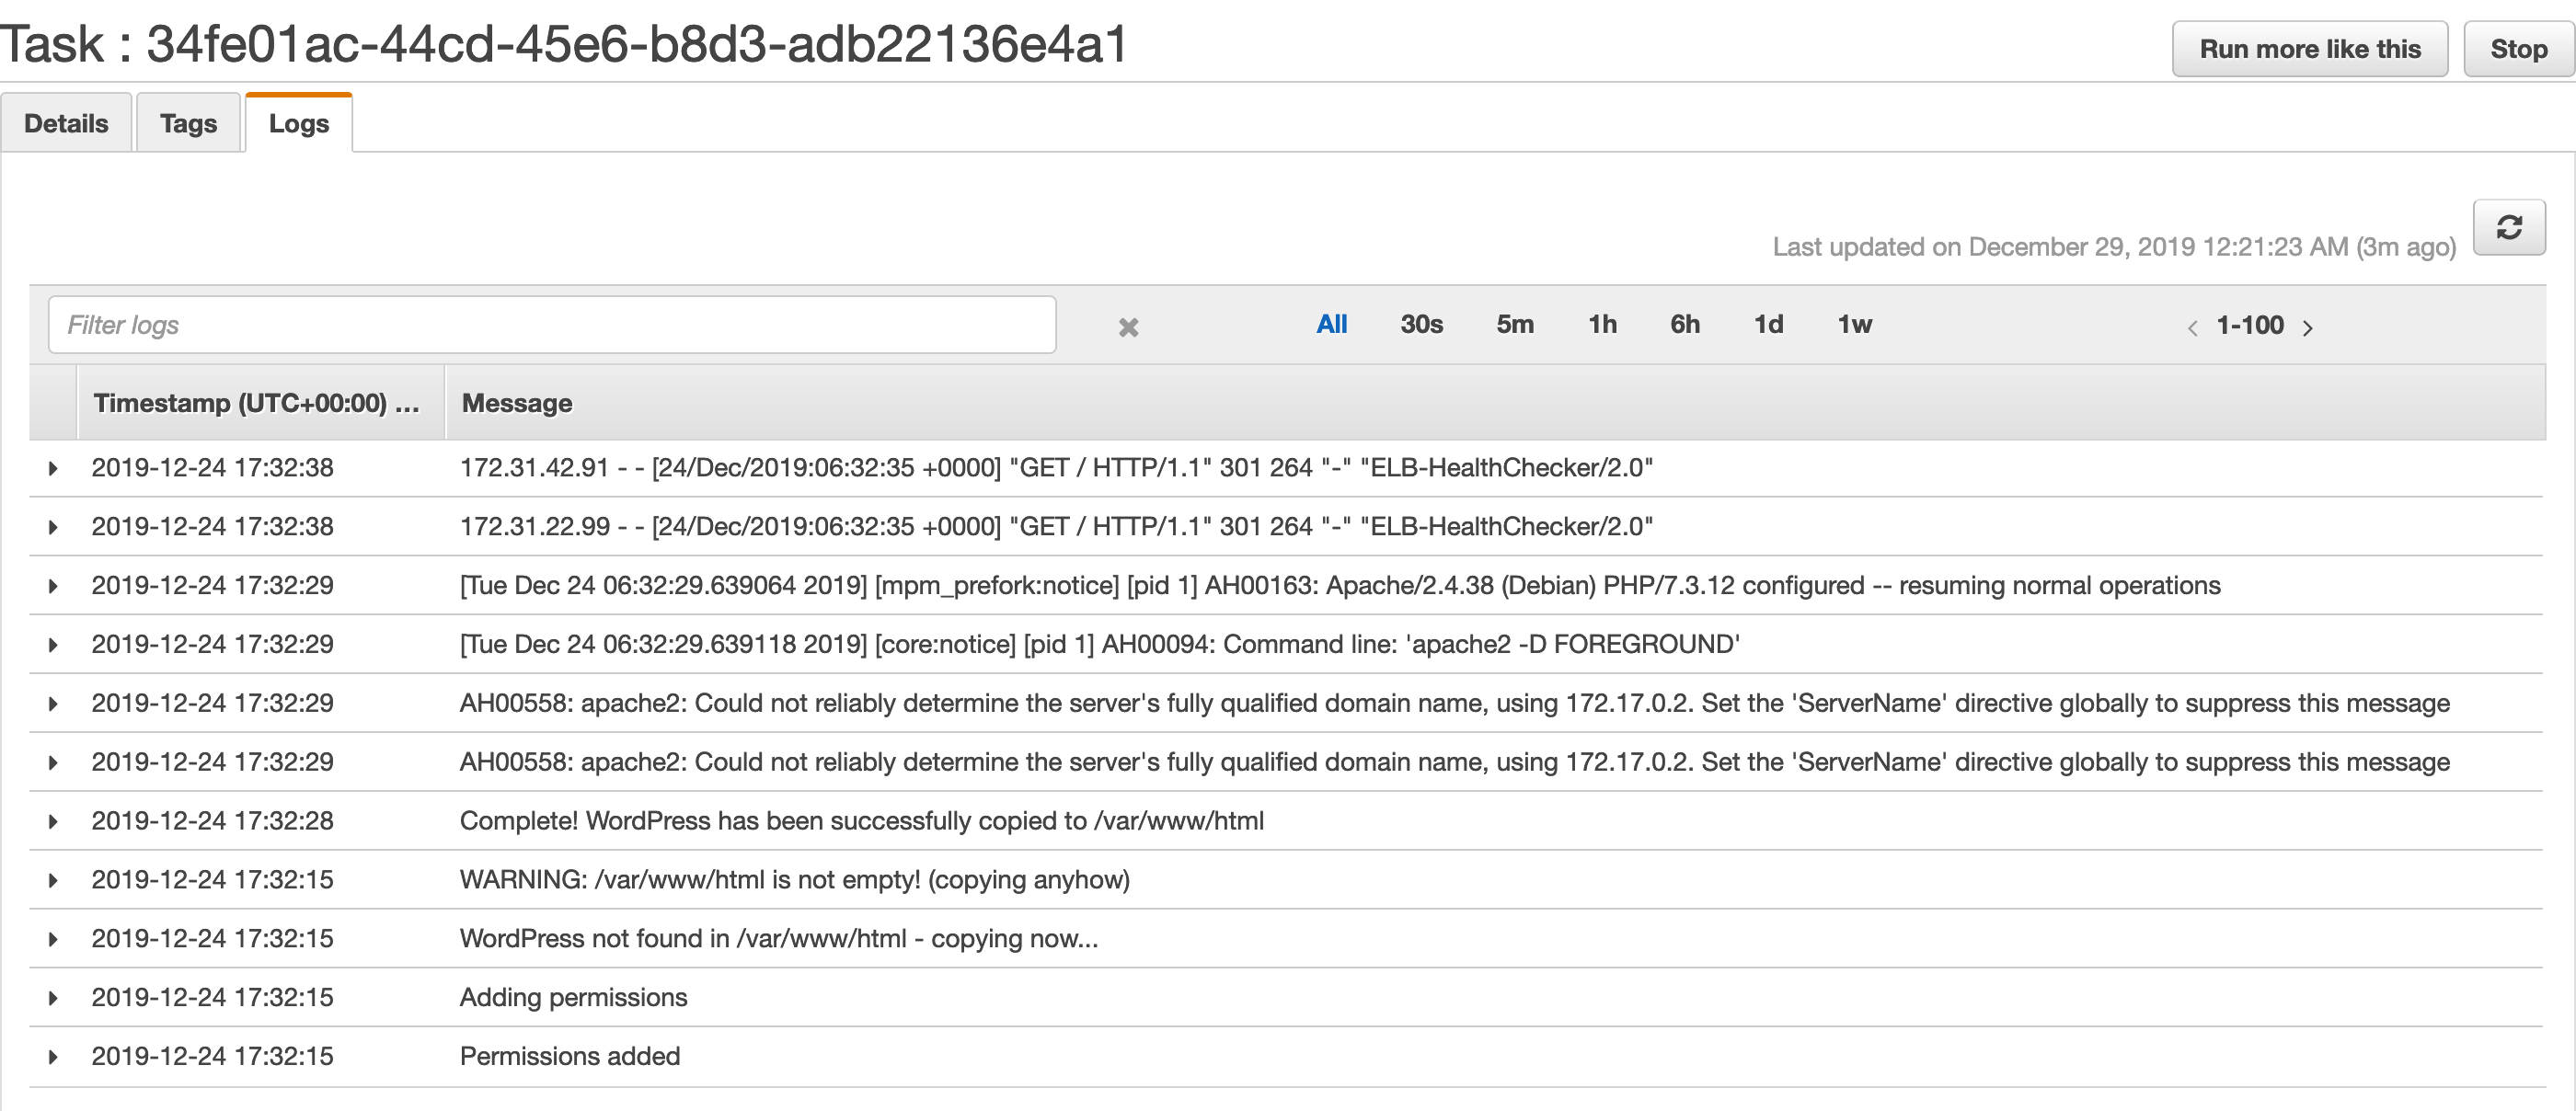
If something has gone wrong, your task will fail again and again. in order to find out what is wrong, click on the task and it will take you to a screen like this:

If something went wrong inside your container, you can investigate it inside the Logs tab.
Otherwise expand the web container under the Details tab of the task and you will see Exit code and reason why the task has failed.

Latest comments (3)
So Helpful!!
thanks !
glad it helped ! ;)