Another week of the intensive training done and I have gain more experience 😁
Let's have a small recap shall we😉.
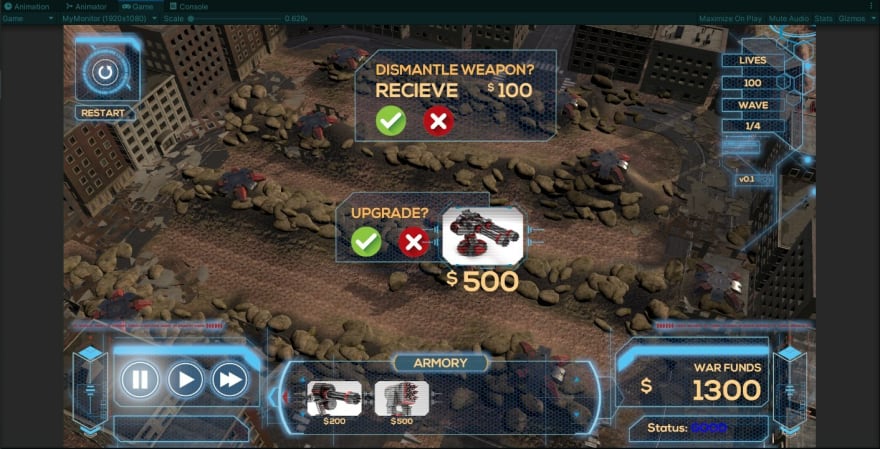
Week 4's task was to focus on the Tower upgrades, UI configuration and the blending animation for the enemy; we were also diving in, first time for me, to Shader Graph.
"Tower Upgrades"

The ability to select an existing tower and upgrade it
UI System Connected (Just for tower placement, upgrade, and selling)

Apply Dissolve Shader to Mechs and clean them up beautifully
Stage Duel Gatling Gun & Rocket Launcher

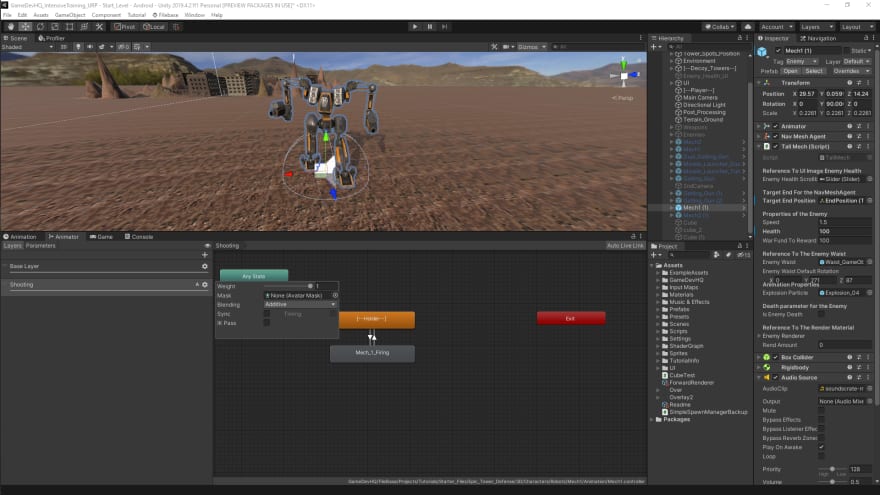
Allow Mechs to fire at Towers as they walk by (Blend Animation)
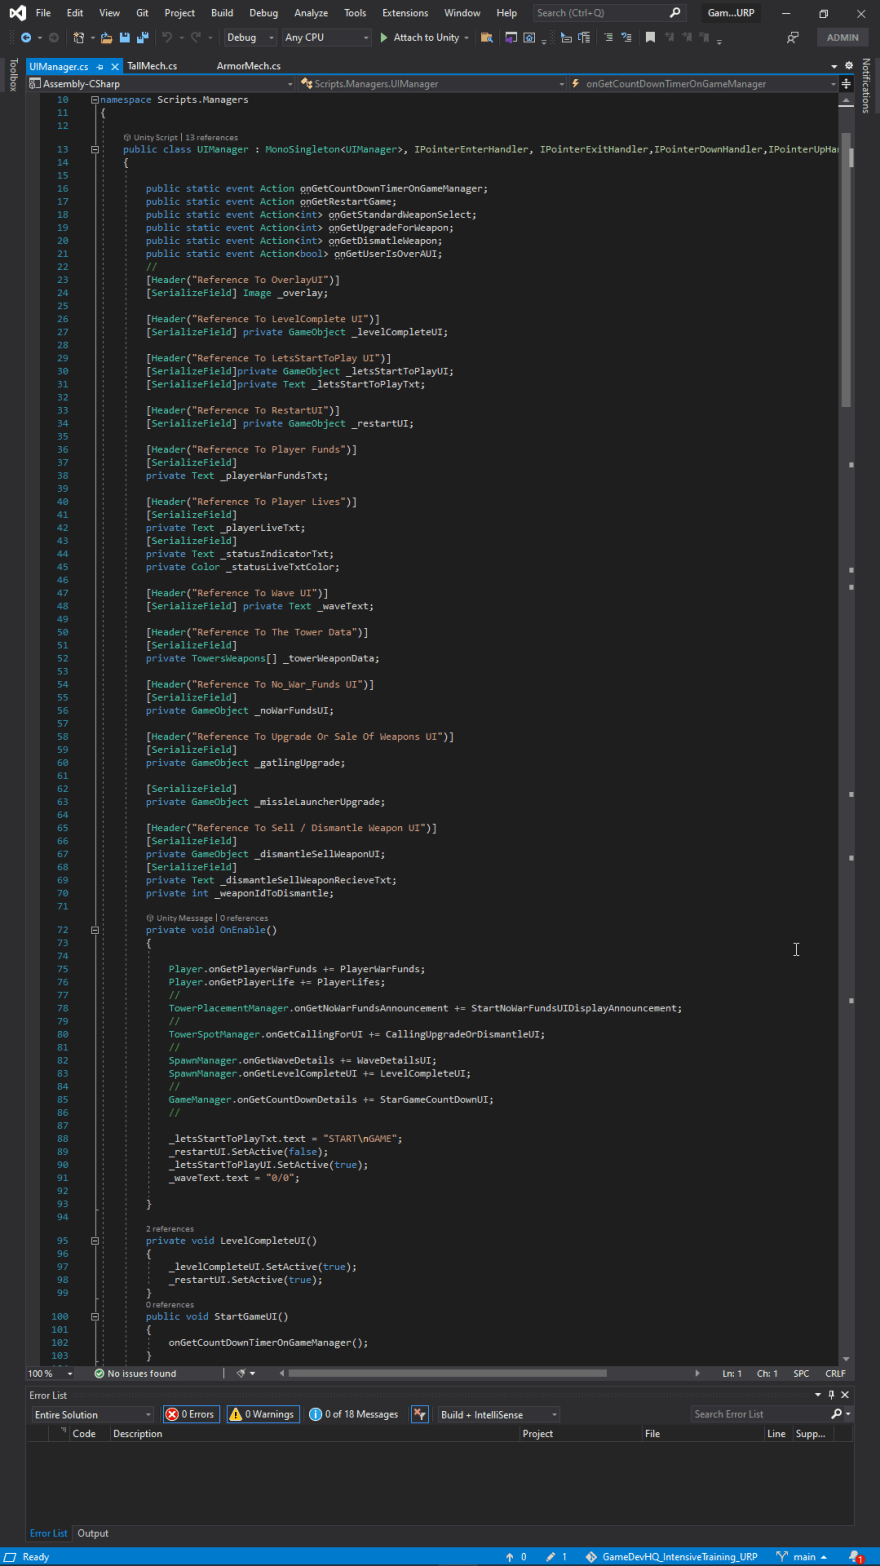
The upgrades configuration and UI was a pretty straight forward process. At first I was having some issues regarding the Towers that some of them did not want to activate the UI, the instructor was kind to help and share a tip to use Scriptable Objects to store a reference to the towers information and pass the information to the UI and called the necessary info to display it. Doing this allows me to use only one UI and just change the text, need to say that the advantage of the intensive training is that I was able to learn and properly use the Event System in Unity.
In the past the way I managed my UI was to always get a reference of the component from the Player or the Enemy, this require to always use GetComponent<> and have a return public method in order to share a private variable that belongs to the Player or any GameObject.
By using Events the only job of the UI manager is to only have reference of the UI on the canvas and turn them On or Off. The UI will be listestin or calling for any event that other script will shout out; meaning if something were to happen that by mistake a GameObject is being destroyed then error about Null Reference will almost not applied since my UI is not attached to any specific GameObject. By using the button component you can also turn On or Off specific UI objects without adding to the code and everything will turn out clean.
The part to blend the animation took me roughly a few minutes, I was already comfortable around the unity animation feature. The blending process of two animations was a breeze to implement, the part that took me a while to fix was the rotation of the enemy to look at the gun once it enters the weapon collider.
Since I was not aware about the axis of the waist of the enemy had once i called the rotation the enemy was making a 360 rotation to the floor; this issue help me to alway pay attention in how the GameObject axis are being display; if you called a Vector3.forward when your z axis(blue arrow) is looking down let me tell you your going to have a lot of issue. I learned to tackle this by putting a clean parent GameObject to hold the waist of the enemy and control the rotation from this new GameObject; this also gave you a small error about the misplaced bones to the animation but you can fix it by just writing where the bones are.
Now, for me, the Biggest baddy of the week was the Shader Graph.
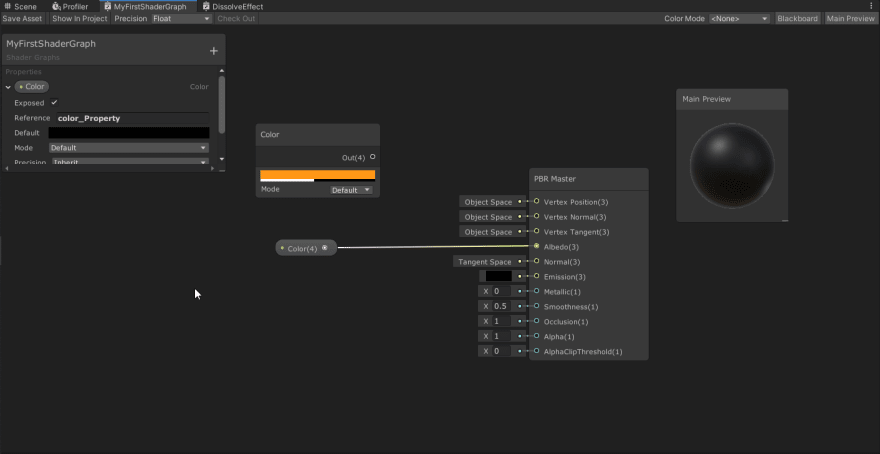
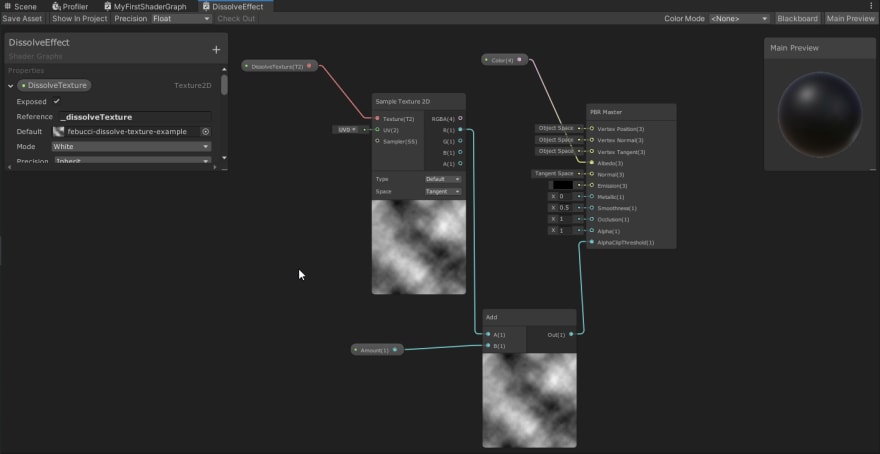
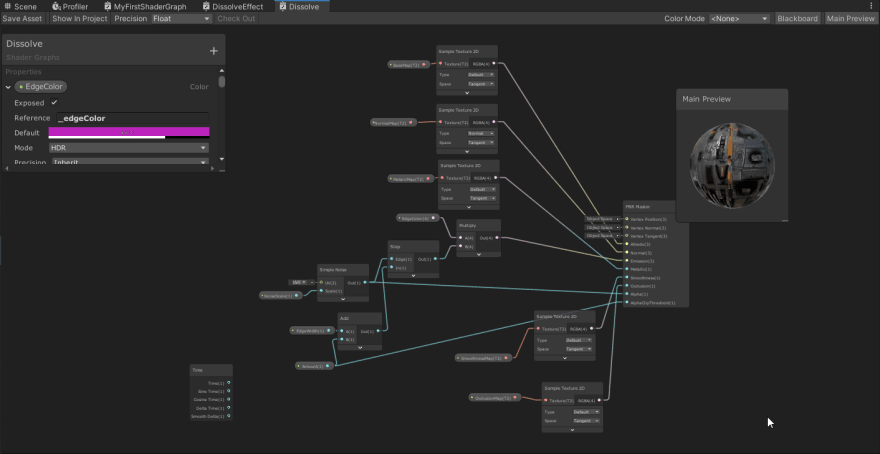
Shader Graph was introduced to use this week to make a dissolve effect to our enemy once it dies to make the removal of the enemy more appealing to the players eyes. My first todo list to work on Shader Graph was to actually learn how to use Shader Graph since I have NEVER used it before (you can also see my last video, i take roughly 7 minutes telling my side of my shader graph experience).
At first I was feeling comfortable following the documentation but I also am aware that I need to learn A LOT of the power that Shader Graph has. I’m not an artistic person and the concept about base maps, albedo, norma map, etc is very new to me.
Using the resource to learn how to do the dissolve effect was easy once you learned how to make your own properties on the Shader Graph and how to connect the basic nodes to the corresponding output.
Where I stumbled was in HOW to use the effect. That's when i notice that once you turn your Shader Graph to a material you can not called it like a regular component on or off, you literally need to make a Shader Graph to hold the texture and property of a GameObject / model and then put the effect and called the float on the script. This took me by surprise and I was already thinking about how to do this and internally I was screaming; thanks to a past student that took the intensive training we were provided with the necessary material to actually call the effect. I took the time and examined the Shader Graph and I understand how everything works but don’t ask me to make it just yet.
What I take from week 4 is that there's different ways to work around a problem and everything can be scary at first but once you take your time and use the documentation to have a basic understanding about something then everything will fall into place. Shader Graph has his own level in the GameDev community and by doing this I have a very deep appreciation for all VFX artists.
Now part of my goal is to understand this new tool and try it to apply it in whatever I can.
Week 4 is DONE, now to dive in to Week 5😎
Lets keep coding,
TO BE CONTINUED 😎



Top comments (0)