
Heroku is a cloud Platform as a Service (PaaS) supporting multiple programming languages that is used as a web application deployment model. Heroku lets the developer build, run and scale applications in a similar manner across all the languages(Java, Node.js, Scala, Clojure, Python, PHP, Ruby and Go).
You can quickly and easily get your apps up and running with Redis Enterprise Cloud directly. Follow the below steps:
Step 1. Create Redis Enterprise Cloud
Create your free Redis Enterprise Cloud account by visiting this link
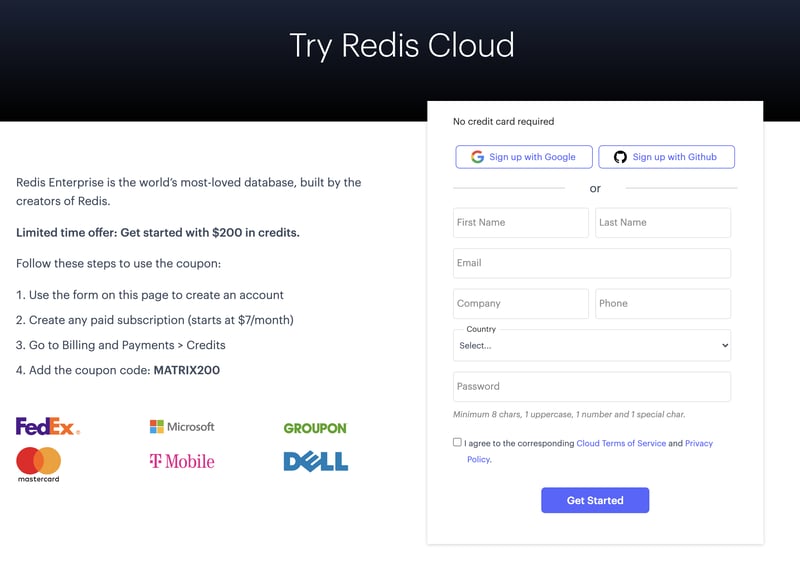
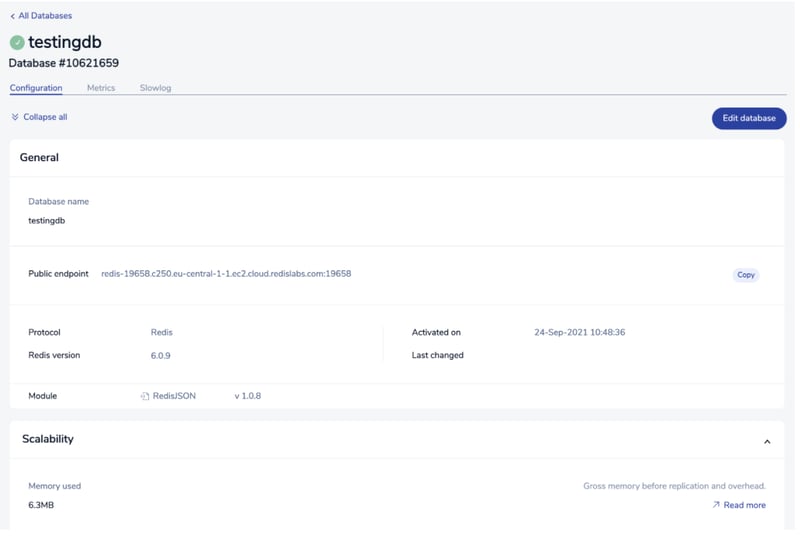
Follow this link to create a Redis Enterprise Cloud subscription and database as shown below:

The database endpoint URL is unique for all and hence might be different in your case. Save it for future reference.
Step 2. Create a Heroku account
If you are using Heroku for the first time, create your new Heroku account through this link.
Step 3. Install Heroku CLI on your system
brew install heroku
Step 4. Login to Heroku
heroku login
heroku: Press any key to open up the browser to login or q to exit:
Opening browser to https://cli-auth.heroku.com/auth/cli/browser/XXXXXXXXXXA
Logging in... done
Logged in as your_email_address
Step 5. Connect your application to Redis Enterprise Cloud
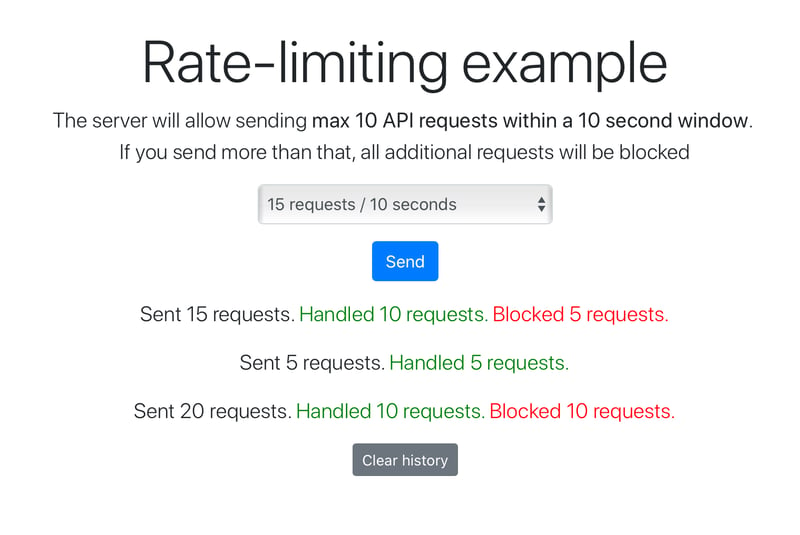
For this demonstration, we will be using a Sample Rate Limiting application.
Clone the repository
git clone https://github.com/redis-developer/basic-rate-limiting-demo-python
Run the commands below to get a functioning Git repository that contains a simple application as well as a package.json file.
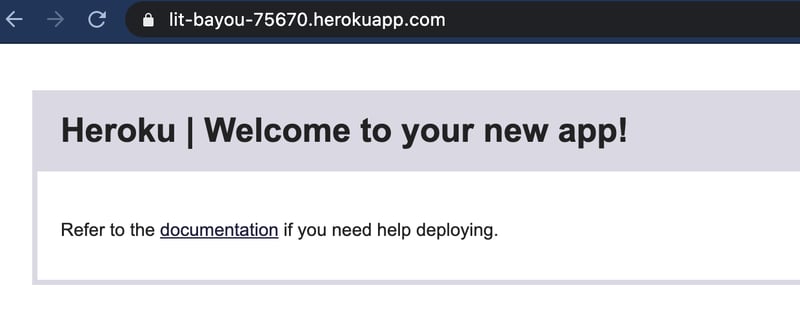
heroku create
 Creating app... done, ⬢ lit-bayou-75670
 https://lit-bayou-75670.herokuapp.com/ | https://git.heroku.com/lit-bayou-75670.git
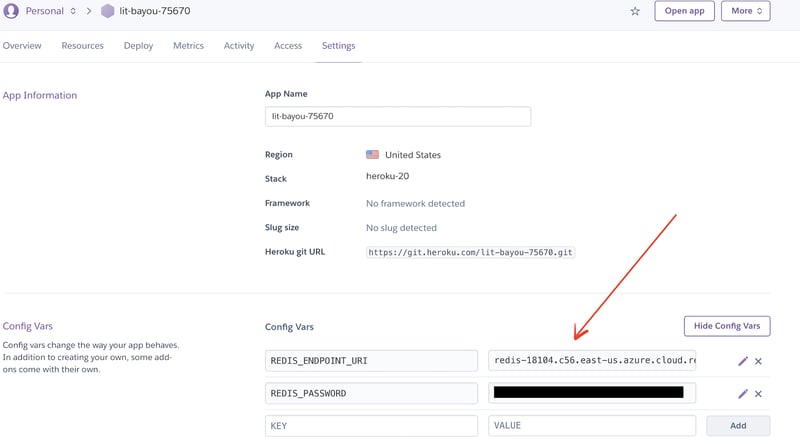
Step 6. Setting up Environmental variable
Follow this link to create a Redis Enterprise Cloud subscription and database as shown below: Go to the Heroku dashboard, click "Settings" and set REDIS_ENDPOINT_URI and REDIS_PASSWORD under the Config Vars.(Please note that the database endpoint is unique and might be different in your case. Please enter the values accordingly)
Refer to Step 1 for the correct values to use.
Step 7. Pushing the code to Git
git push heroku
 remote: -----> Build succeeded!
 remote: -----> Discovering process types
 remote:        Procfile declares types -> web
 remote:
 remote: -----> Compressing...
 remote:        Done: 32.9M
 remote: -----> Launching...
 remote:        Released v5
 remote:        https://lit-bayou-75670.herokuapp.com/ deployed to Heroku
 remote:
 remote: Verifying deploy... done.
 To https://git.heroku.com/lit-bayou-75670.git
 * [new branch]      main -> main
Check the logs:
 heroku logs --tail
 2021-03-27T03:48:30.000000+00:00 app[api]: Build succeeded
 2021-03-27T03:48:33.956884+00:00 heroku[web.1]: Starting process with command `node server/index.js`
 2021-03-27T03:48:36.196827+00:00 app[web.1]: App listening on port 11893
Step 8. Accessing the app


Top comments (0)