
Introduction
Does anyone feel reluctant when you want to implement Redux in your react app? I always feel implementing Redux at the beginning is too much effort especially because Redux has a lot of boilerplate, and I always don't remember all the steps.
Luckily, we have Redux Toolkit now to answer our reluctance. Even though Redux Toolkit makes our life easier, I still can't remember all the steps. I have decided to make an easy tutorial for my notes.
Redux Inside My Head
I will not explain the concept of Redux itself, but I will mention the important points about Redux.
- Redux is a global state
- Redux is not necessary for every project.
- You may need Redux if you don't want to do props drilling (passing props too deep).
- If you are still confused about Redux, just think about the React state. The only difference is you can access the state from anywhere.
I always make Redux simple when I hear about Redux. Remember this statement.
Redux is a global state
It's basically a React state. What can you do if you have a react state? You can get the state and you can set state, right?
// Initial state
const [count, setCount] = useState(0);

// get state
console.log(count);

// set state
setCount(1);
Just remember that concept get and set. In Redux, we can think that get is a selector, and set is a dispatch
If you want to learn in-depth, I suggest reading this documentation.
Especially this illustration.

Implementation
let's skip to the good part!
Installation
You only need two npm packages.
npm install @reduxjs/toolkit react-redux
Create a Redux Store
src/app/store.js
import { configureStore } from '@reduxjs/toolkit';

export default configureStore({
  reducer: {},
});
configureStore
I want to cover configure store a little bit. you can read the documentation here.
configureStore is only accepting one parameter, which is an Object, which is called ConfigureStoreOptions. Pay attention to my snippet again.
ConfigureStoreOptions has several attributes (? means optional):
- reducers
- middleware?
- devTools?
- preloadedState?
- enhancers?
I'm not going crazy to explain all because I don't have that experience with those. However, the most important and easy to understand are reducers, devTools, and preloadedState
reducers (object)
the reducers attribute is the mandatory option that we put our reducers as attributes. The attribute name will be related to selector. I will explain later.
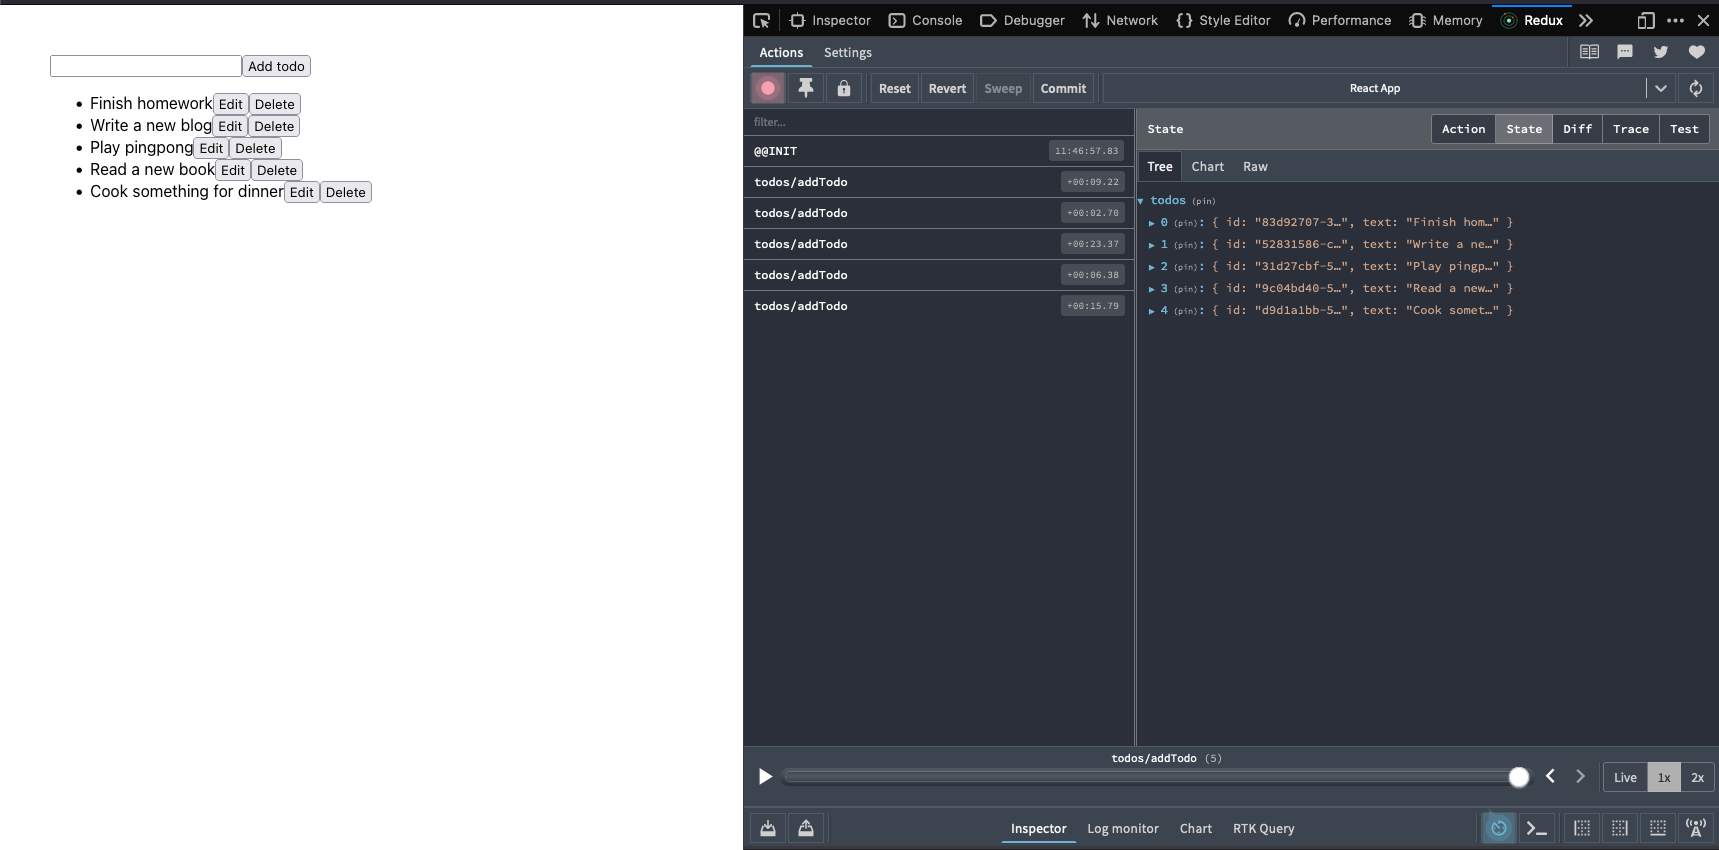
devTools (boolean)

devTools plugin links for Chrome and Firefox
It's something important for your development environment. The default value is true, so you don't necessary to add this attribute. However, you may need this attribute for the production environment.
preloadedState (object)
preloadedState is the same as the initial value in React state. If you want to put an initial value, you could put it in this attribute.
Include the Redux Store to App.js parent
This makes your whole app could access the Redux.
Wrap your <App /> component with the Provider and include the store that you made recently.
//...
import { Provider } from 'react-redux';
import store from './app/store';


// ...
  <Provider store={store}>
    <App />
  </Provider>
// ...
Create a Redux State Slice
The main idea here is Slice will produce an action that we will use for dispatch and a reducer that we will use in configureStore.
src/features/todo/todoSlice.js
import { createSlice } from '@reduxjs/toolkit';

export const todoSlice = createSlice({
  name: 'todos',
  initialState: [],
  reducers: {
    addTodo: (state, action) => {
      const todo = {
        id: uuid(),
        text: action.payload,
      };

      state.push(todo);
  },
});

// this is for dispatch
export const { addTodo } = todoSlice.actions;

// this is for configureStore
export default todoSlice.reducer;
Here is the most complicated part of implementing redux. I assume you already know about Redux reducers. With createSlice, we don't need to implement the Redux reducer manually. However, there is something that you need to keep in mind. Redux Toolkit's createSlice is built-in with Immer
When we want to update React state, we can't mutate the state. Therefore, we need to create completely new data to update the state. This is the same paradigm in conventional Redux. However, Immer makes our life easier. We can mutate the state directly. Take a look at my example in the addTodo reducer function. I don't return anything, but I just mutate the state.
addTodo: (state, action) => {
  const todo = {
    id: uuid(),
    text: action.payload,
  };

  // mutate the state
  state.push(todo);
}
Mutating the state is not the only way to update the state, we can also use the Redux immutable concept, which is using return
addTodo: (state, action) => {
  const todo = {
    id: uuid(),
    text: action.payload,
  };

  // return a new data
  return [...state, todo];
}
You can read the full documentation from Redux Toolkit about Immer here.
Add Slice Reducers to the Store
import { configureStore } from '@reduxjs/toolkit';
import todoReducer from '../features/todo/todoSlice';

export default configureStore({
  reducer: {
    todos: todoReducer,
  },
});
Implementing useSelector and useDispatch in React Components
useSelector
I mentioned before that if you want to get the state you will use a selector. This is how you can access the redux state.
import React from 'react';
import { useSelector } from 'react-redux';

export default function Todos() {
  const todos = useSelector((state) => state.todos);
  // todos comes from the reducer attribute name
  // in configureStore

  return (
    <div>
      <ul>
        {todos.map((todo) => (
          <li key={todo.id}>
            <span>{todo.text}</span>
          </li>
        ))}
      </ul>
    </div>
  );
}
export default configureStore({
  reducer: {
    todos: todosReducer,
    // state.todos comes from this attribute name
  },
});
useDispatch
Lastly, if we want to modify the global state we need to useDispatch and the action that we already created in slice.
import React, { useState } from 'react';
import { useDispatch } from 'react-redux';
import { addTodo } from '../features/todos/todosSlice';

export default function AddTodo() {
  const [text, setText] = useState('');
  // initial the dispatch here
  const dispatch = useDispatch();

  const addTodoHandler = (event) => {
    event.preventDefault();
    // update the state here using addTodo action
    // action only receive one parameter, which is payload
    dispatch(addTodo(text));
    setText('');
  };

  return (
    <form onSubmit={addTodoHandler}>
      <input
        type='text'
        value={text}
        onChange={(e) => setText(e.target.value)}
      />
      <button>Add todo</button>
    </form>
  );
}
Conclusion
To sum up, we have 6 steps to implement the Redux Toolkit to our react project:
- Install Redux Toolkit and React-Redux Packages
- Create a Redux Store
- Include the Redux Store to App.js parent
- Create a Redux State Slice
- Add Slice Reducers to the Store
- Implementing useSelector and useDispatch in React Components
Congratulations! 🥳 you just learned how to use Redux Toolkit.
I also created a small project about this redux toolkit implementation.
Live app link here
Thank you for reading 📚. Please leave a comment if you have any questions for me 🥰

Top comments (15)
Good tutorial Redux Toolkit makes React development so much more calm than how it used to be before this.
Thank you for the feedback!
This is the best redux explanation I've ever seen.
great explanation
Great! Perfect algoritm and explanation. I include Toolkit conclusion in my notice. Thank you, Raynaldo.
Great, can you please do it on a CRUD operation.
I did in my example repository. You can take a look
thank you Raynaldo
I think you want
export const { addTodo } = todoSlice.action;to be
actions?because redux requiring pages and pages of intricate boilerplate wasn't confusing enough so there's some autogenerated magic in there too. or maybe its just JS lib churn
Hi! Thank you so much for leaving this comment. Good catch! I just updated the code.
Using components is a great way to structure web applications because they make it easier to reuse code. However, as the number of components grows, managing the communication and data flow between them becomes complex.
Redux and Context API are great solutions for managing data flow through React’s nested components. They both follow a similar philosophy: the state is taken outside the component tree and consumed as needed. In the case of Redux, external dependencies need to be installed, configured and maintained. Context API is integrated into the React core and requires minimal configuration.
If you are interested in learning a bit more about this, I'd recommend this article by Andy Fernandez, which dives into the details on Redux: scalablepath.com/react/context-api...
until I read this blog I really don't understand what is toolkit and how to apply it
thanks a lot
preloadedState overwrites initialState in your immer slices, so initialState should be empty - you can't remove as its a required field in the slice.